How to Make a Concrete Planter
As an Amazon Associate I earn from qualifying purchases.

This DIY combines some of my favorite things, concrete crafting and plants. Using quick set, I wanted to make a couple of small planters for my place as I have a few propagations that are ready for a pot of their own. Unsure about why concrete makes a great pot? I wrote about the pros and cons of concrete as a planter.
Our Seattle quarantine has been extended into May so I did a deep dive into all the craft supplies I currently have in my closet and I have a few concrete DIY’s lined up for the next few weeks that I am really excited about. This DIY is so easy, you only need concrete, water and molds. Basically anything can be turned into a mold but remember if it isn’t silicone or rubber it will be ruined at the end. Keep in mind size too, concrete planters get heavy really fast.
Want another planter DIY? I already painted some terracotta pots for you.
Tips & Tricks
- Make sure to wash your containers before using. Mine were sour cream and to-go salsa containers in their past life.
- If you are using plastic it can be hard to cut it away from your planter when done so you can rub the inside with petroleum jelly before you pour in your concrete.
- If you don’t want to have to deal with that, use cardboard! You can make your own mold by just cutting pieces and taping them together, making sure that the edges are fully sealed, then when the concrete is dry you can just rip the cardboard away. Either way we are recycling which is always a win!
- To add a drainage hole, use a straw, stick, or chopstick poked through both containers and sealed around the edges.
- If you want to do this over and over again then you can buy a silicone mold. They come in lots of fun shapes and sizes and some have the drainage holes built in.

Supplies
Two Containers for Molds
Disposable Cup for Mixing
Something to Stir With (Chopstick)

Mix Concrete
Scoop dry concrete into a cup and slowly add water while stirring. My concrete instructions said 5 1/2 parts to 1 part water but I think I used closer to 2 parts water.

Mix Concrete
This is what your concrete consistency should look like after mixing. It should resemble pancake batter.

Pour Into Molds
Add your concrete into your larger container and fill it about two thirds of the way. Press the smaller container into the mixture and the concrete should rise up to the top. Let dry for 24 hours.

Remove Molds
Peel away the molds from the concrete. I used needle nose pliers to loosen the top edge and then slowly pulled it down enough to where I could slide my scissors in and cut.

Sand Concrete
If you have a rough edge on the top you can sand it down with gritty sandpaper.

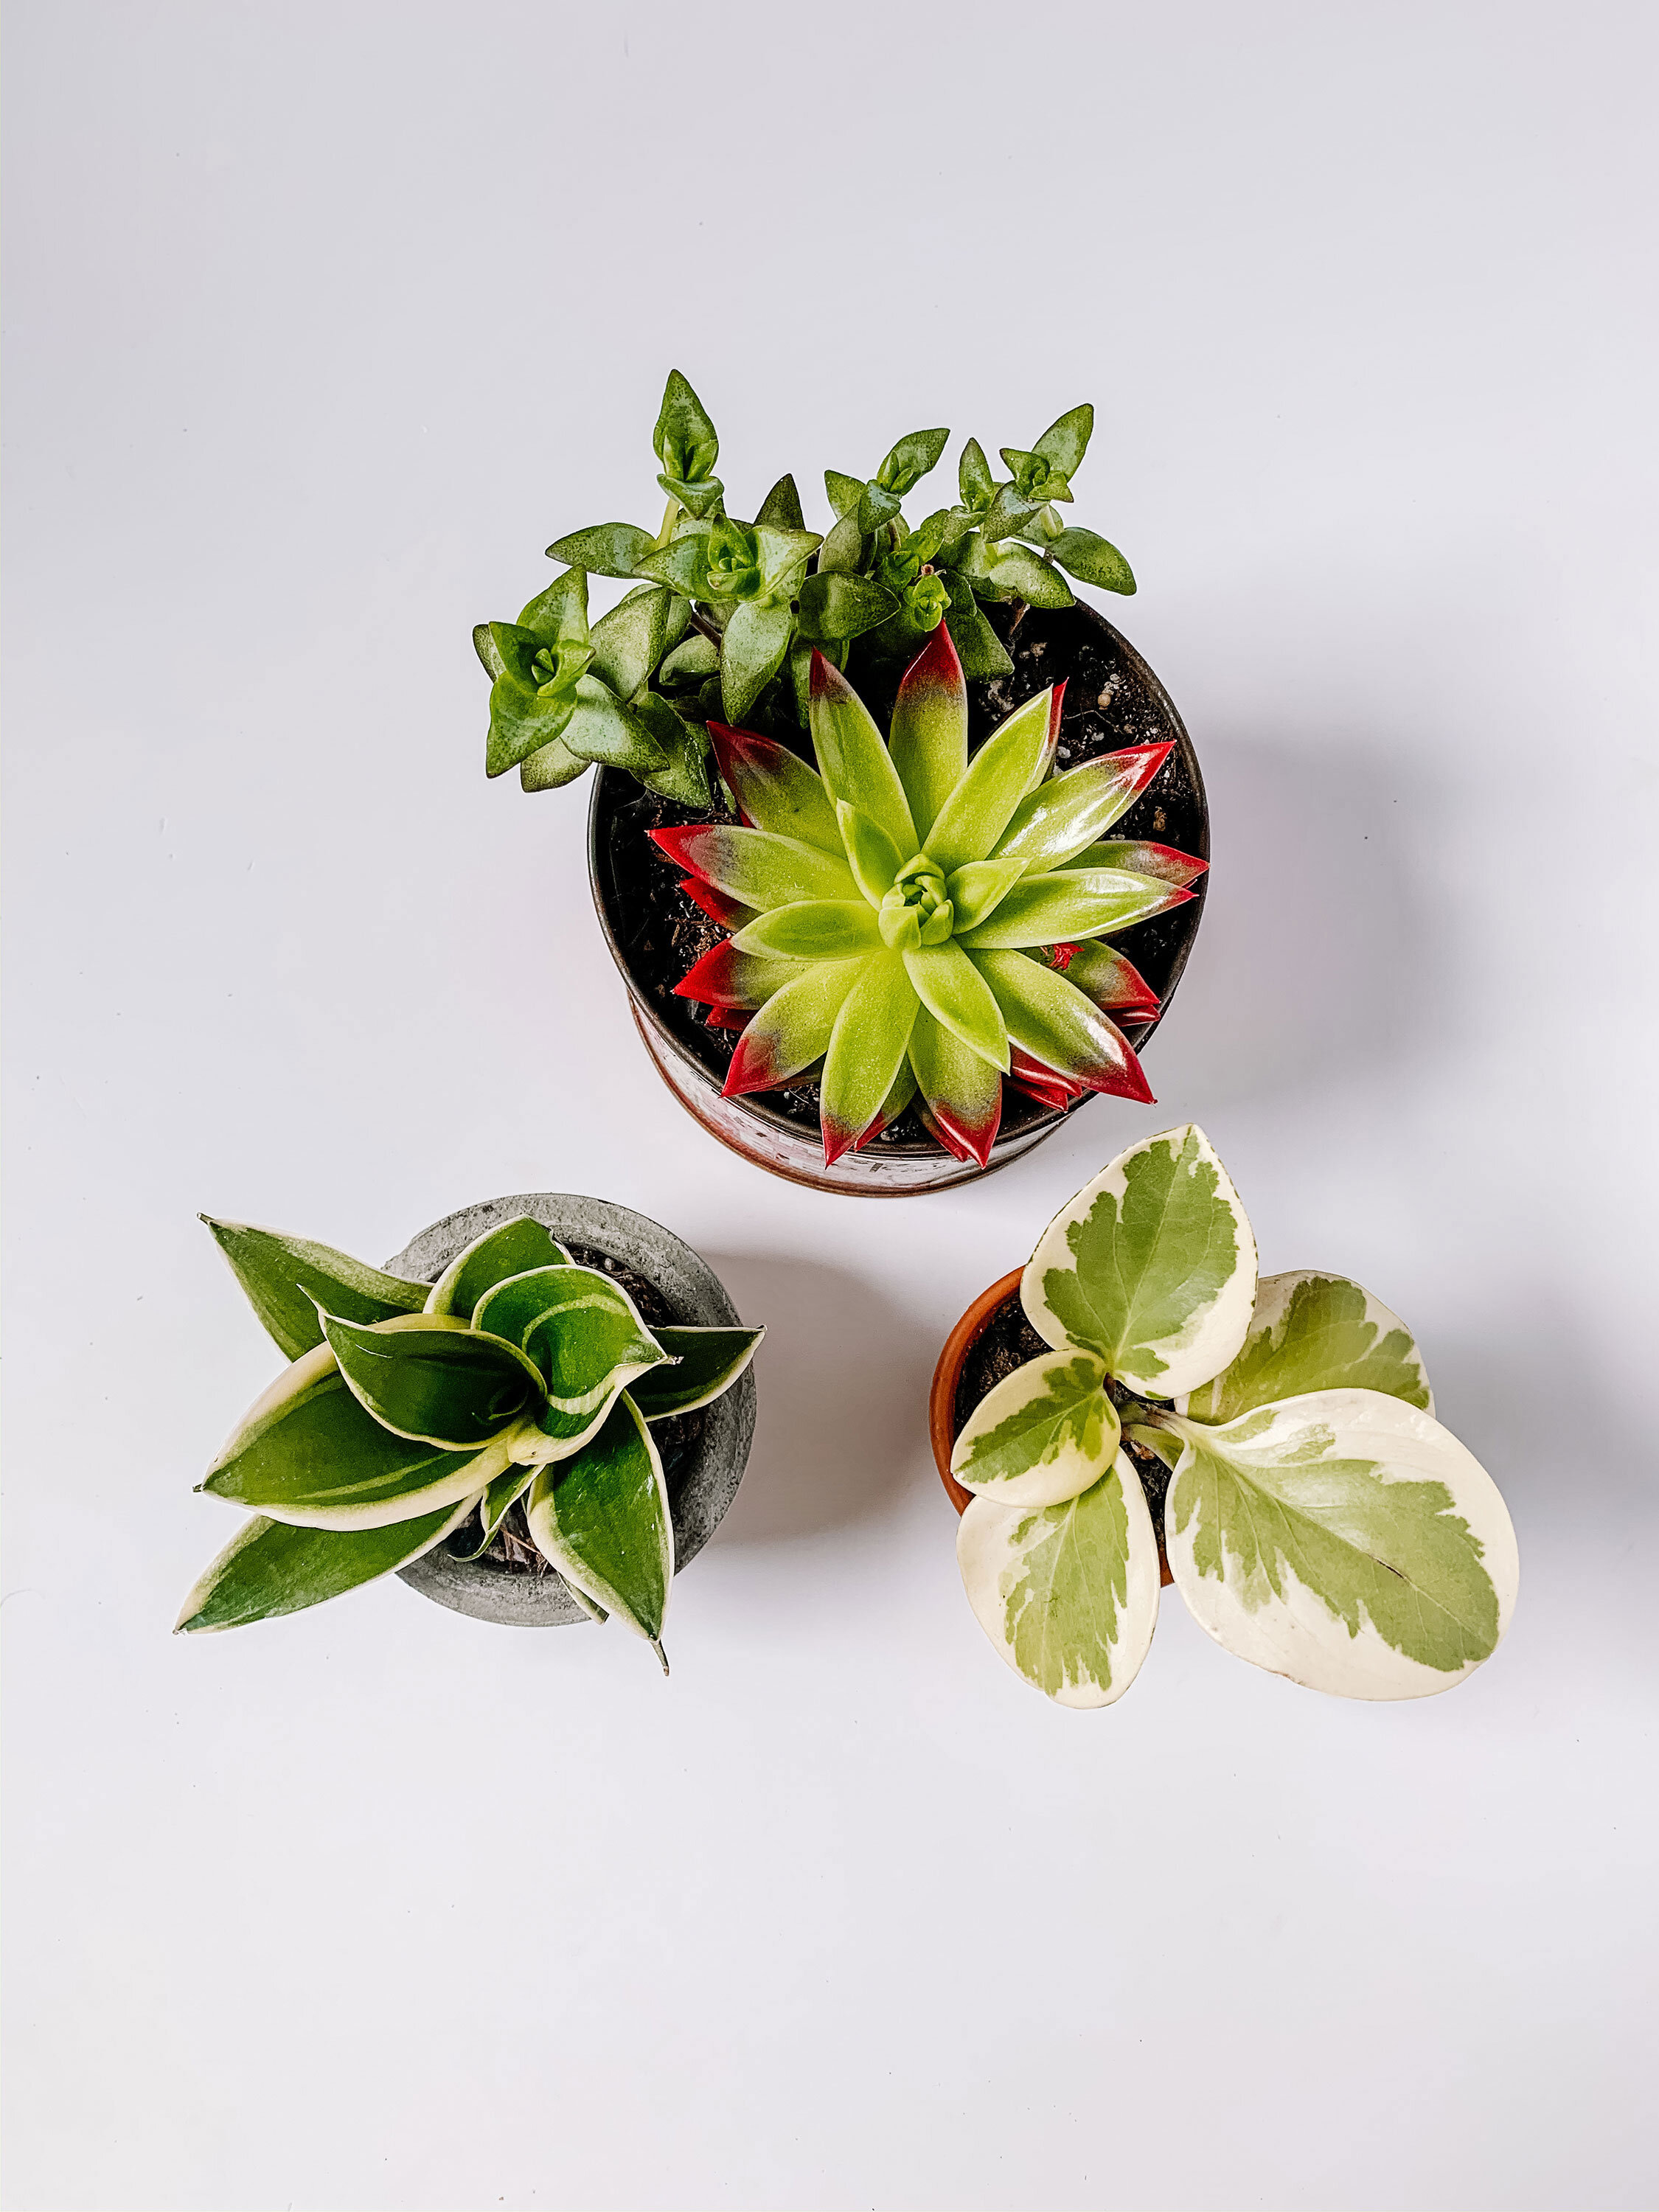
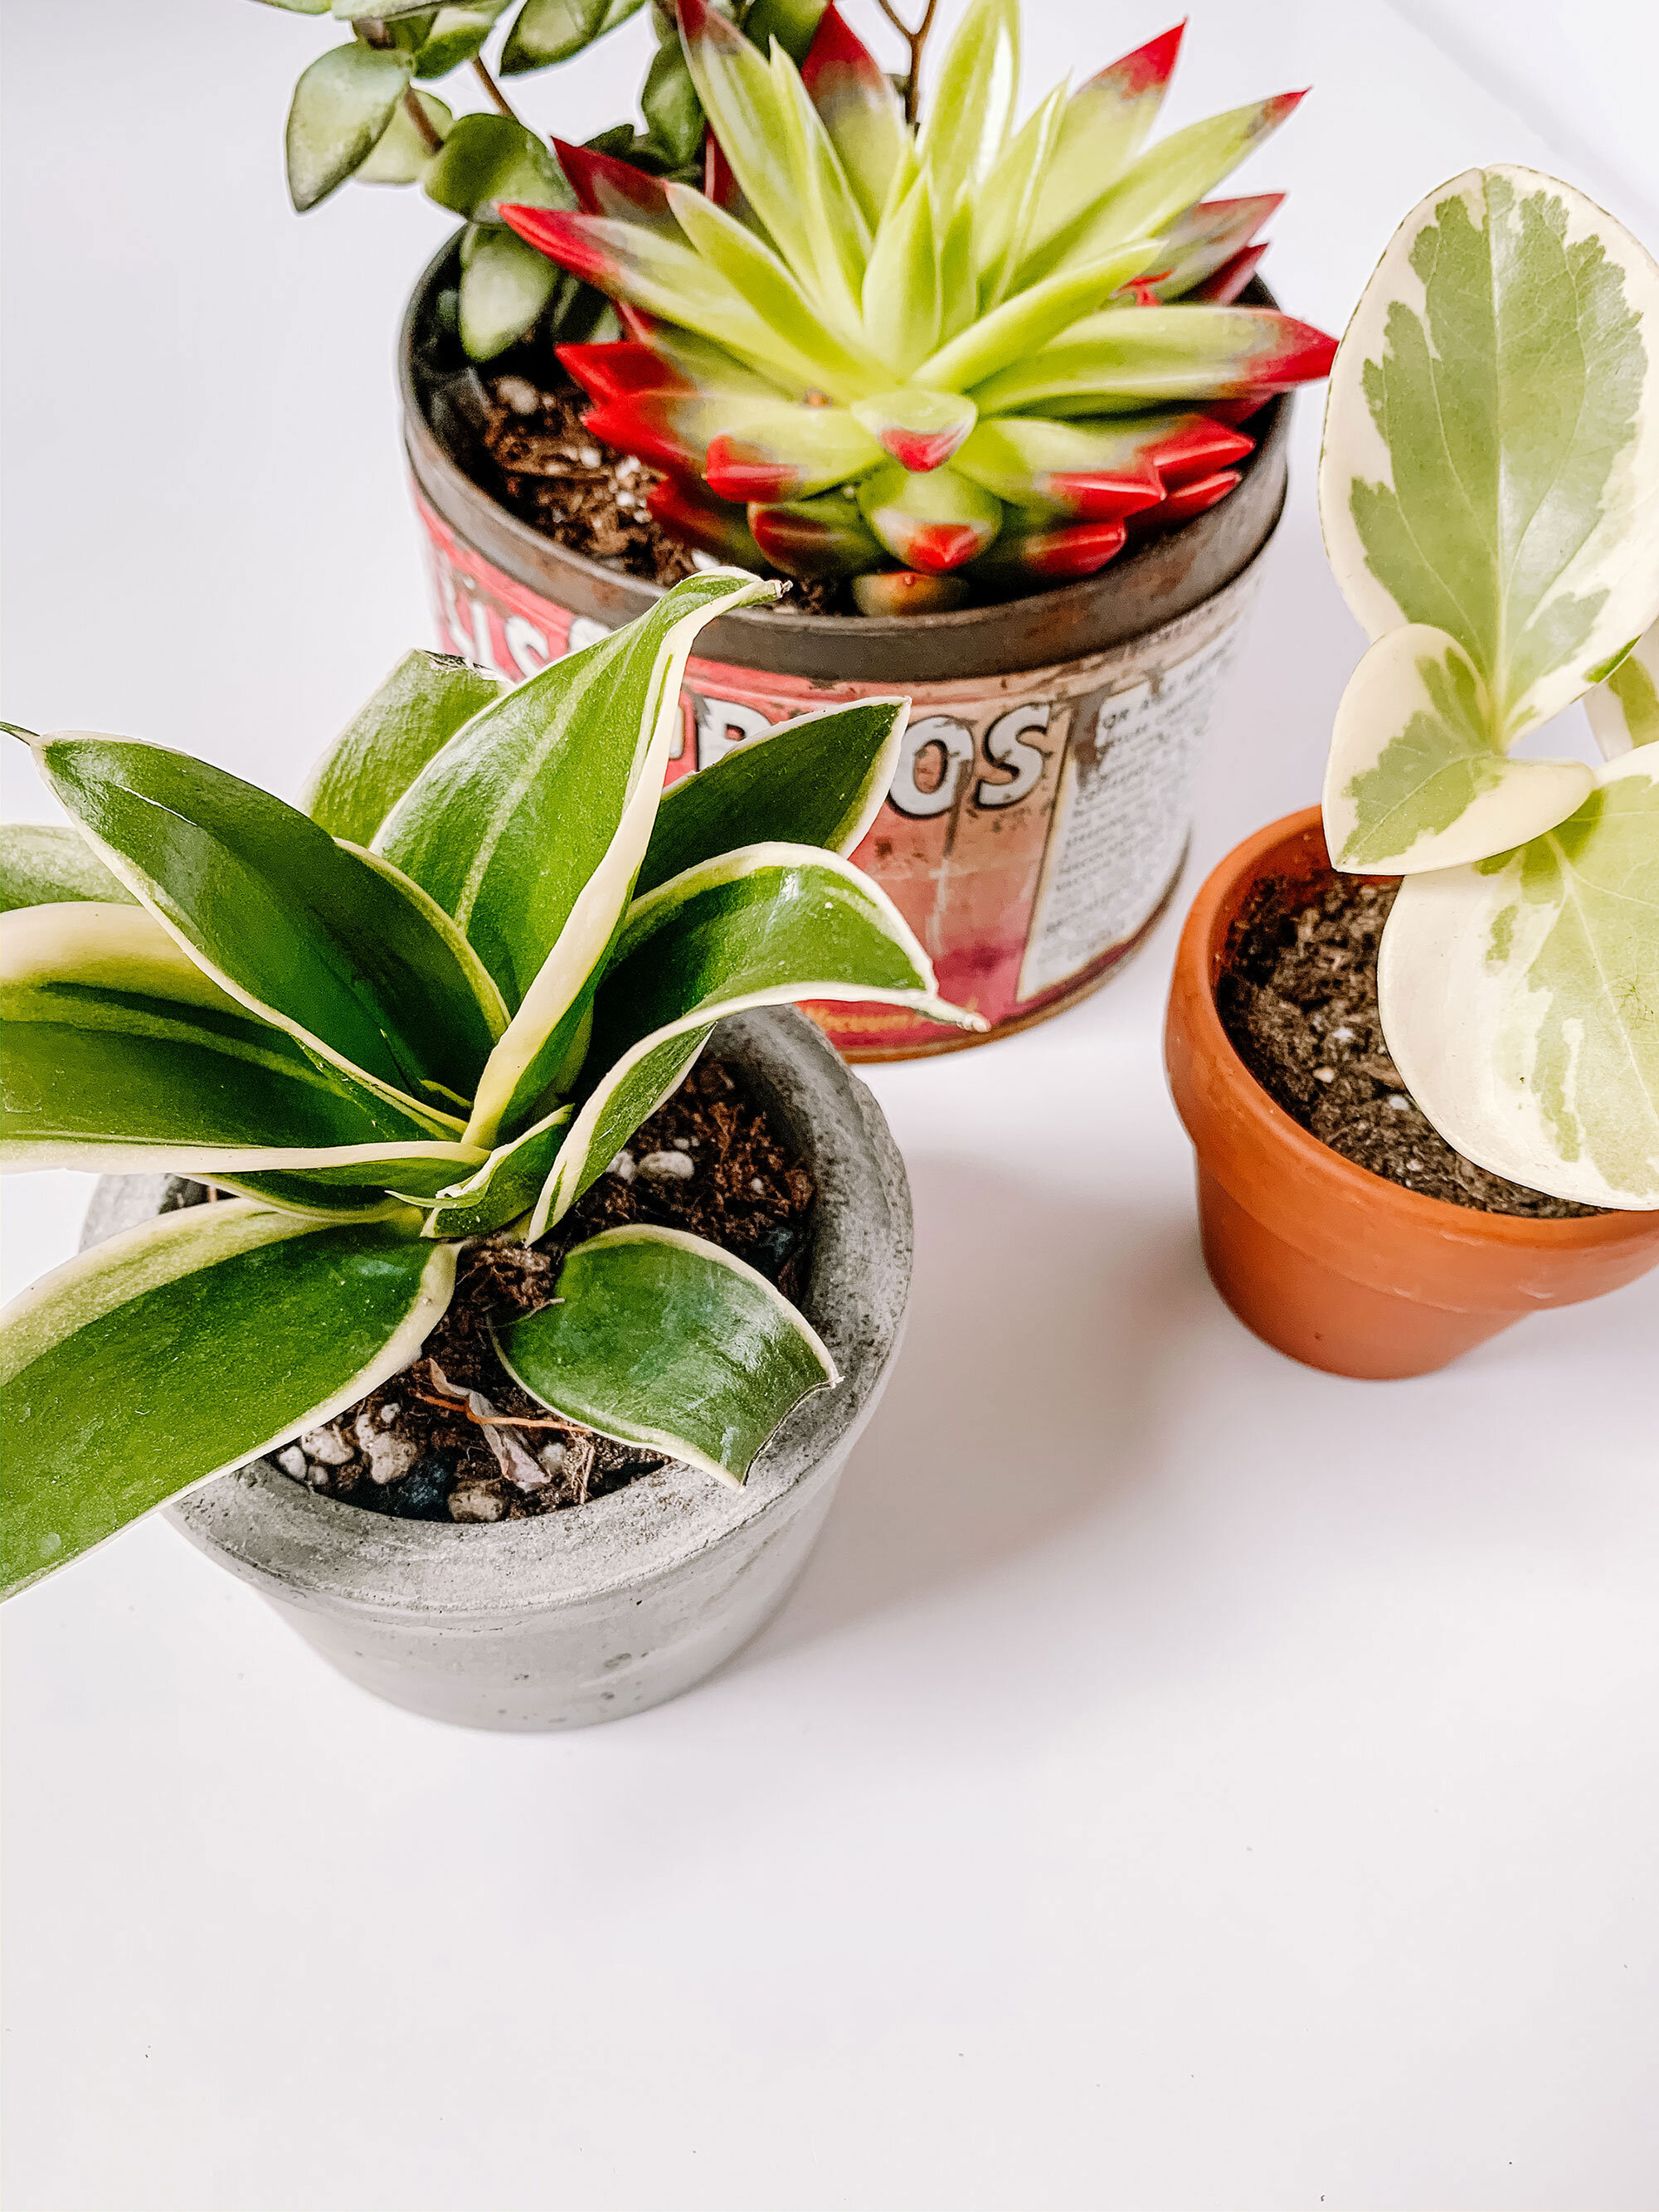
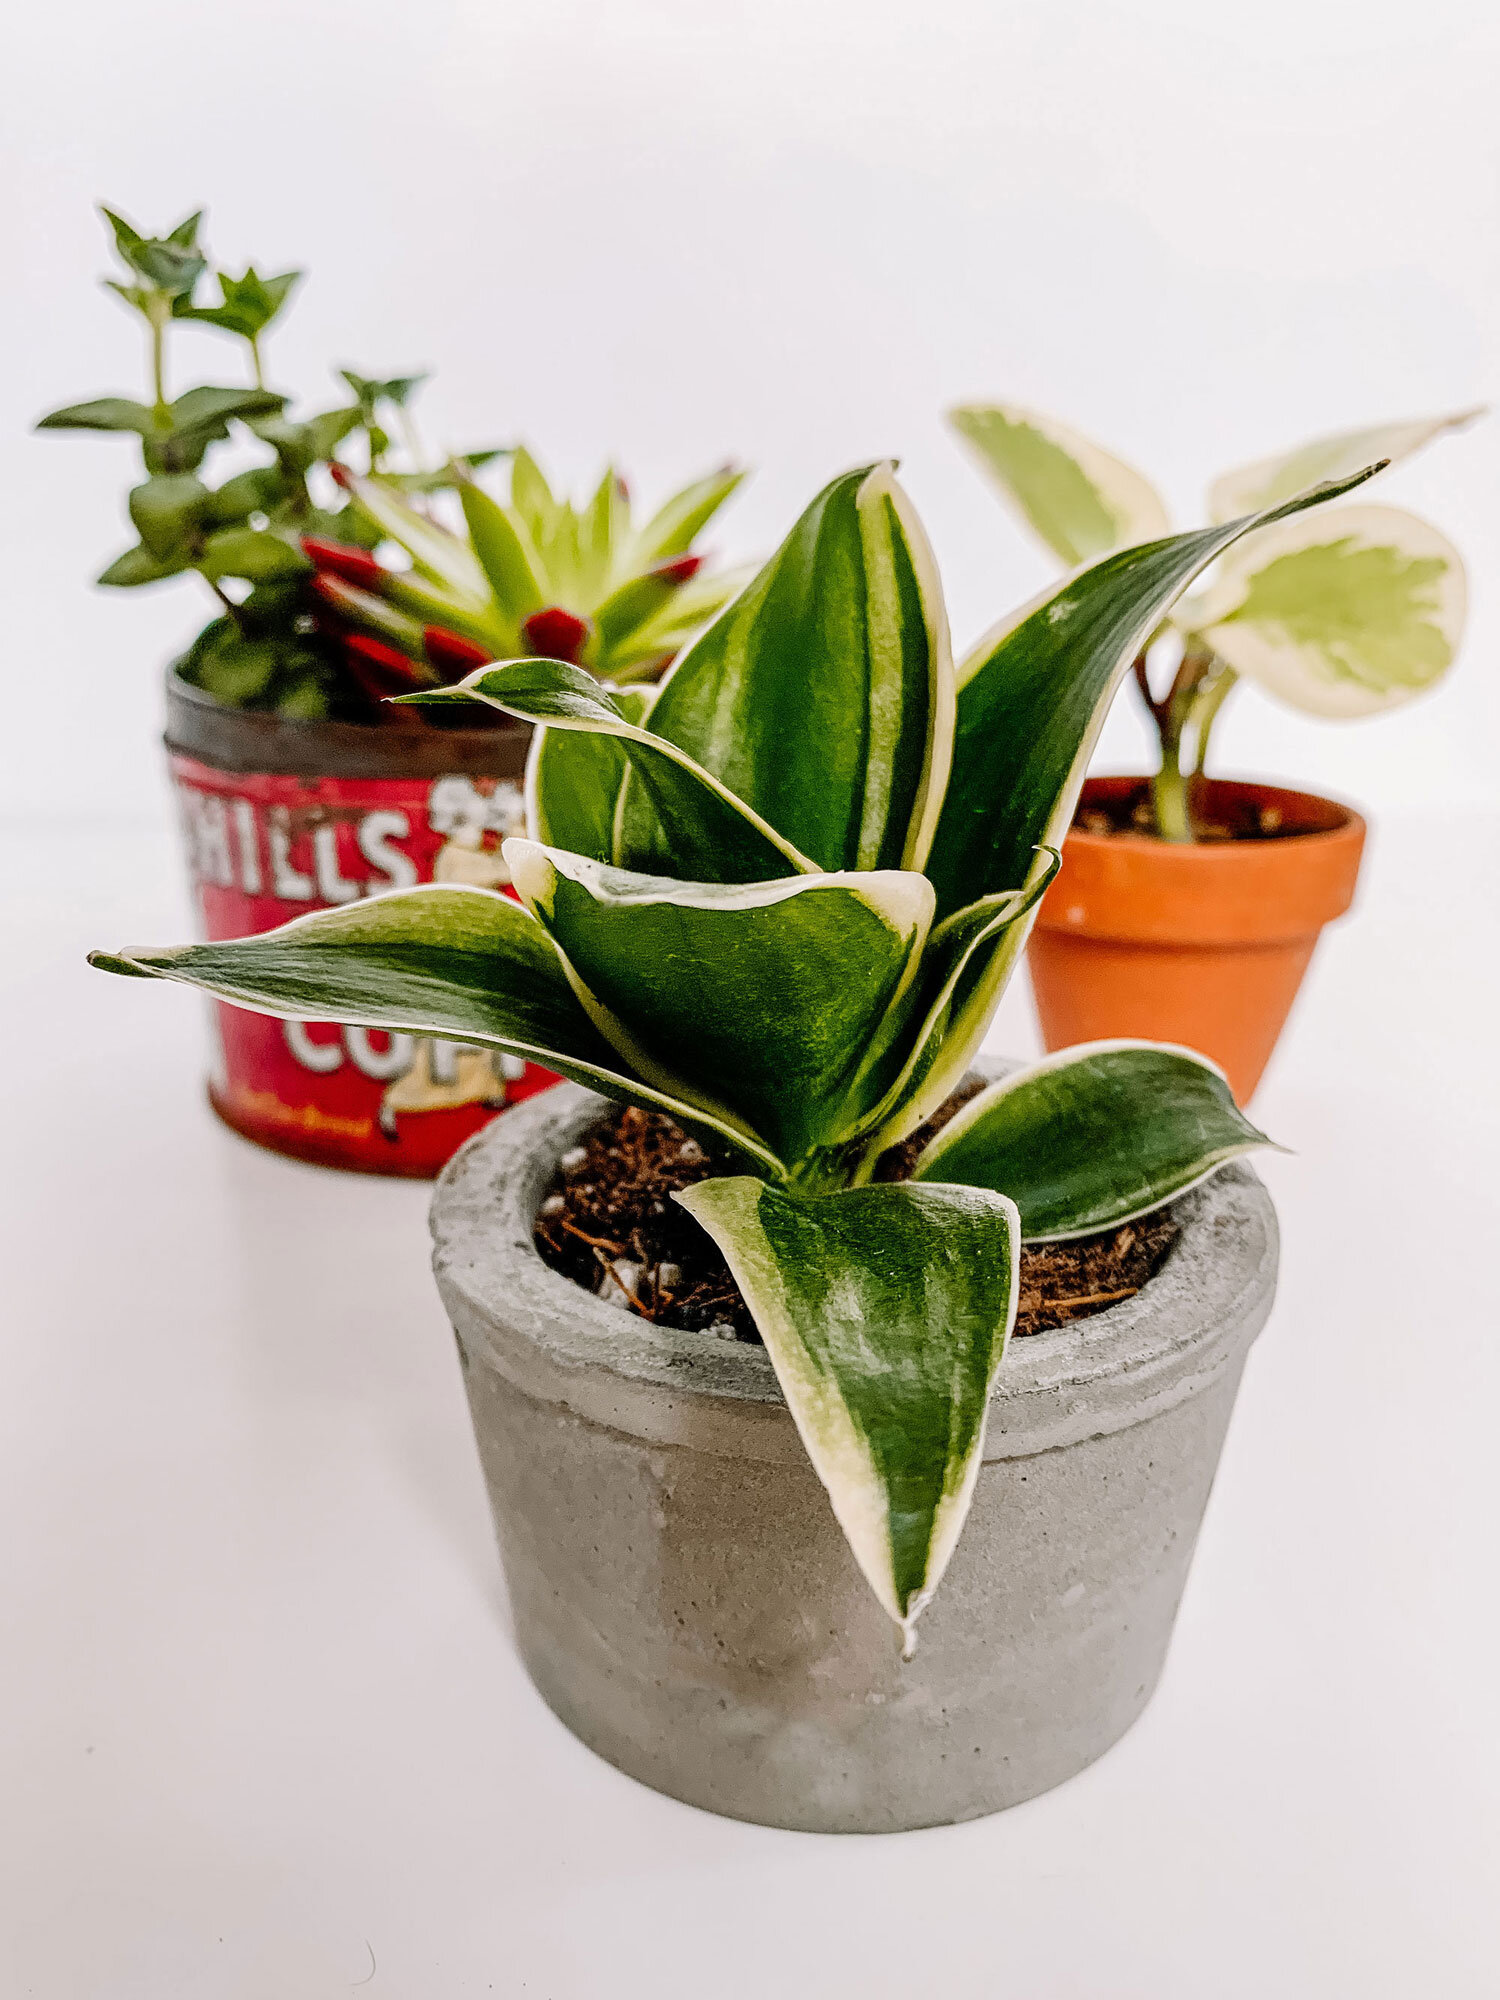
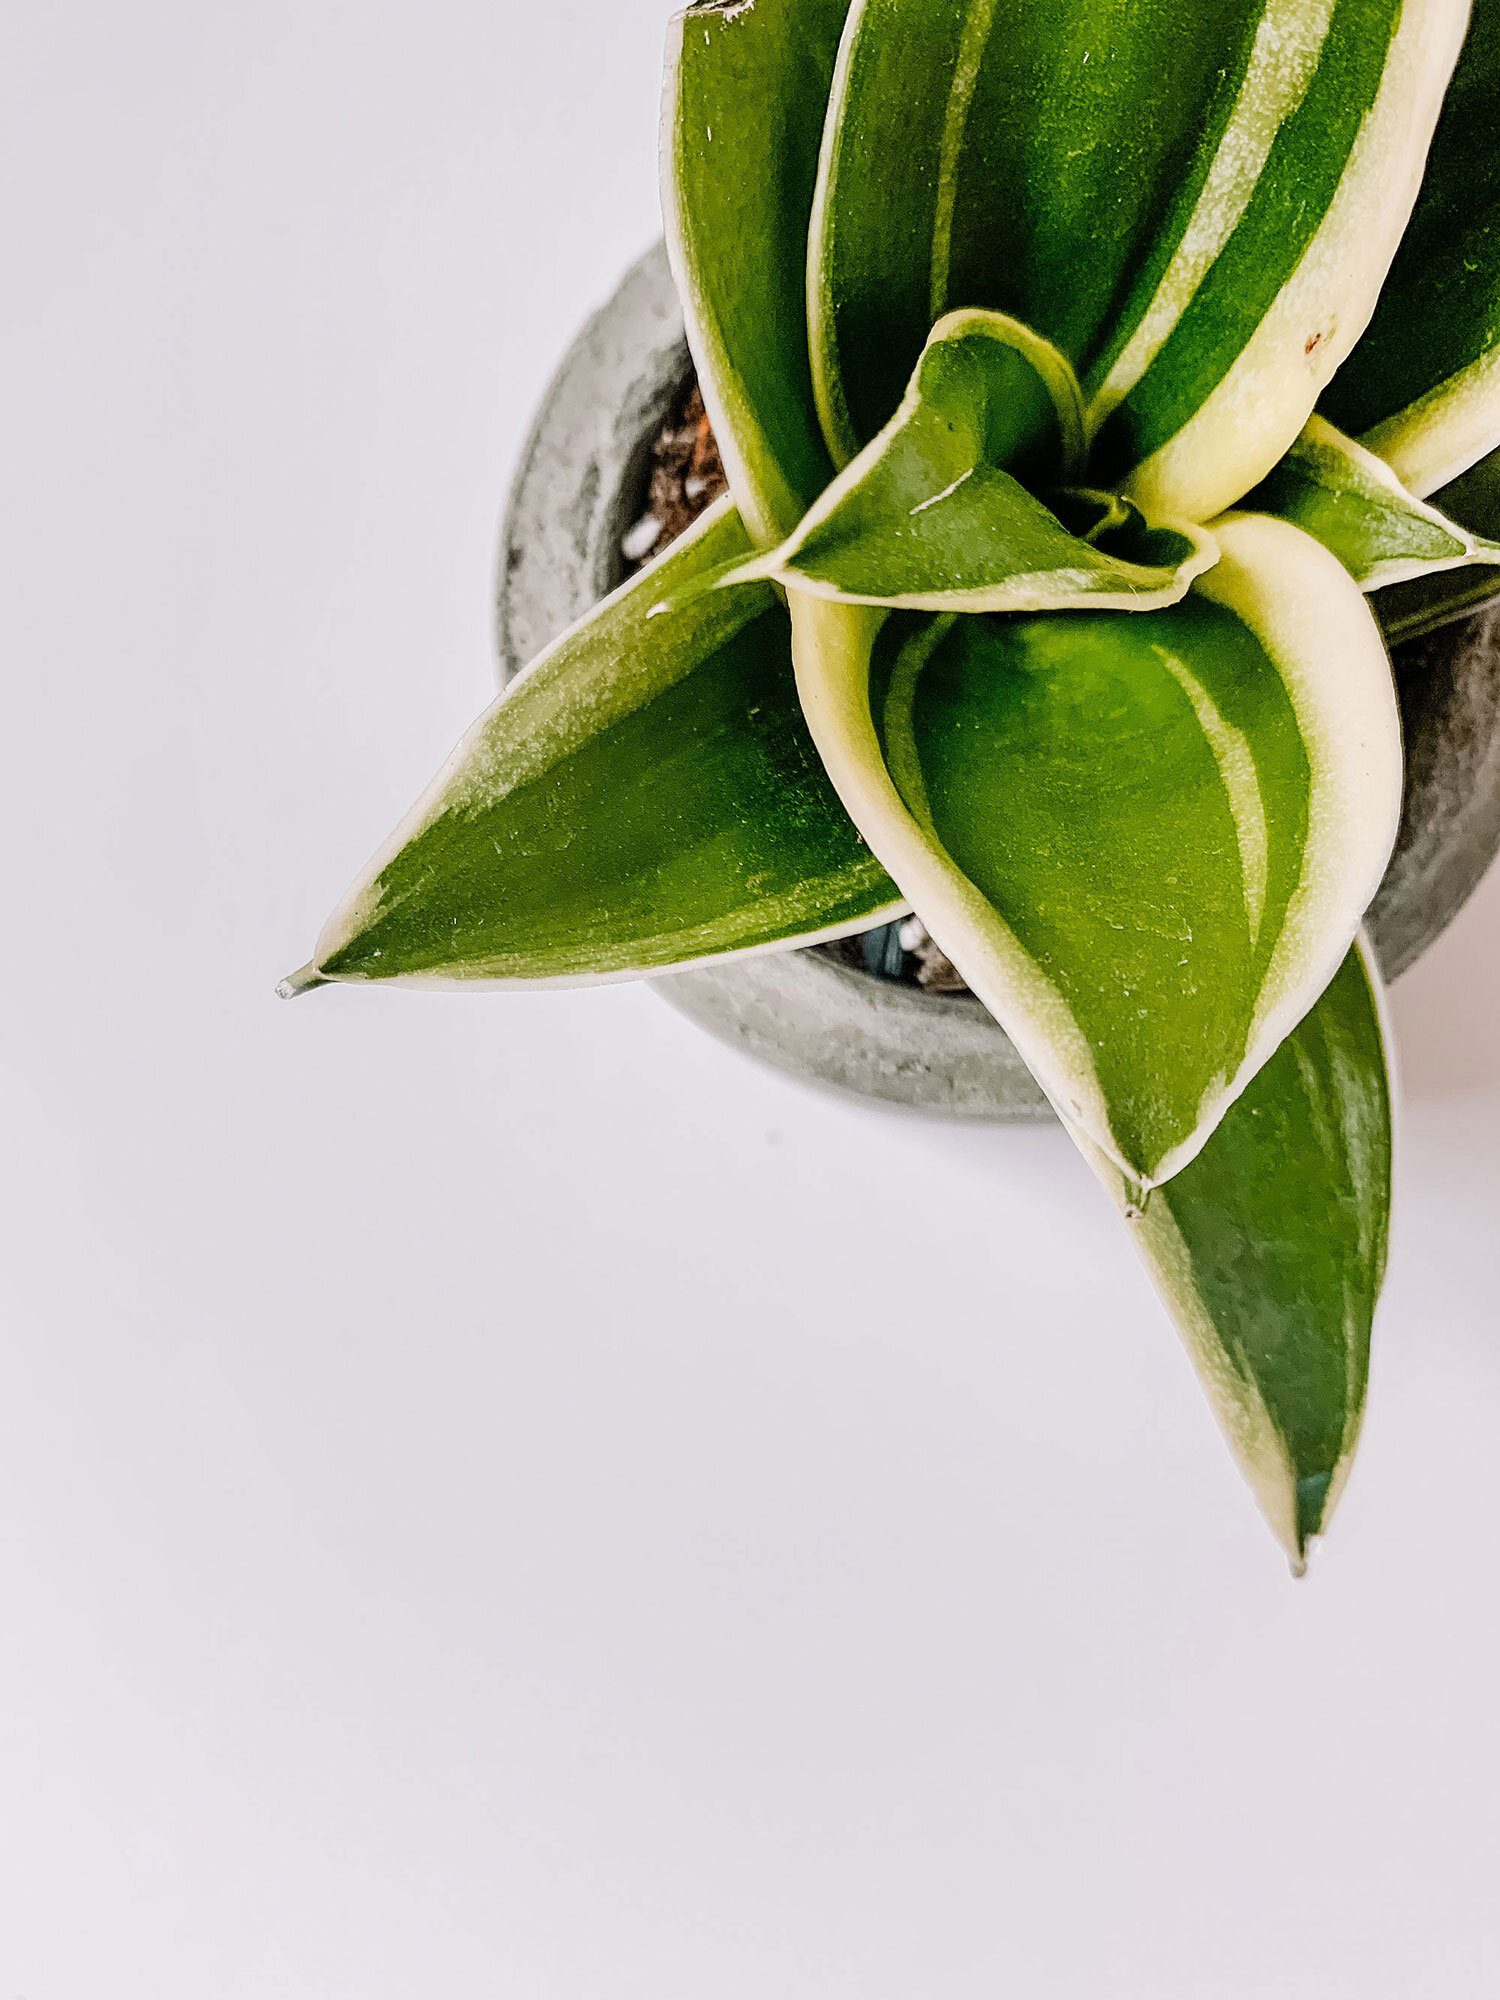
Pot a Plant
Now we get to throw soil and a plant in. If you need a guide to potting, I already wrote one for you!
How easy was that? This DIY cost me zero dollars and took me maybe an hour max (not including drying time of course). For my next concrete planter I am going to explore painting the concrete, including objects into it (maybe wood?), and getting a drainage hole in there.
Why stop at planters though?! I already have concrete photo holders. I think my biggest challenge is getting rid of any of the air bubbles that appear on the outside. If you have any tips or tricks let me know. It may be the type of concrete I am using or the consistency of my mixture. I am going to do some research for next time. Let me know how your planter turns out in the comments!