The Guide to Repotting Your Plants
Springtime has officially arrived! My street is covered in blooming Cherry Blossoms and I am so happy to have a bunch of windows that I can appreciate them from 24/7. Luckily I also get to see signs of spring inside as some of my plants have been shooting up in the past month. I think the biggest overachievers have been my ‘Lickety Split’ Philodendron (pictured), Pencil Cactus, and my Pickle Plant. I just got my Pickle Plant a couple months ago in a tiny pot and it’s already grown 5 inches. I am so proud!
I keep my Lickety Split in a DIY macrame and pom basket. One of my favorite ways to get around constantly needing new planters is to use plastic nursery pots that you can set within larger pots, stands, or baskets. The pro of this is that you can place a much smaller pot within these containers and therefore it will take years before you fully outgrow it. So while it hasn’t outgrown its basket yet, it has outgrown its plastic nursery planter. Time to repot!
When do I Repot?
Growing season is Spring through Summer but varies depending on the type of plant and your region. The beginning of growing season is the best time to repot your plants as it encourages new growth.
Most plants need to be repotted every 12 to 18 months. Repotting doesn’t always mean to increase the pot size, it can just mean a refresh of the soil as soil can lose nutrients over time. Slower growing plants, like cacti, or plants that love a tight fit (like a Fiddle Leaf Fig) can remain in their pot size for years.
Do I Need to Increase My Pot Size?
There are a few key signs of whether you need to increase your plant’s pot size.
You can see roots poking through the drainage hole(s).
The plant is being lifted out of the planter by its roots.
When you water it, the water flows right through it.
You need to water more frequently.
The plant is very top heavy and at risk of tipping over.
You see mineral build up on the plant or pot.
The base of the plant is taking up the majority of the pot.
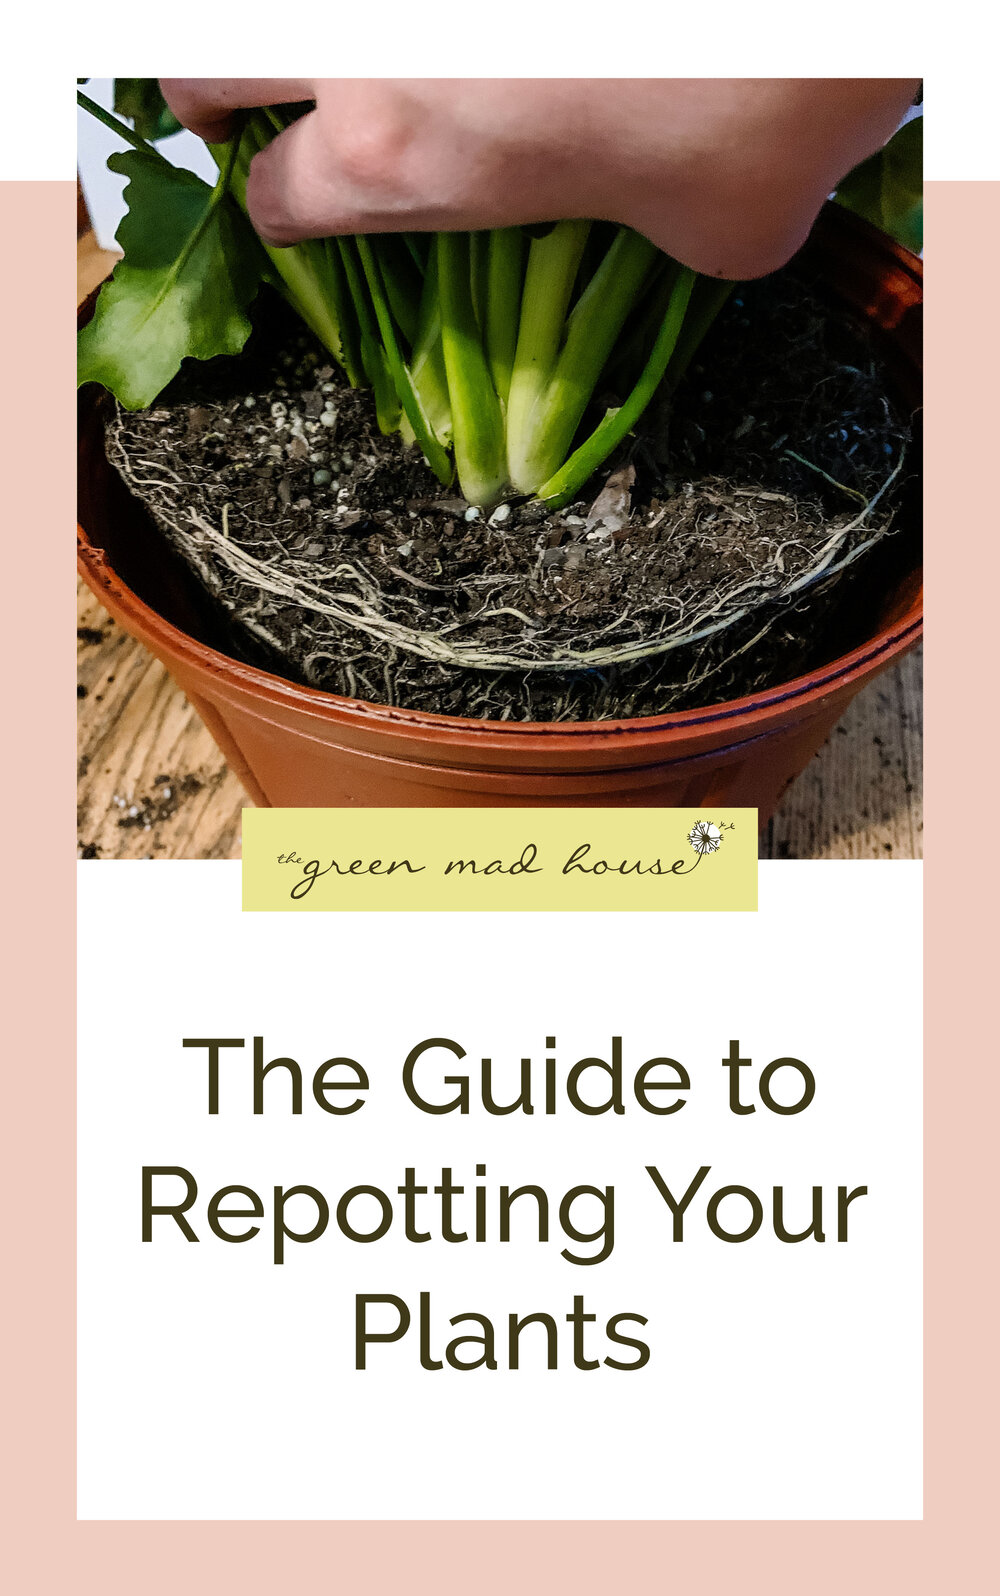
If you are still unsure, then you just need to remove the plant from the pot and if you see a mass of roots, surrounding the ball of soil. This is called root-bound or pot-bound and it means it is time.
How do I Repot?
So we know when to repot and if we need to increase our pot size, now we need to actually repot. I will be repotting my ‘Lickety Split’ Philodendron.
Remove Plant
Turn your plant to the side, grab at the base of the stem and slide it out. If it is not willing to leave its home, gently squeeze around the sides of the container and tap the bottom. With some gentle tugs it should then slide out.
Loosen Roots
Using your hands loosen the roots around the entire ball. If need be, prune away dead areas. If your plant is very root bound, you may have to use more force to separate the roots which can result in some tearing. Just try not to damage the stems.
Select Planter
When selecting your planter it is best to increase the size by only 1 to 2 inches.
Layer
Place a layer of soil at the bottom of your container. If your drainage holes are too large that soil will fall out, you can place large rocks or a mesh to prevent this. If you do not have drainage hole(s), use a layer of charcoal and rocks to line the base. Now place plant centered on top.
Add Soil
Add soil around your plant, doing a little bit on each side as you go to insure the plant stays centered. Do not pack the soil too much as your roots need oxygen. Make sure you have a some room above the soil to the rim of the planter so that when you water, it doesn’t overflow.
Finished!
I hope your plant is happy in its new home. Water it immediately, set it in proper lighting conditions, and watch it grow.
New Homes for Your Plants
All these planters come in a variety of colors and sizes and with a drainage hole. I like to stick to ceramic and terracotta in simple colors to let the plant be the star.


