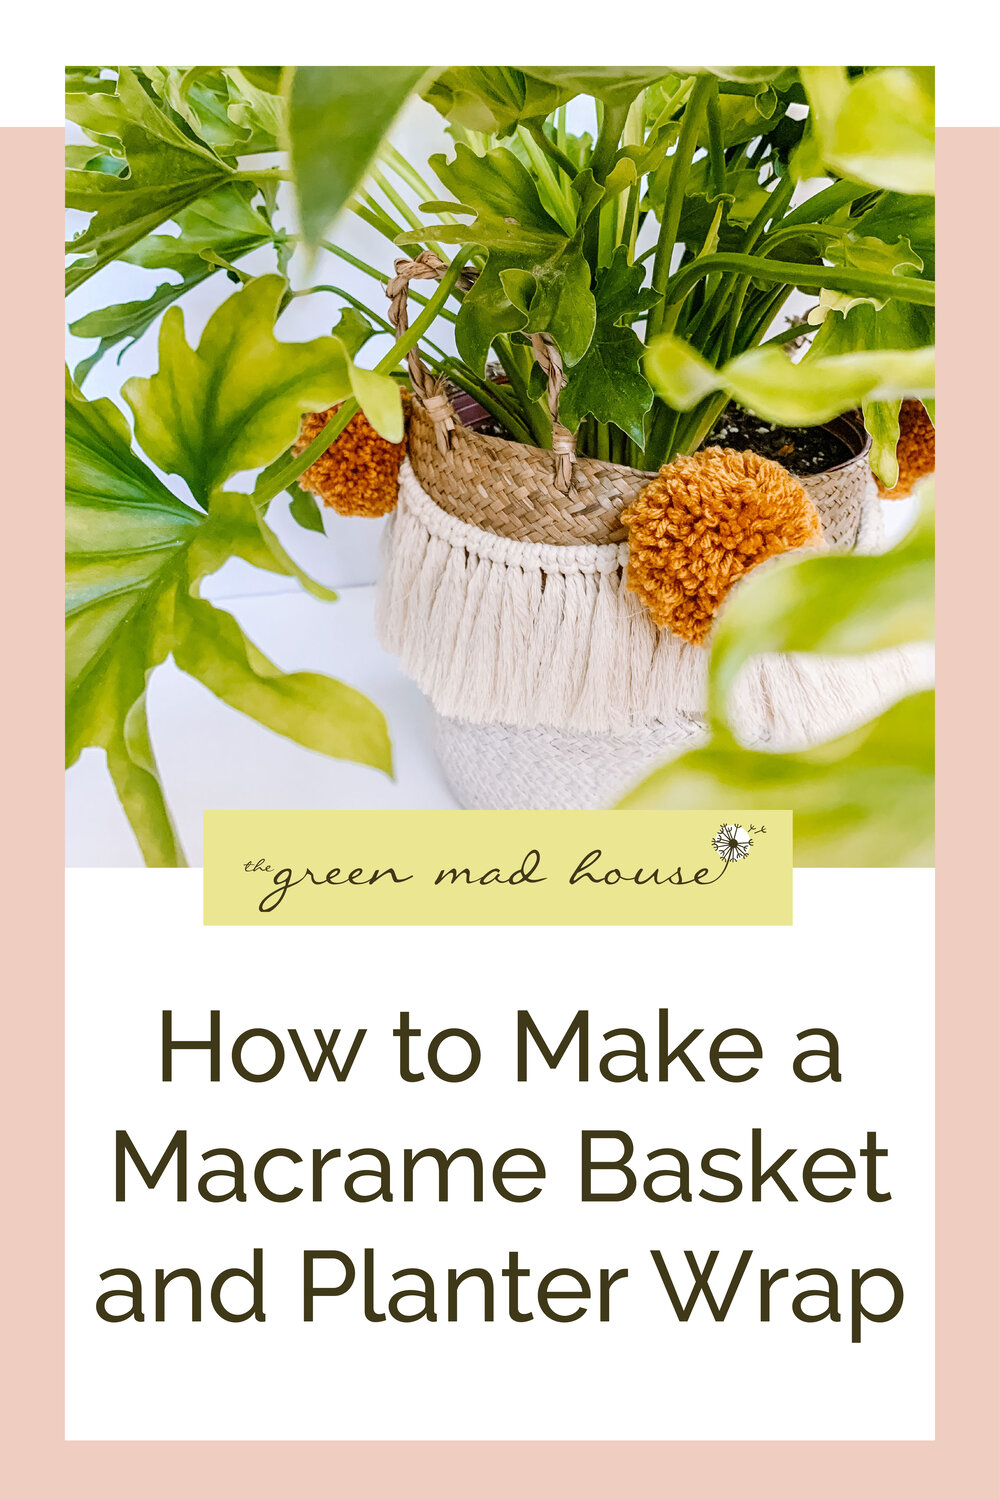
How to Make a Macrame Basket and Planter Wrap
As an Amazon Associate I earn from qualifying purchases.

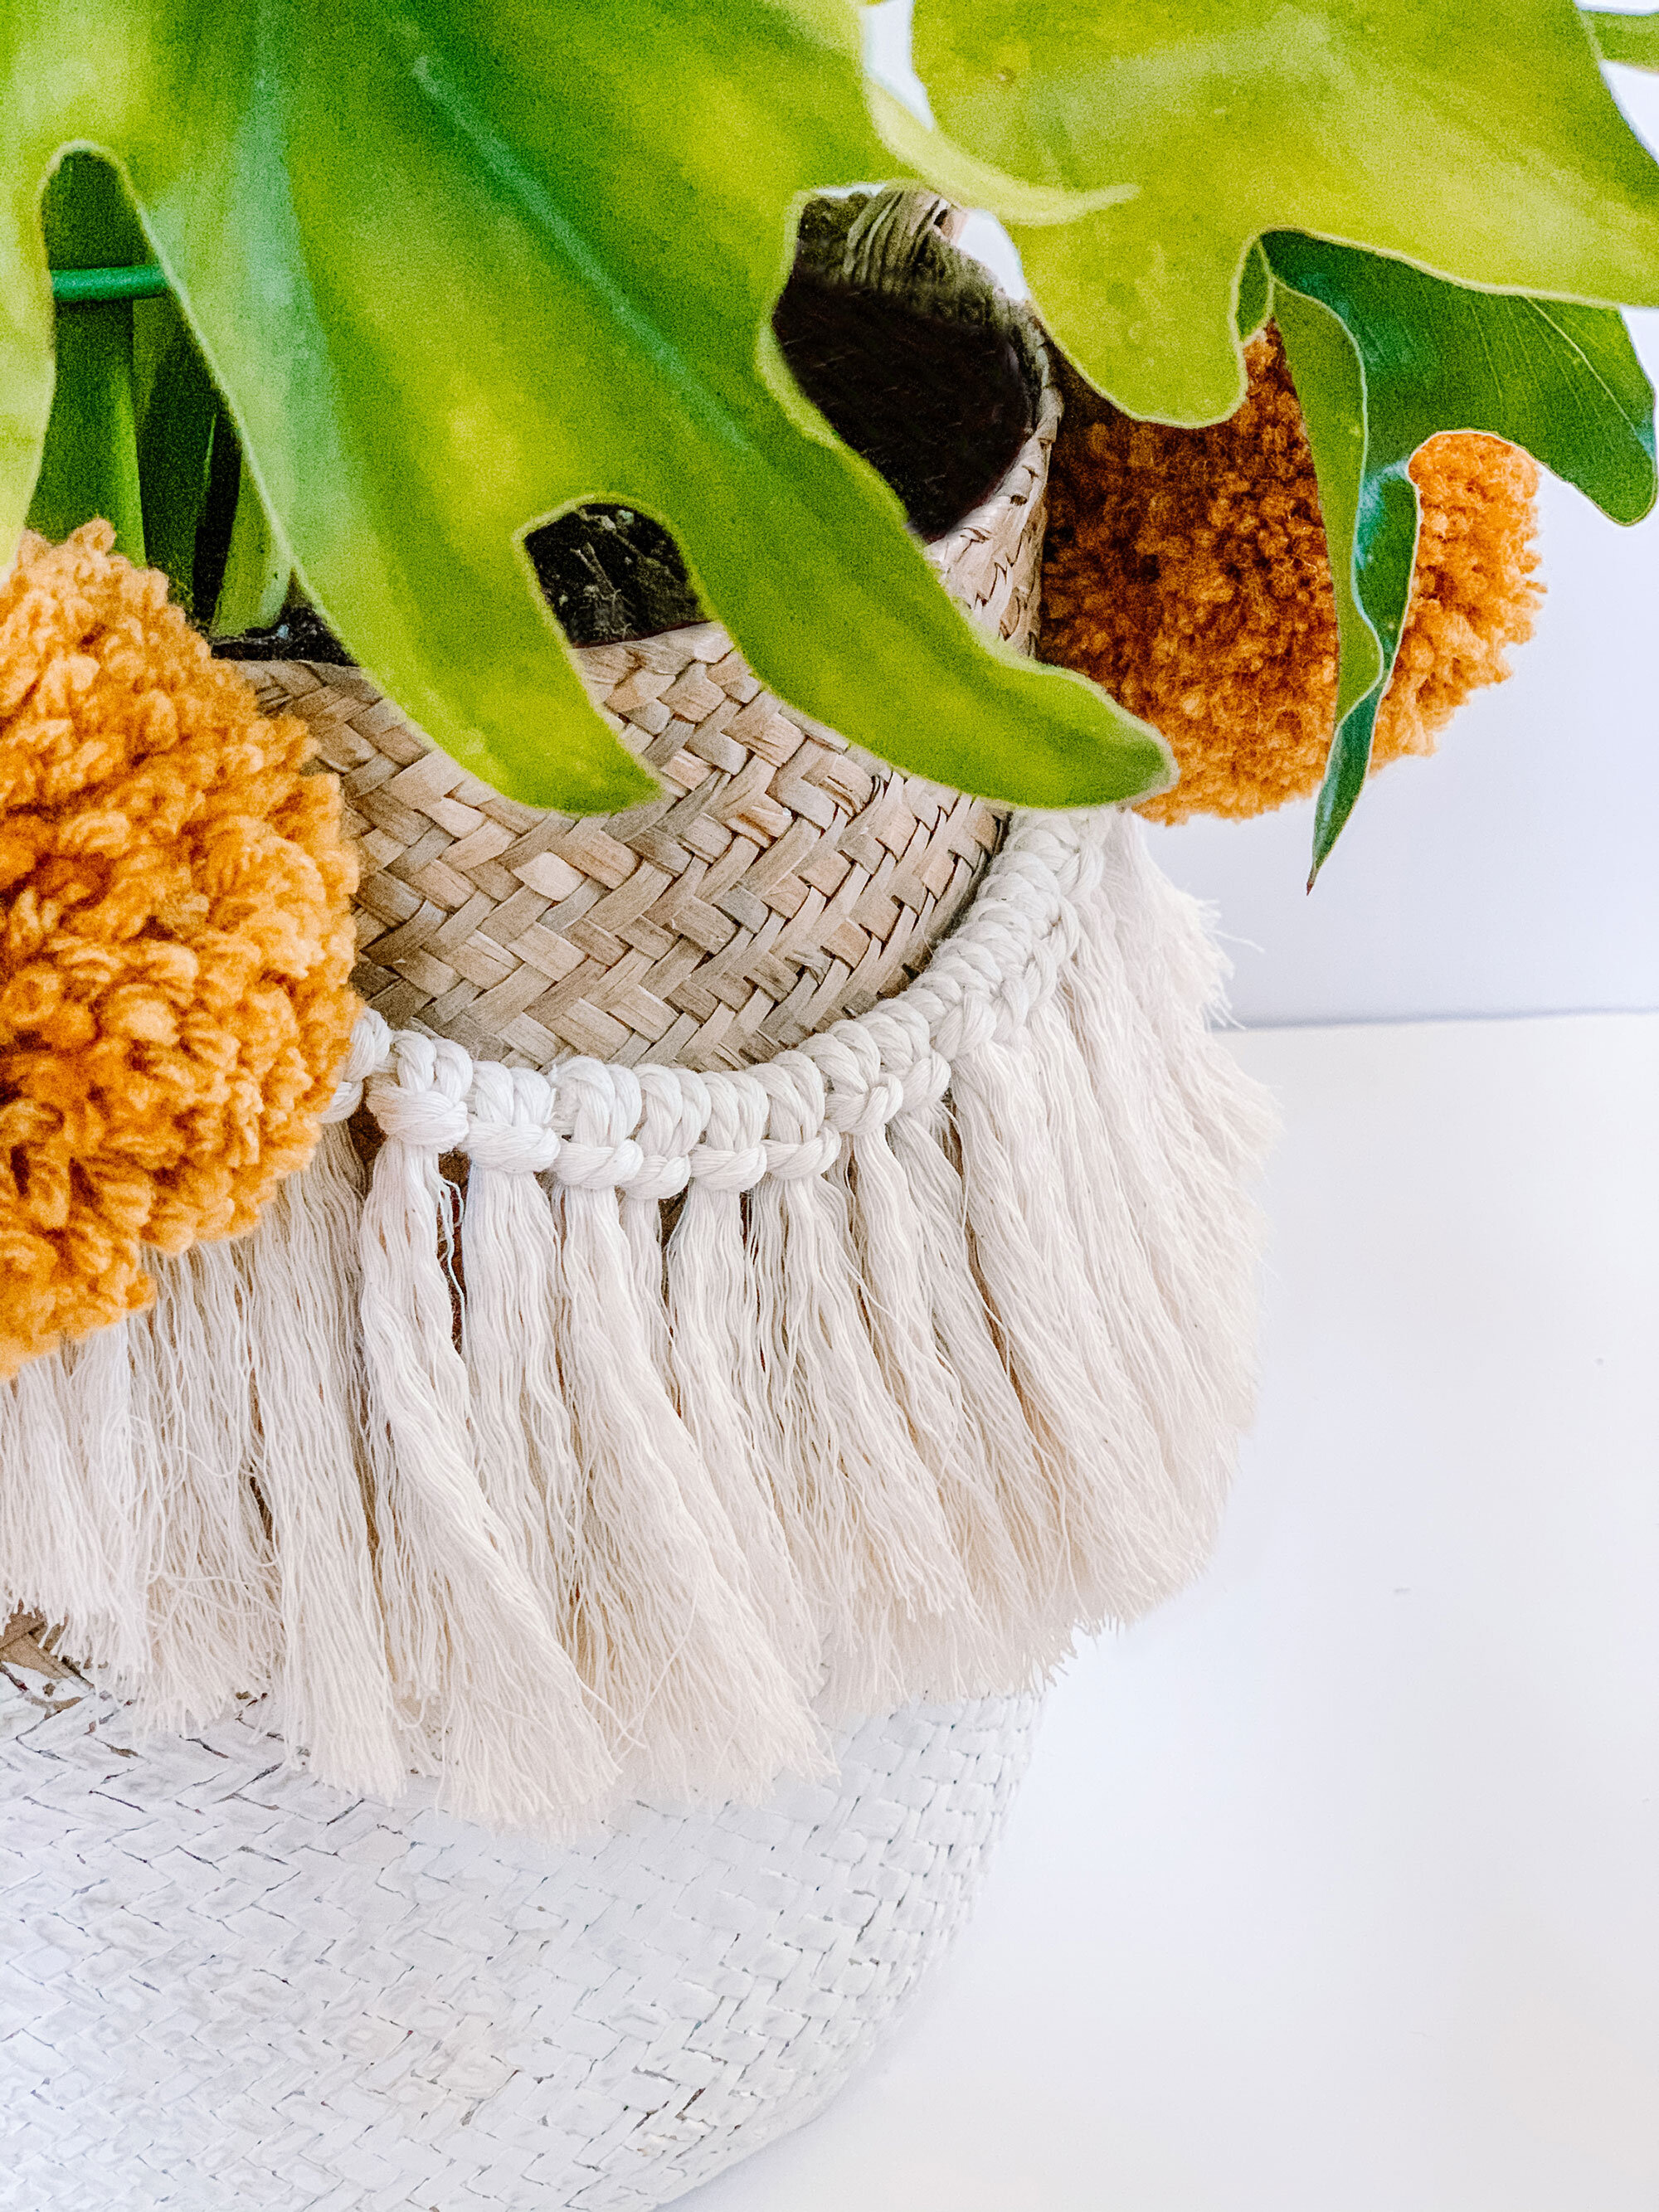
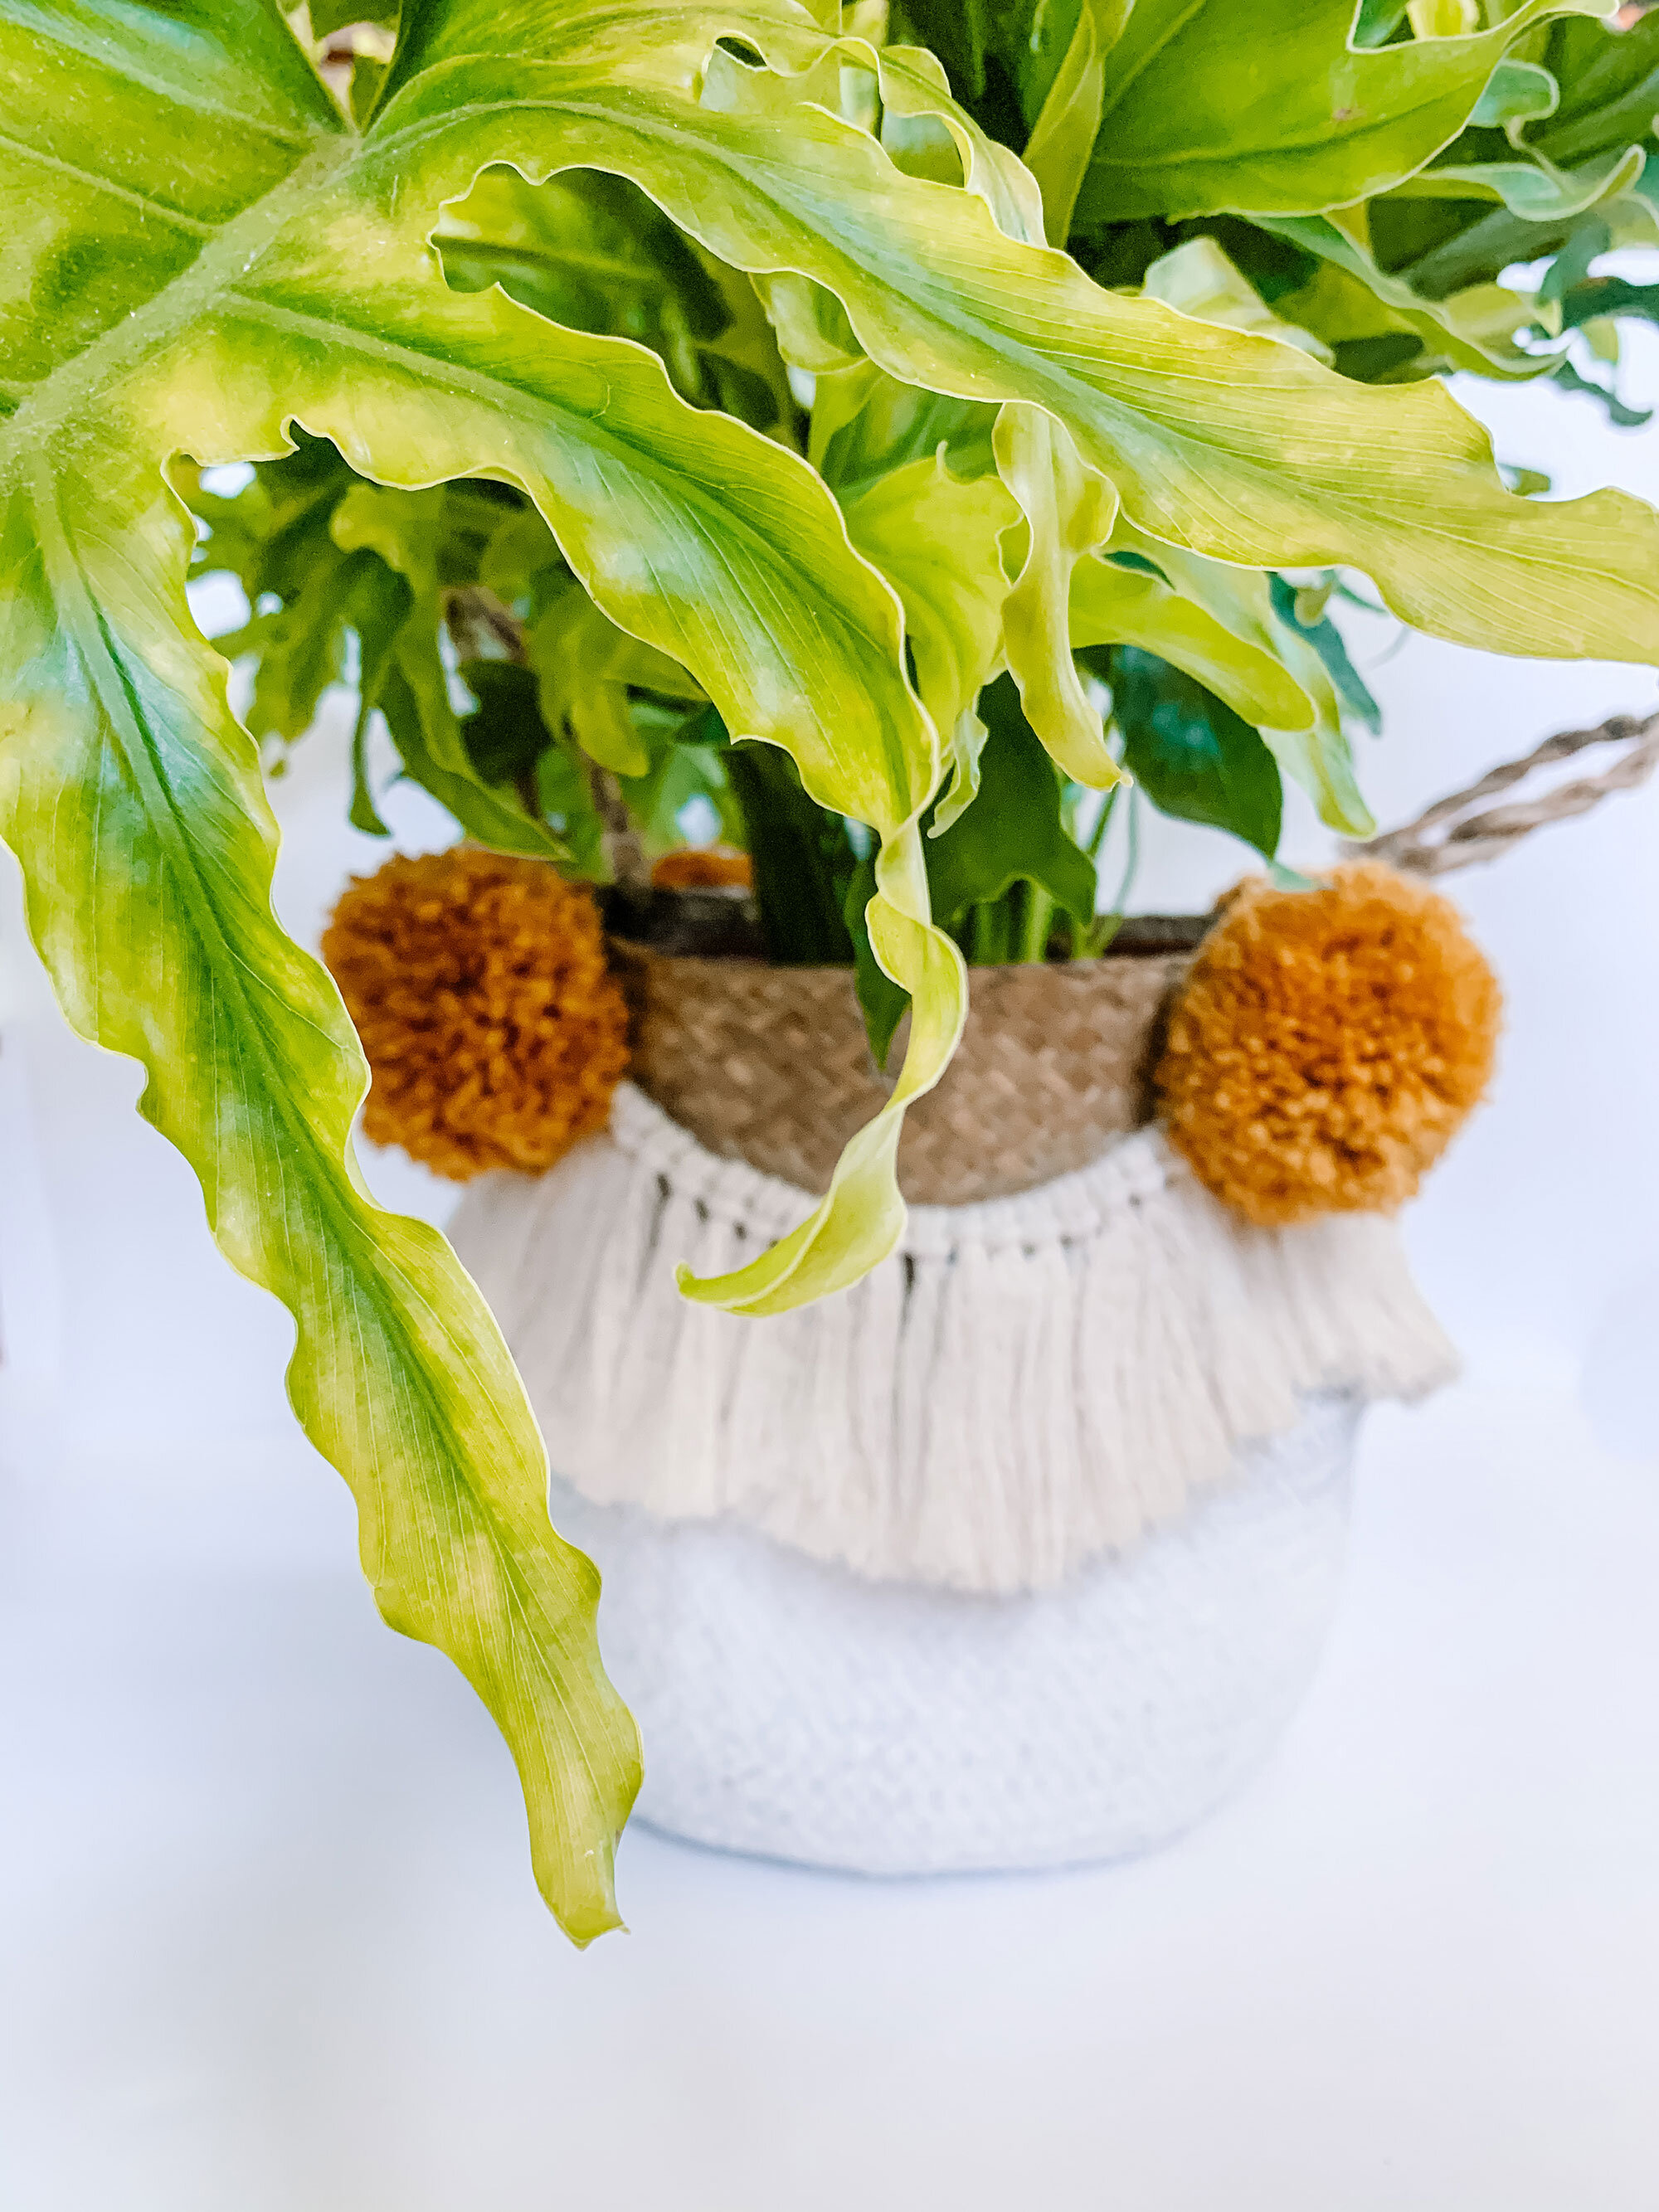
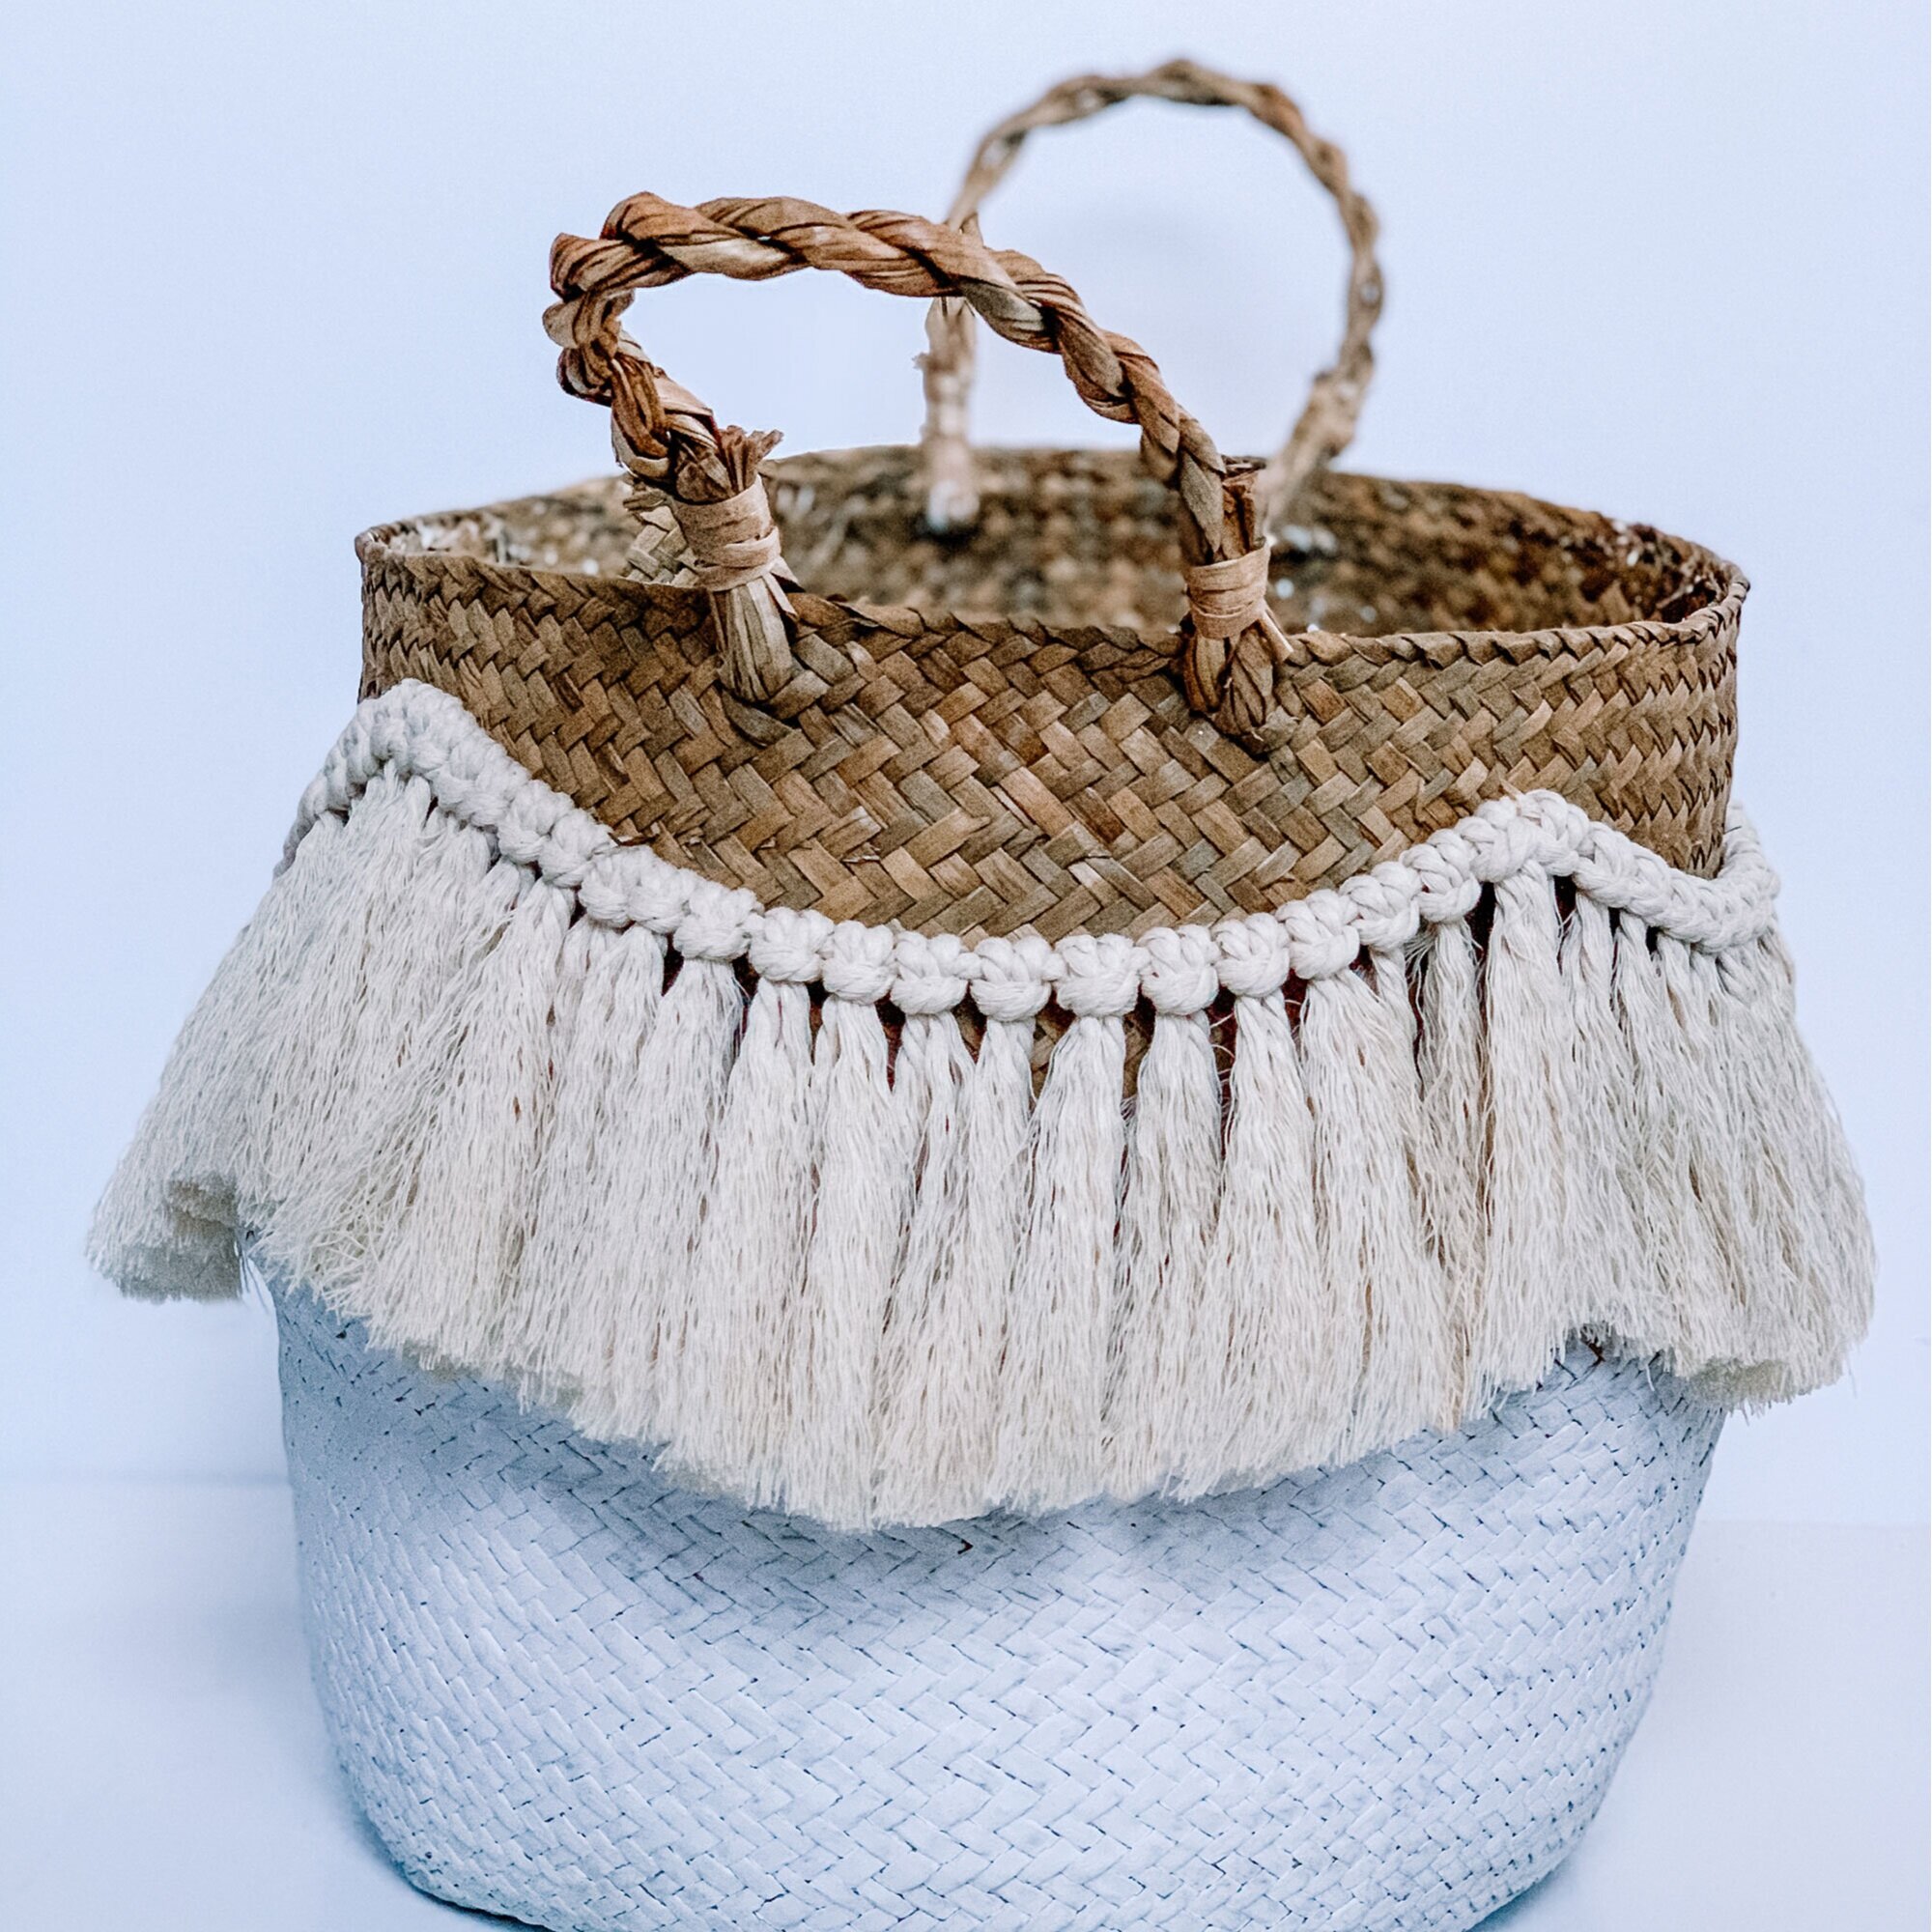
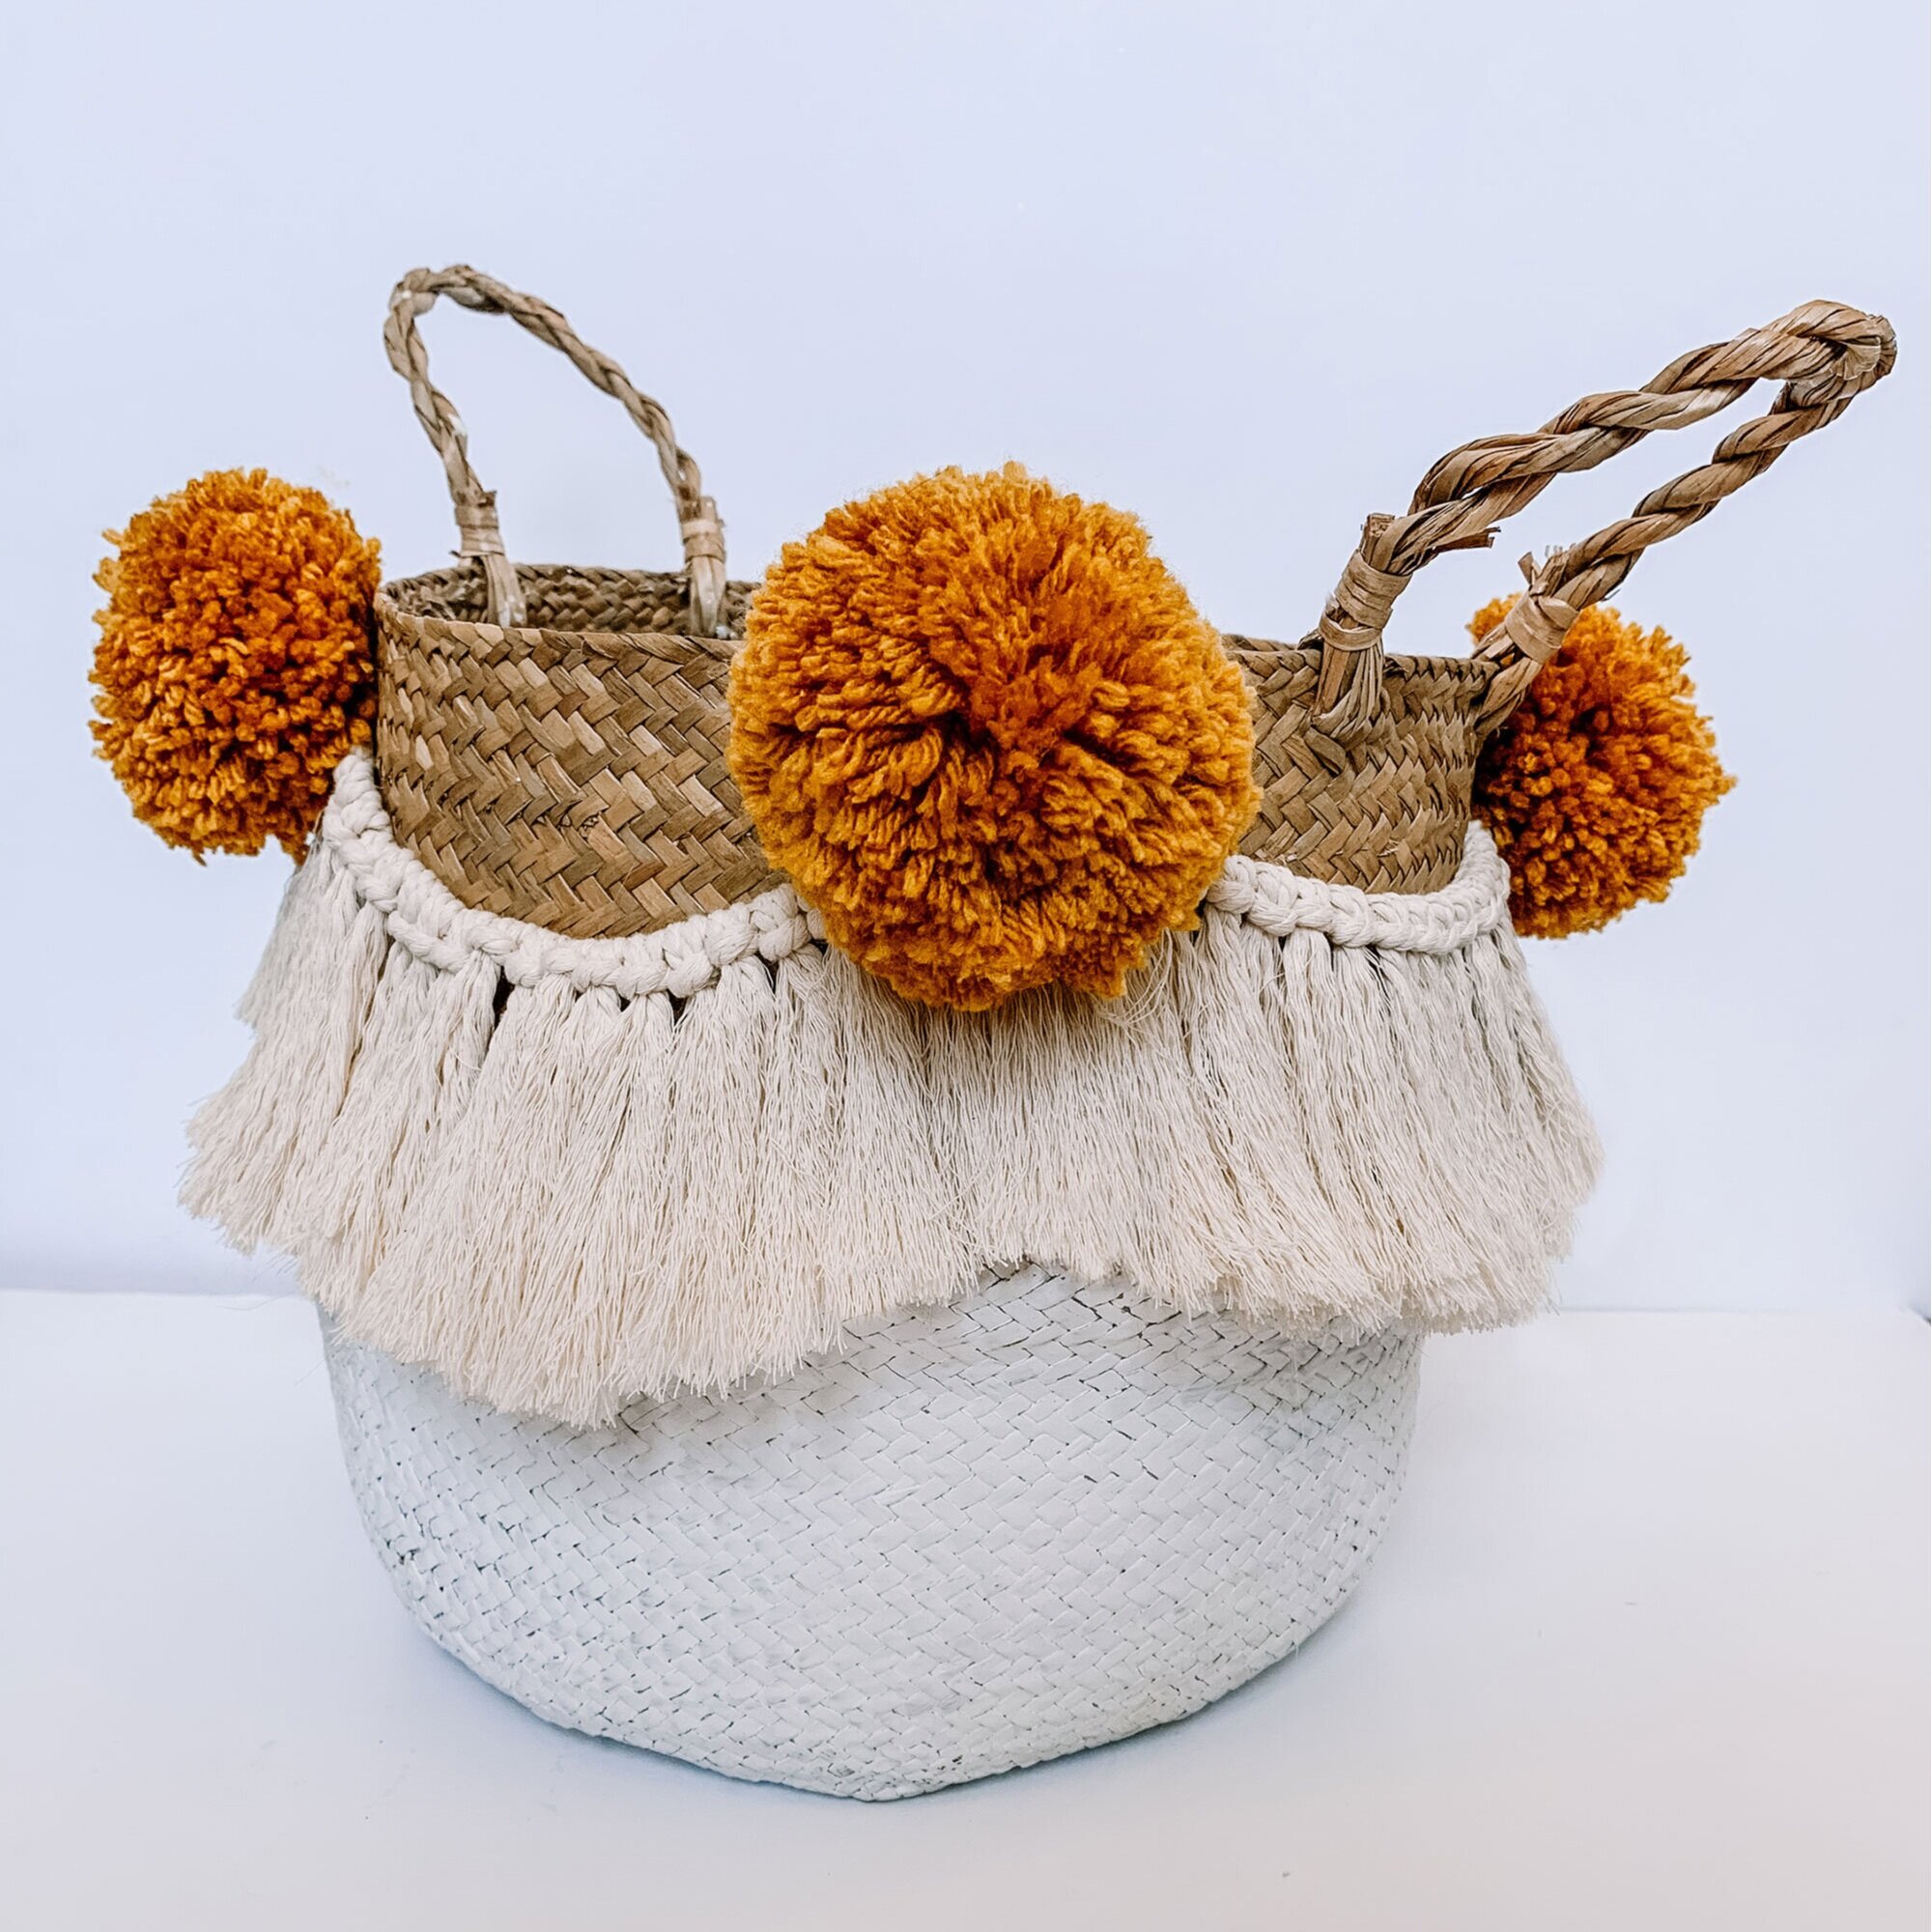
Macrame bunting is a great way to add character to a planter or basket especially with the addition of some poms. You all know I love a yarn pom and macrame DIY specifically when it relates to my plants. I have been working on lots of macrame projects in the last few weeks and that has left me with many scraps. I was trying to think of a good way to use all these short pieces and the idea of fringe came to mind. I have this seagrass basket that houses my Lickety Split Philodendron and I thought it could use some flair. I also had some leftover poms from my pom garland project, so voila, we have a fully fledged project. This is literally how my brain comes up with DIYs.
Tips & Tricks
- Macrame comes in many thickness and honestly anything between 2-6mm would work. I work mostly with 3mm and 5mm. If your basket is larger, I think 5-6mm would be okay and not appear too bulky. If you do use a small macrame, remember it will just take longer to knot all the way around.
- My basket was 30 inches in circumference so I started with a 60” piece of macrame. I probably used around 45” but I always like to overshoot to be safe since I knew I wanted a draping effect.
- If you want your fringe to be evenly draped, mark the points you want to attach it at with a pen all the way around. I divided my basket into 4 points. Then attach your first two points and measure how long the piece is between the two. Then use that same length every time.
- When brushing your macrame you can use your fingers but it will be time consuming. Combs are a great solution but I have discovered the fastest option is to use a metal brush from your pets. The metal catches the macrame and quickly pulls it out.

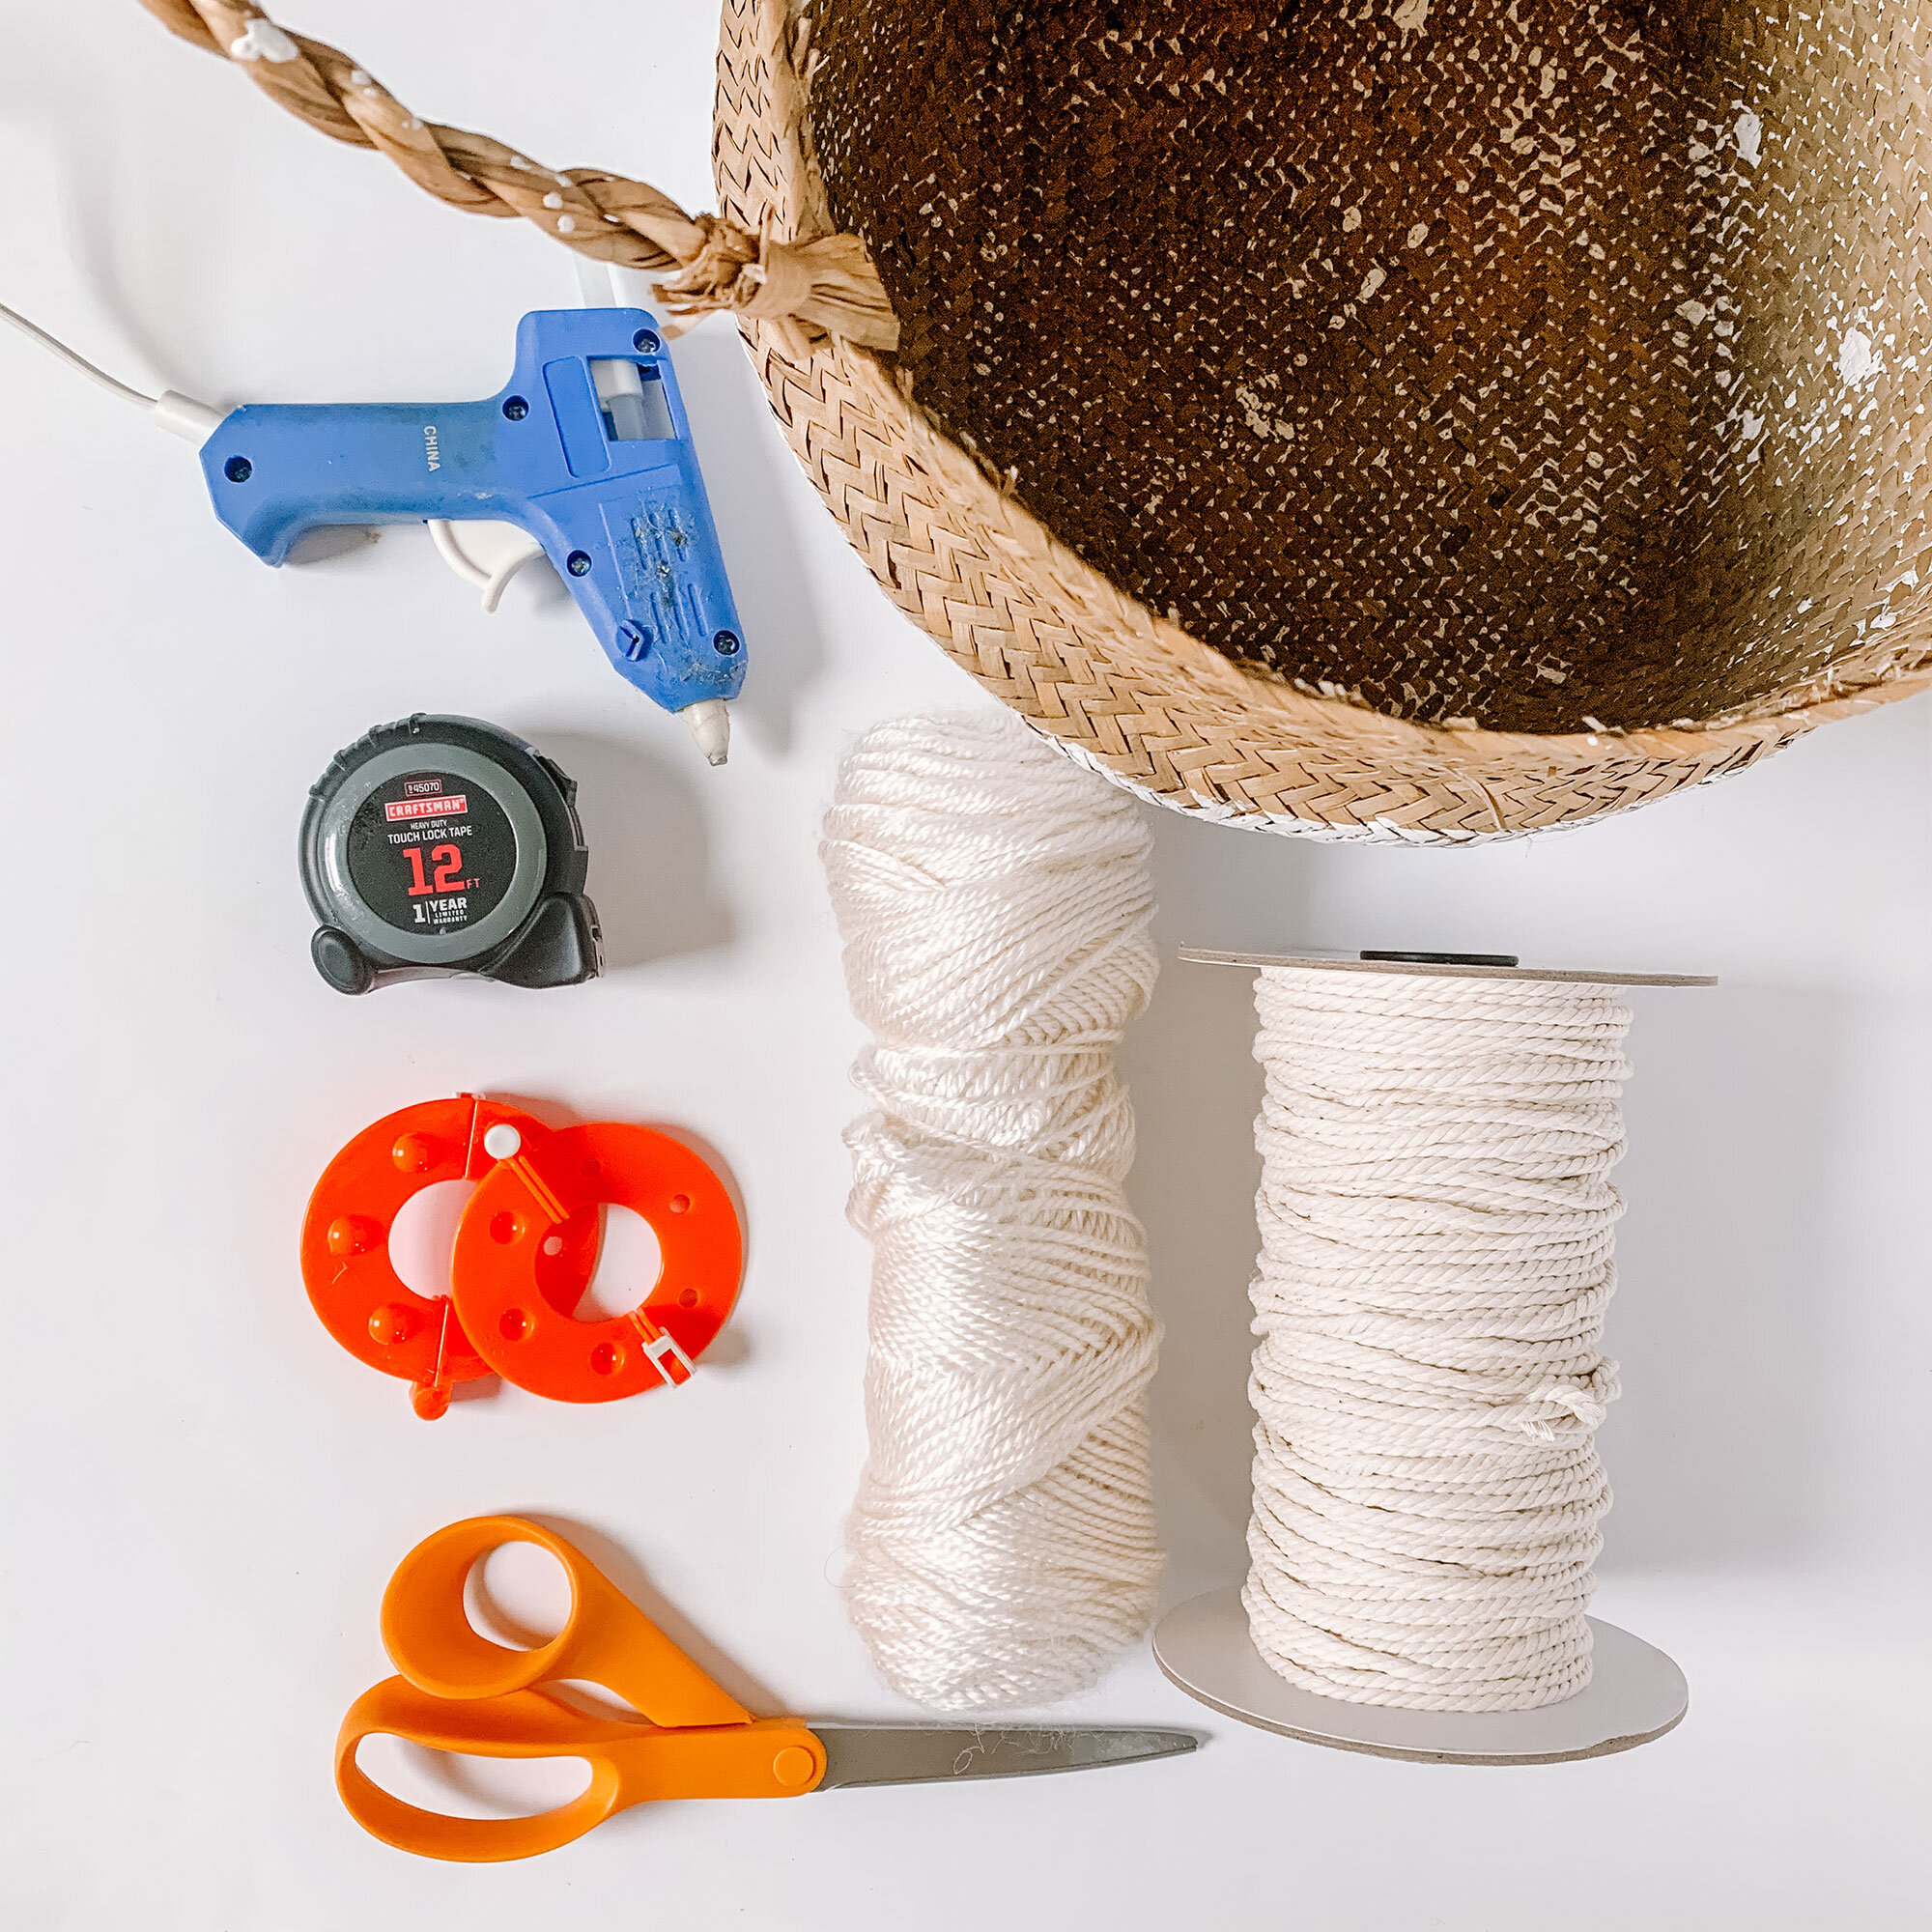
Supplies
Macrame - I used 3mm
Hot Glue/Thread and Needle
Pom Makers - You can buy these at craft stores or online. For this project I used the 3” size.
Optional: Comb/Brush

Cut Your Macrame
Wrap macrame around your basket twice to get your overall length. This will be much longer than you need but better safe than sorry. Now you need to cut the short pieces we will knot. I went with 8” and I cut about 30 of them to start and then cut as needed after.

Lark’s Head Knot
Use your short macrame and begin knotting down your long cord. Pull it tight. Repeat.

Repeat Knots
As you knot, hold it up to your basket so you can see how much is left to full wrap it around. When you have only a few inches of open space left, stop.

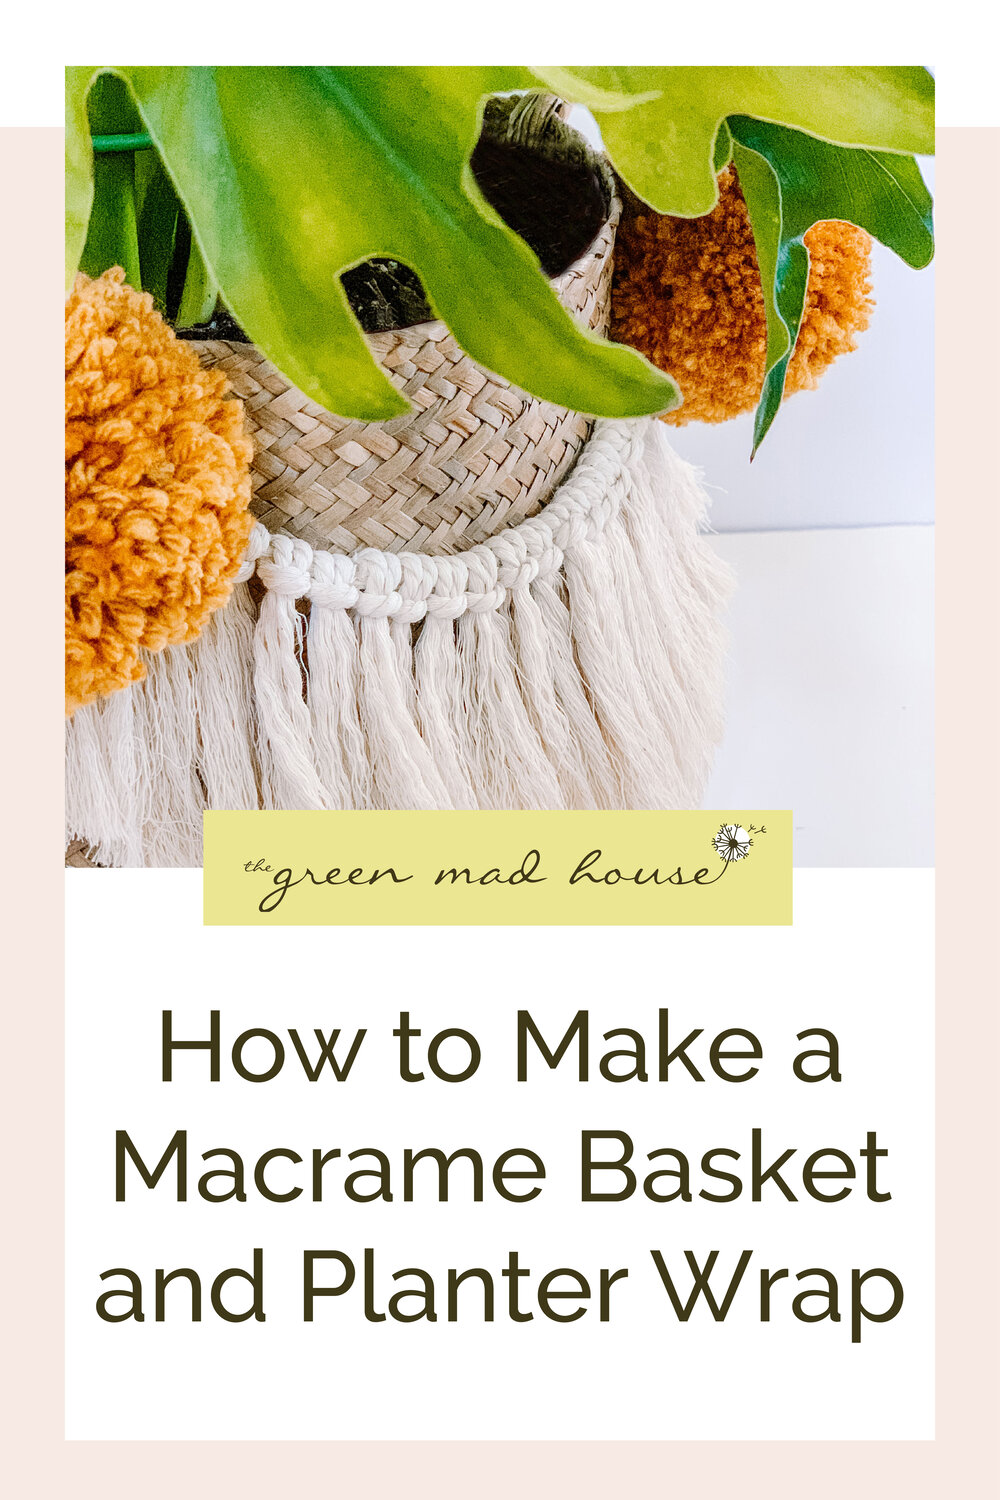
Create Fringe
You can use your fingers, a comb or a brush to unweave the macrame and create a fringe.

Trim Macrame
Trim your macrame so it is even.

Attach Fringe
You can use glue or needle and thread to attach the fringe, I attached it at 4 points around my basket and let it drape inbetween.

Fill in Empty Space
Now we have attached the fringe, we have that empty space to fill in. Hold your two ends alongside each other. Trim them so they overlap but don’t pass the fringe.

Lark’s Head Knot
Know you will knot over the two ends, connecting them together. Start in the middle and work out.

Brush Out
Once you have filled in the space, brush the new pieces out as we did previously.
Final Trim
Now that all the macrame is attached, trim all your pieces one last time.

Assemble Pom Maker
Align both sides of your pom maker so that they are a reflection of each other.

Wrap Yarn
Begin wrapping around the arms. When one side becomes bulky, cross over to the other side. You will know when to stop when you can barely close the arms together.

Close the Pom Maker
Close both sides together and lock the latches. Cut the strand of yarn that is still attached.

Cut Yarn
Cut along the edges of the circle.

Tie Off Pom
Tie a knot, wrapping the yarn around twice before pulling knot closed as tightly as you can without breaking the yarn. Knot again to secure. The knots should slip down between the pieces of the maker.

Trim Pom
Release the arms and remove. Trim the edges so it is an even shape. Wa-lah!


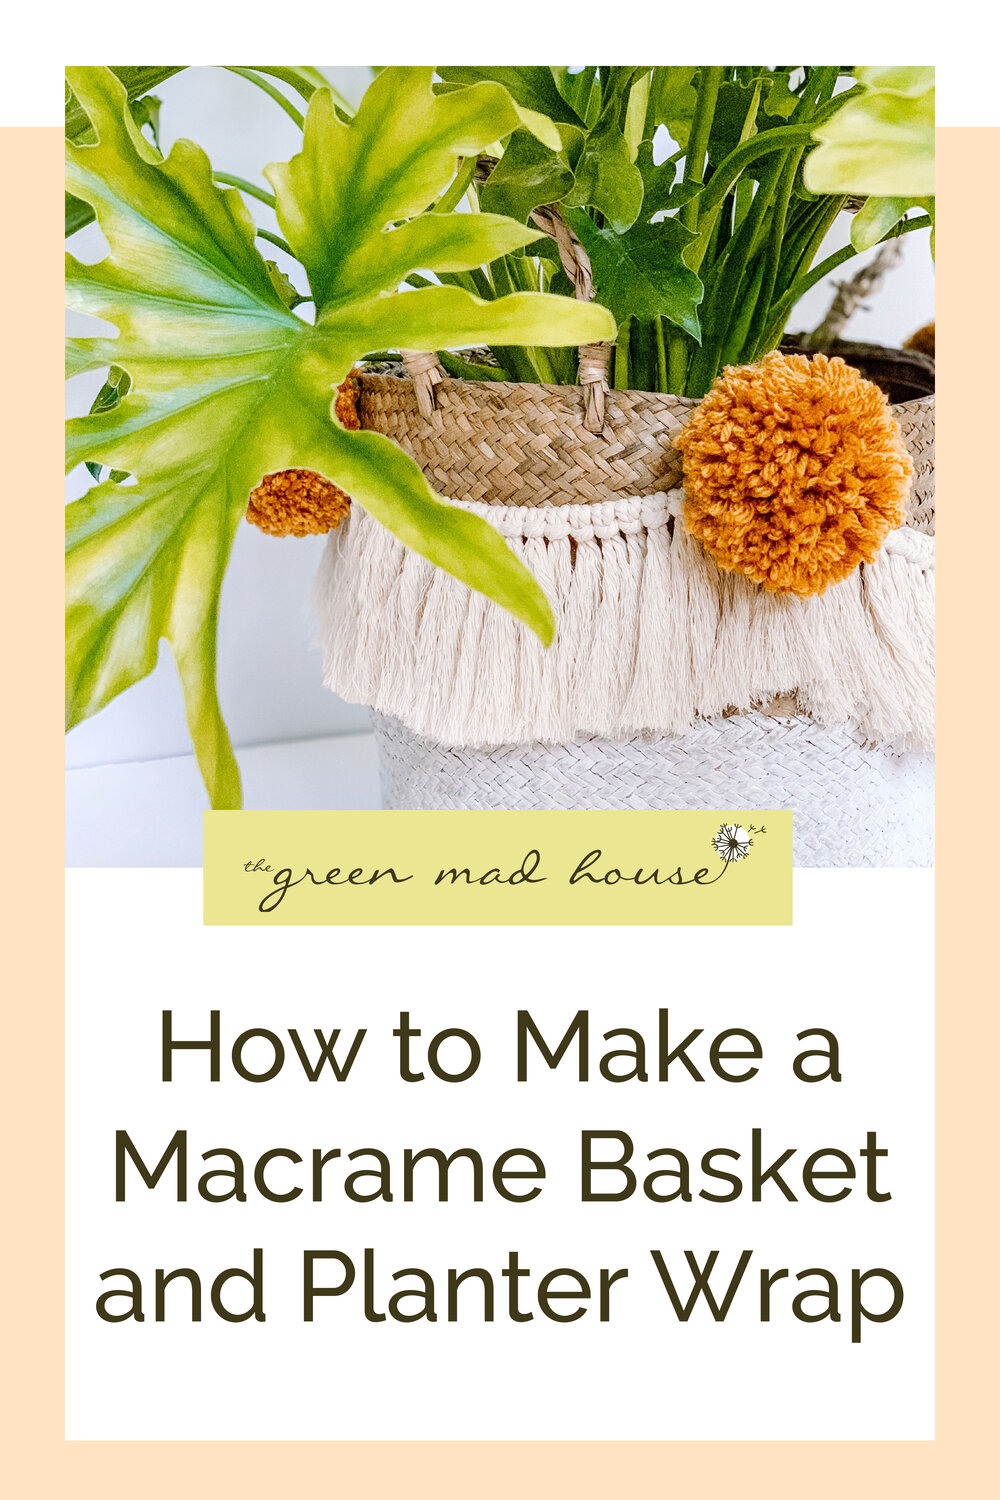
Attach Poms
You can attach your poms in lots of ways. Hot glue or with needle and thread are probably your best options.
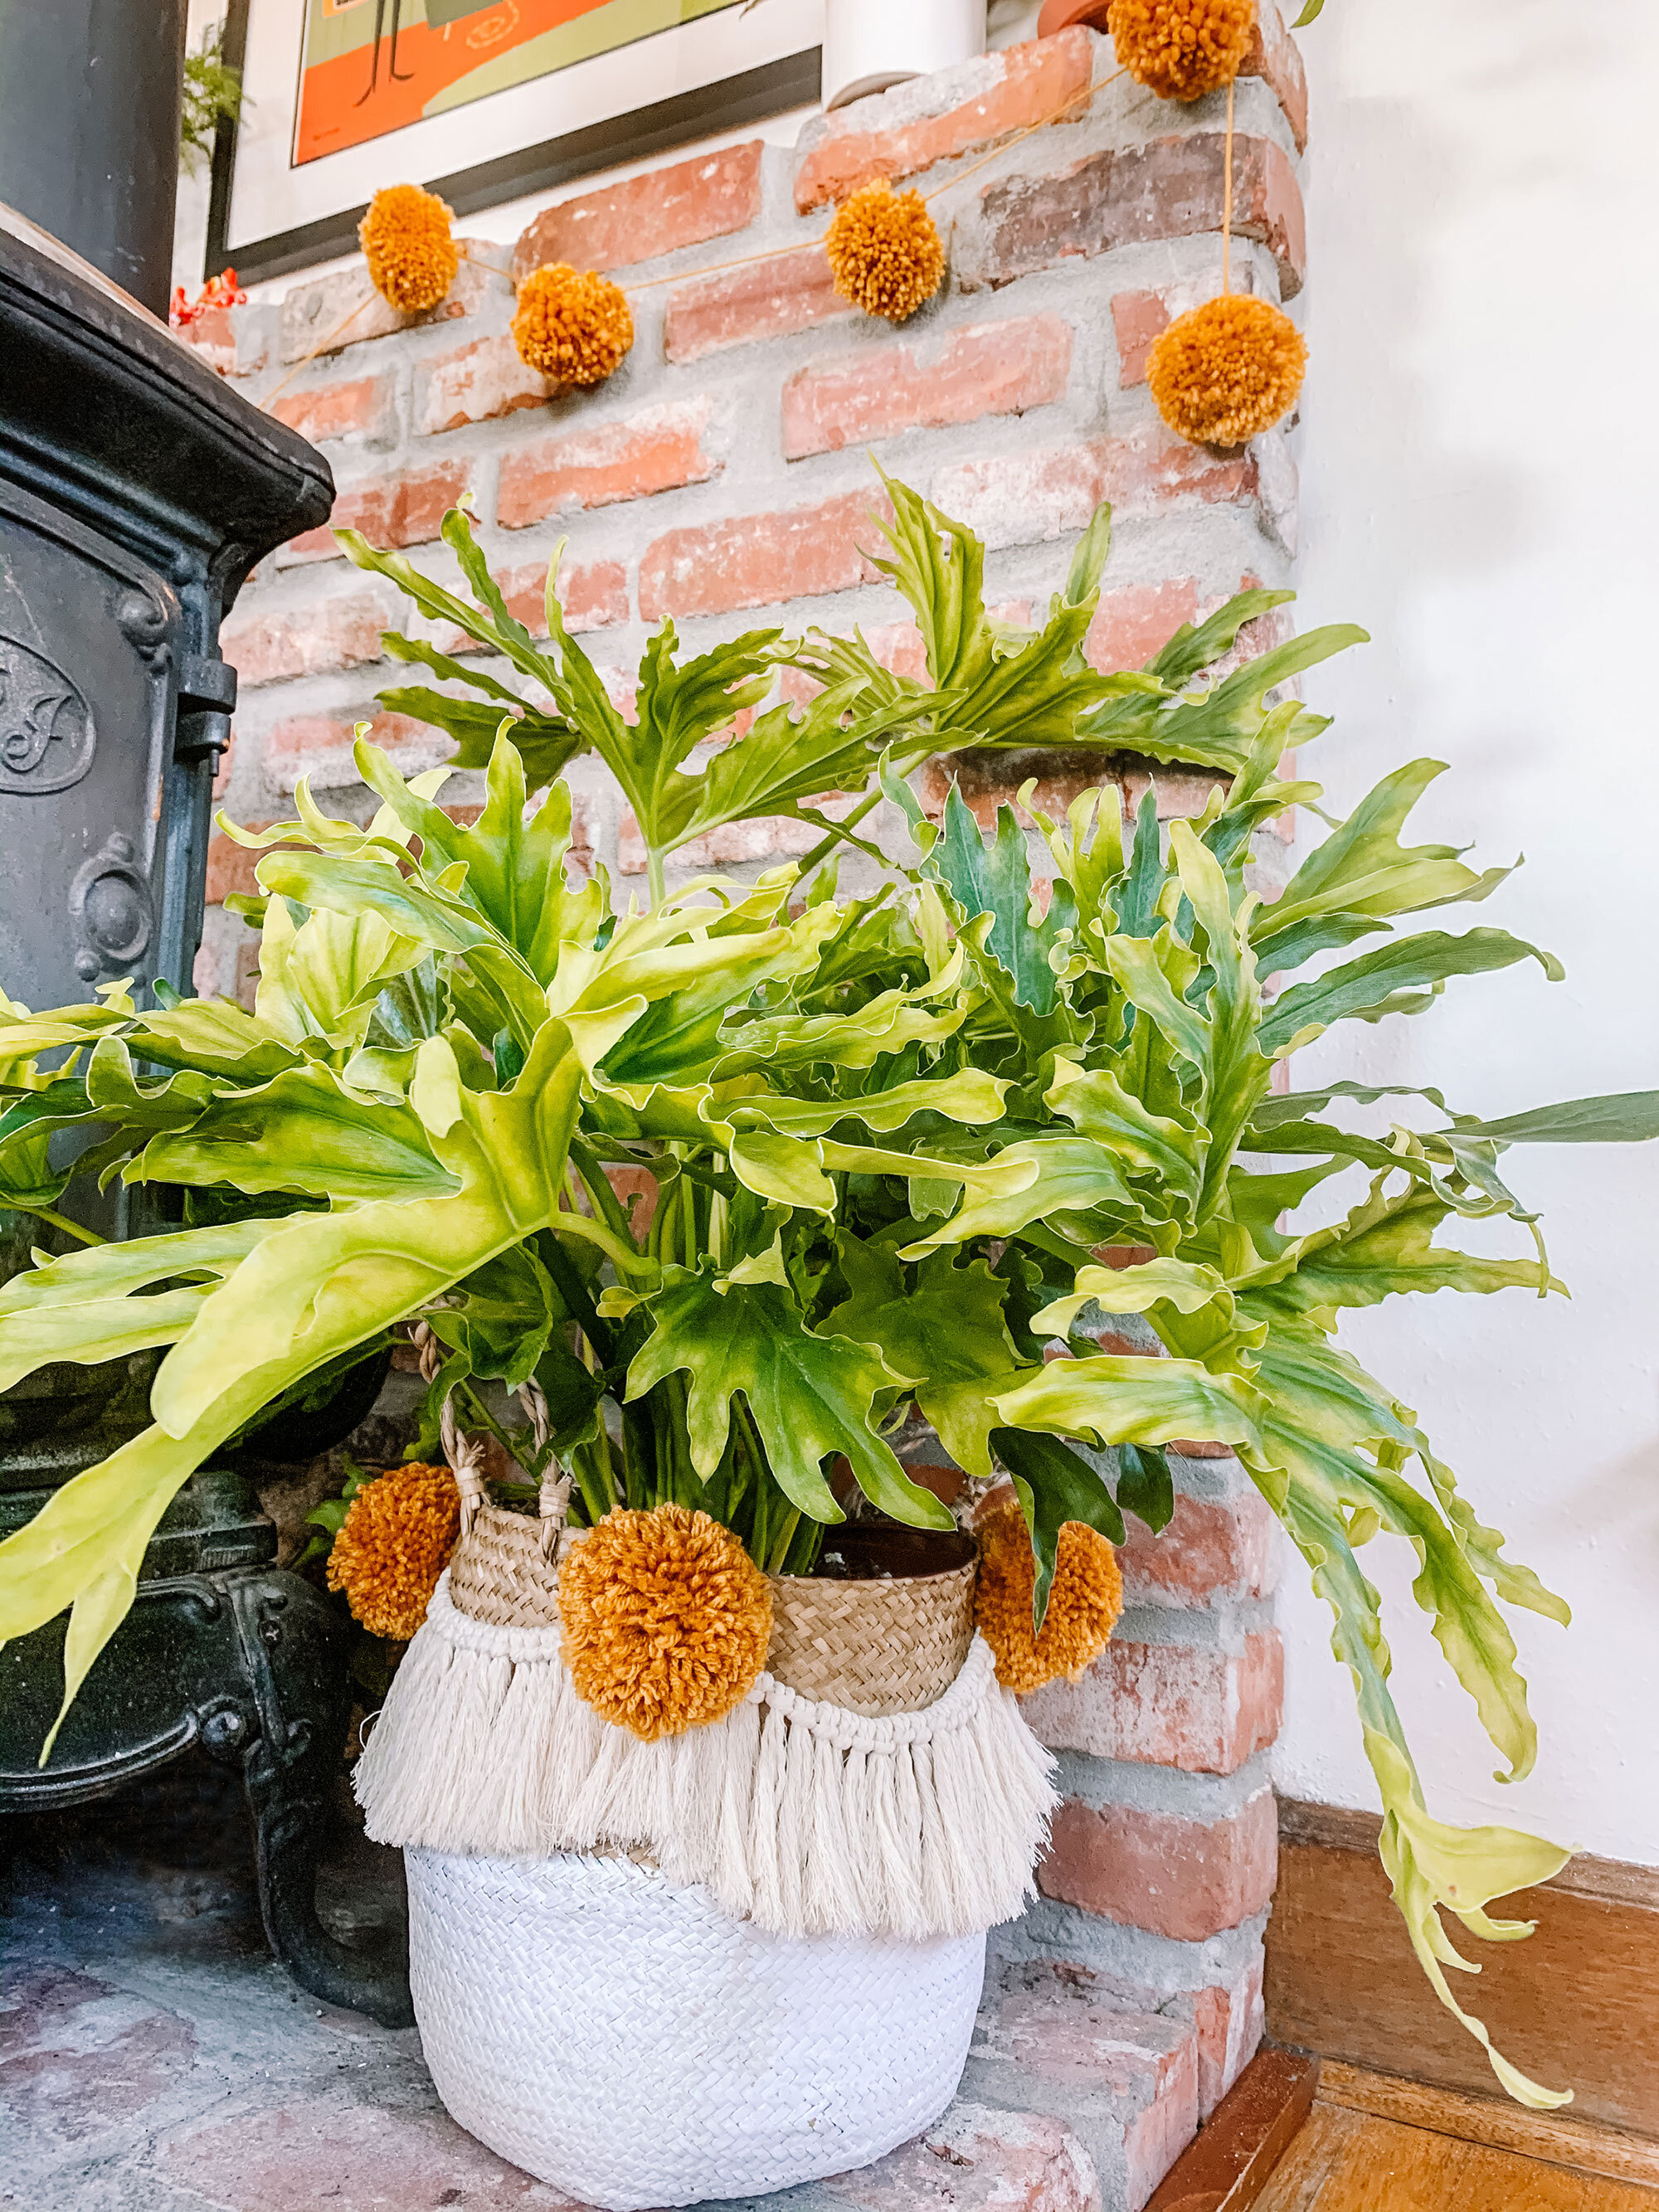
I am super happy with how this turned out and I love that I got to recycle macrame scraps. Originally I had planned on doing white or cream poms but ended up going with the mustard color since this plant and basket sit right below my pom garland. I think it ties everything in nicely. Also at any point I could easily change these out if the color scheme in my room changes or the poms become a cat hazard. Somehow my cats don’t seem interested in the poms, they are only interested in the making of the poms. Loose yarn is so much fun!
Speaking of fun, I hope you all have fun making this. Let me know in the comments how yours turns out.