How to Repot a Root Bound Plant
As an Amazon Associate I earn from qualifying purchases.
What Does “Root Bound” Mean?
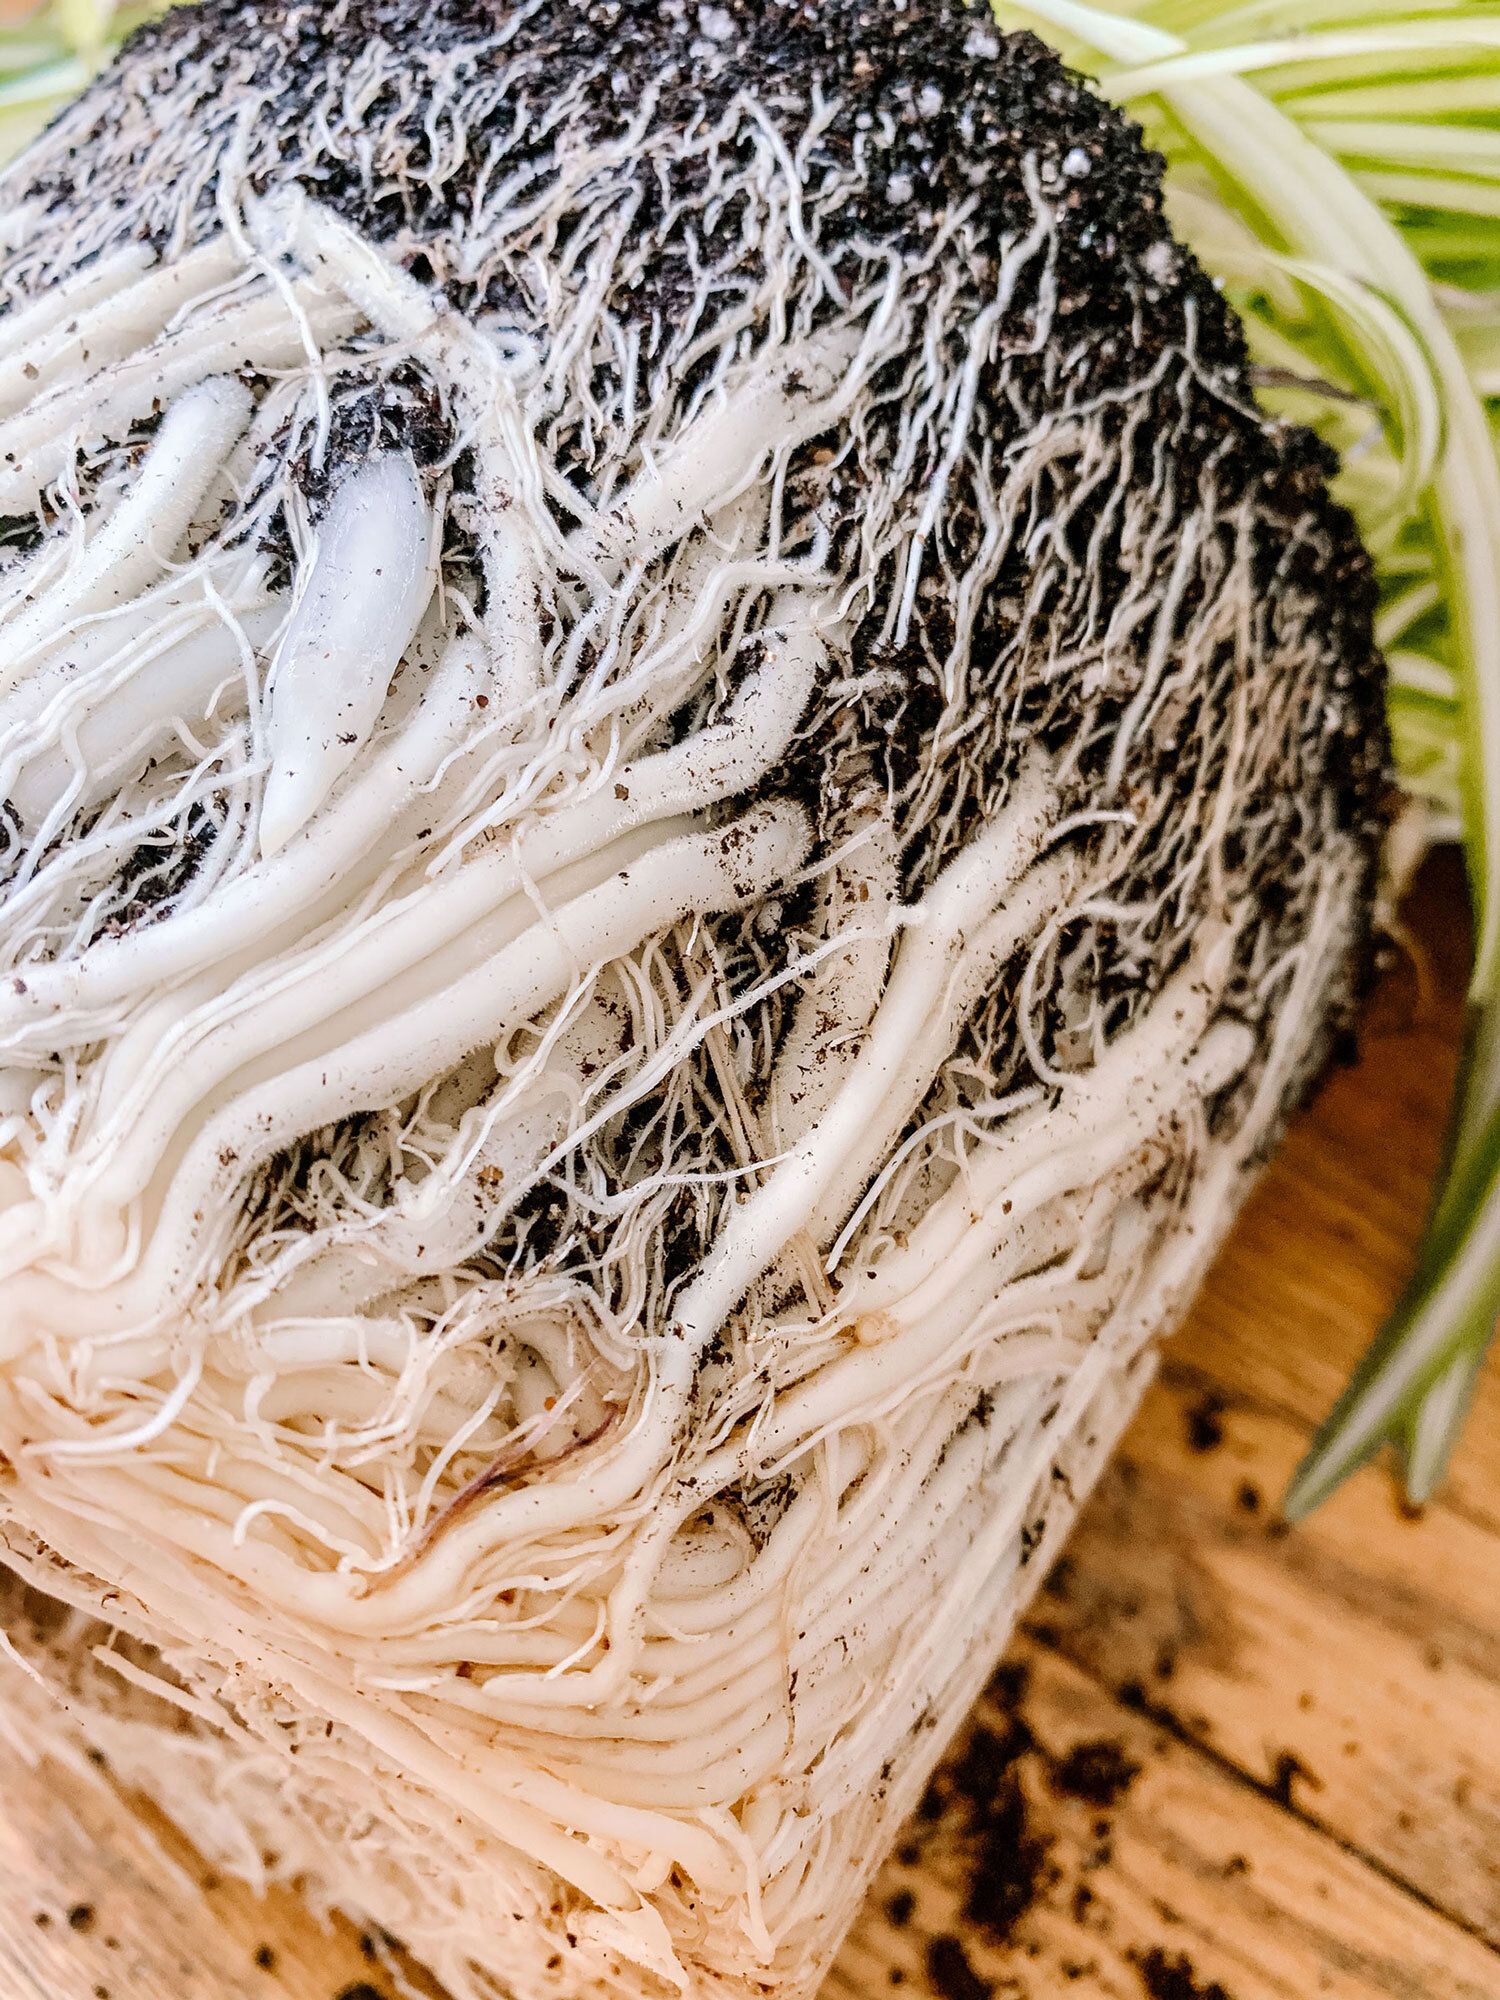
A plant needs to be repotted and pruned when it becomes “root bound”, meaning its roots have grown so much that it has taken up the entirety of the pot and formed into a hard ball. The dense circle of roots often forms to the shape of the pot it is in and when you take it out, very little, if any, soil will be remaining. The lack of soil means a lack of nutrients, water and air for your plant. This is unhealthy and should be resolved as soon as it is discovered.
Why Would My Plant be Root Bound?
While it may seem like letting a plant become root bound is an accident, there are a few reasons you would purposefully allow your plant to get this way. Large plants like container trees, albeit a perfect statement for your home, sometimes need to be kept from growing any bigger. Similarly bonsai and terrariums require keeping plants at a small size. If you don’t address the roots, you are putting your plant at risk. While pruning may seem extreme, it’s the only way to keep your plant healthy if you want to keep them the same size .
The other option is that you don’t want your plant to remain the same size and you want that baby to get big! I often discover that the plants I buy are root bound. Stores have so many plants and turnover is high, there isn’t a need for them to repot let alone keep track of growth.
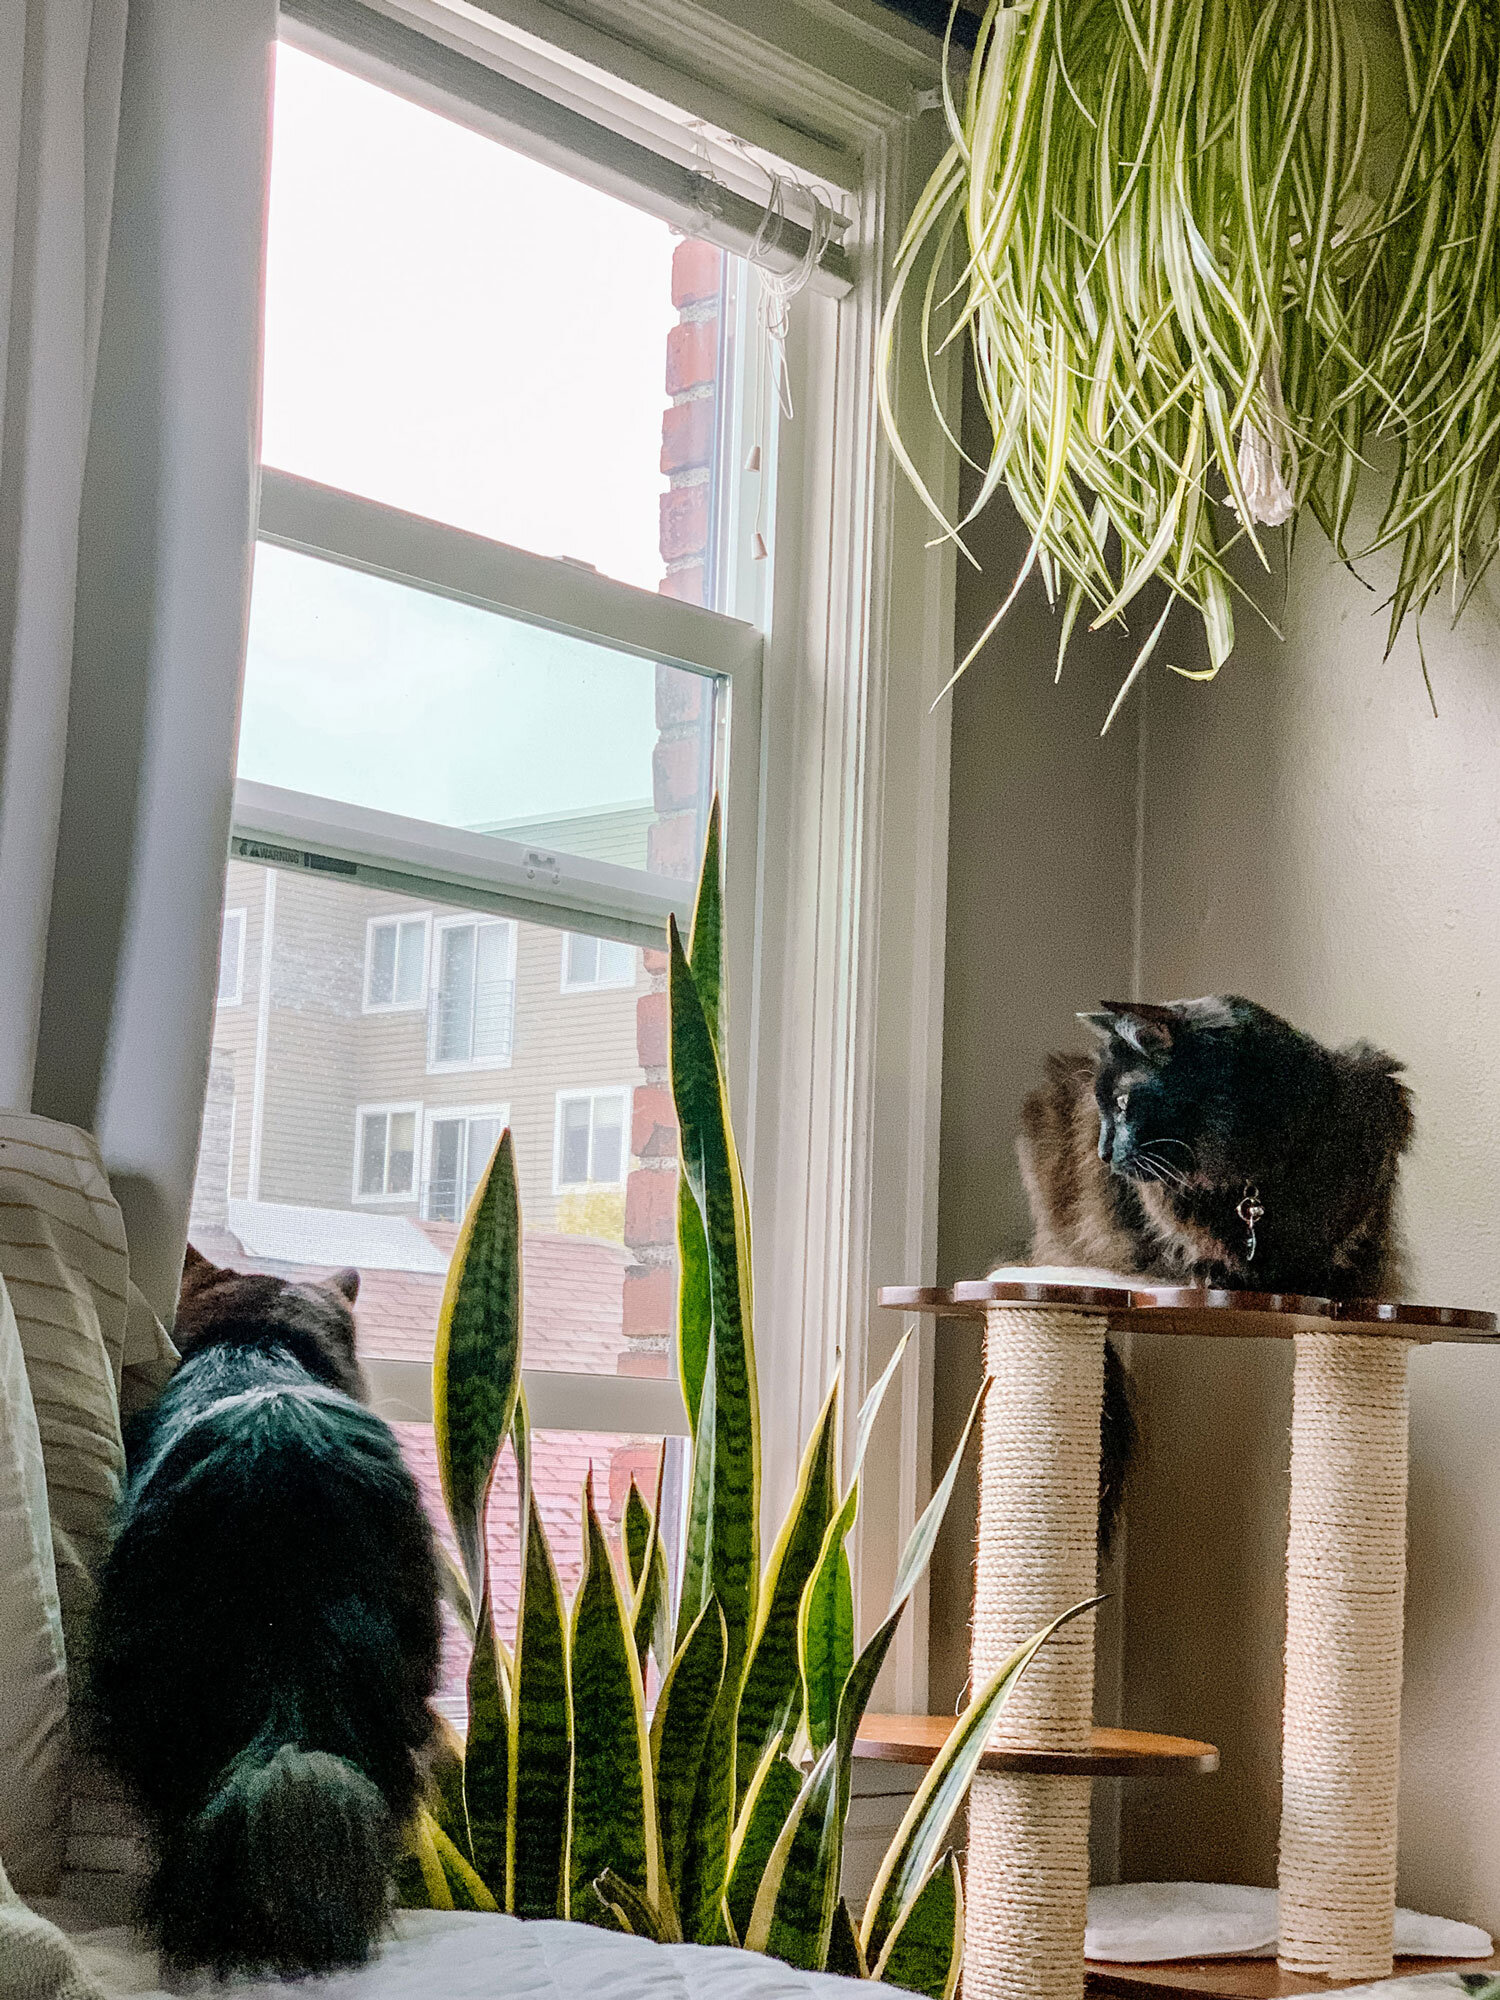
Recently I saw a huge spider plant posted on the Facebook Marketplace for very cheap. After bringing it home and assessing it, I realized this giant plant was in a tiny pot and I was unable to stick my finger in the top. It was like a rock. When I pulled it out of the pot, part of the plastic inside of the planter came with the roots, as they had grown around it. It appeared to be otherwise healthy so I knew I needed to take action ASAP so that it could continue growing and thriving.
How do I Fix My Root Bound Plant?
Before you jump into the two solutions I have to offer you, first see if you can pull apart the roots manually. With small plants that are root bound this is often easy to do as their roots aren’t crazy thick. Massage the roots, trying to loosen them apart. If this is a success, then repot your plant normally, opting for a larger than normal pot (this is not for those trying to inhibit the growth of their plant).
Alright the two main options for fixing root bound plants involves root-pruning:
Option 1 entails making vertical slices in the side of the root ball using scissors, shears or a serrated knife. This loosens the entire root ball and allows you to start spreading the roots. If your hands aren’t enough to detangle, use a pronged cultivator.
Option 2 involves cutting off a portion of the roots off. While this seems aggressive, your plant can handle it and will actually be grateful for this. This is the option you need to use for your container trees, bonsai etc. The amount you cut off depends on the size of your plant. I have a photo guide below for reference. Once done, again use your hands or a cultivator to loosen the root ball and spread the roots apart.


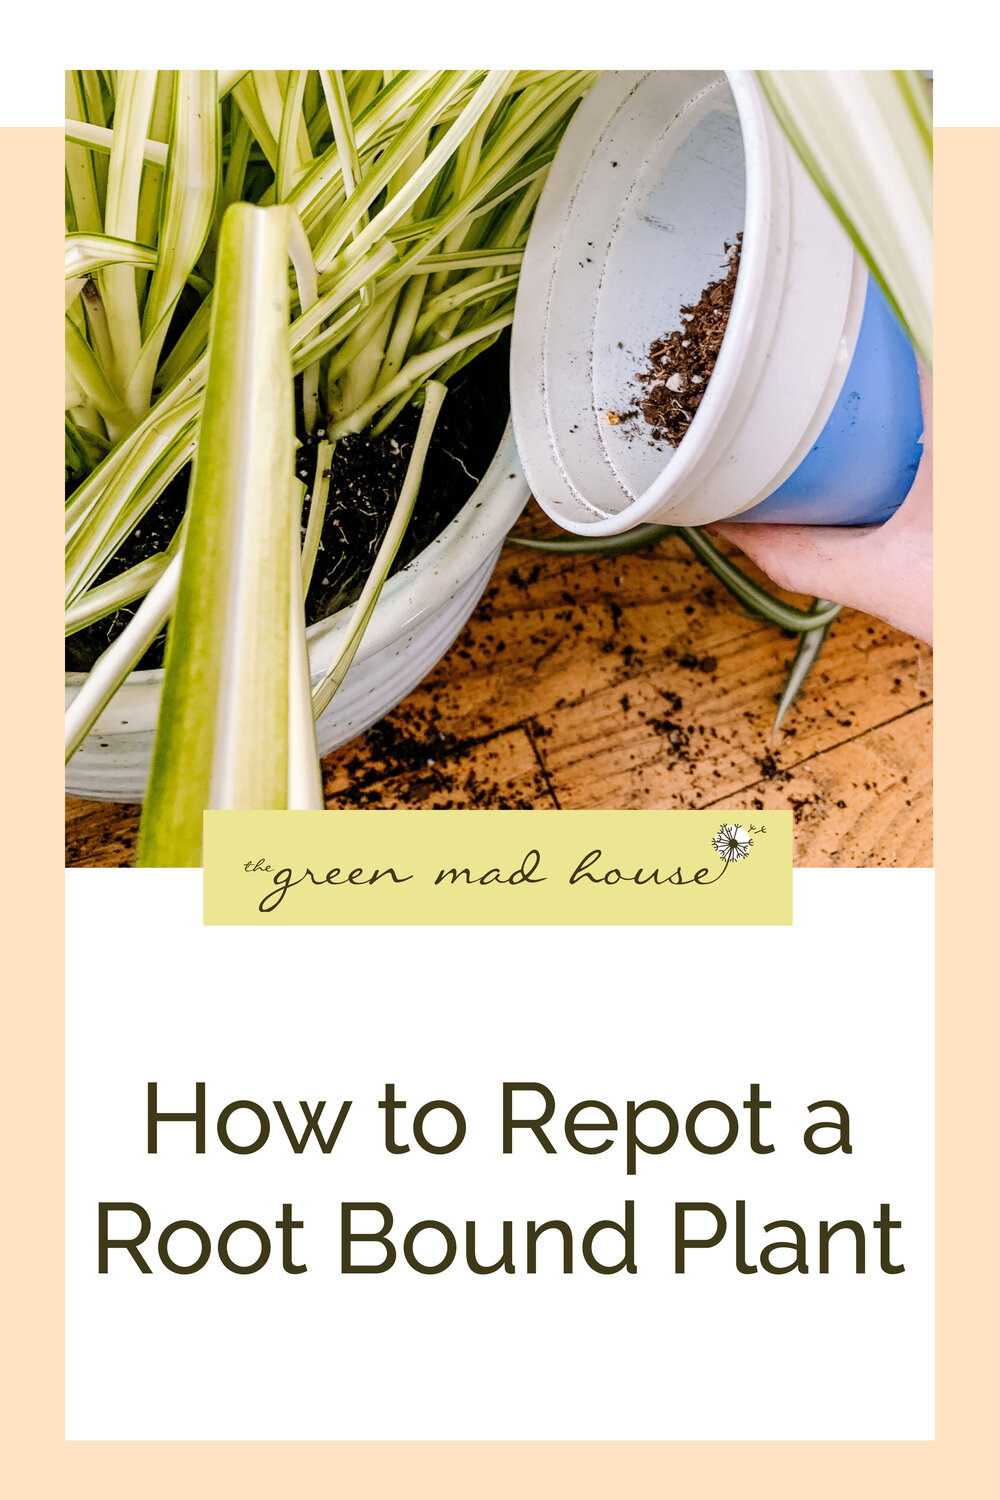
Remove Plant
Turn your plant to the side, grab at the base of the stem and slide it out. If it is not willing to leave its home. Squeeze around the sides of the container and tap the bottom. With some gentle tugs it should then slide out.

Loosen Roots
Using your hands loosen the roots around the entire ball. Depending on how root bound your plant is, this may or may not be possible. Tearing is fine just try not to damage the stems.

Option 1: Slicing
Use shears, scissors or a knife to create vertical slices through my roots. Turn your shears backwards so the dull end is digging in and cut through. Rotate and repeat.

Option 2: Cutting
I was successful with option 1 but if that had failed, I would have used my shears to cut off the bottom portion of roots.

Loosen the Roots
Now that your roots are open, use your hands or a pronged cultivator to spread the roots. This encourages the roots to grow out instead of in a dense circle.

Select Planter
When selecting your planter it is best to increase the size by only 1 to 2 inches. However with root bound plants you may need to opt on the larger end of that. The original planter was 6” x 5.5” and the new one was 8” x 7.5”.

Add Soil
Place a layer of soil at the bottom of your container. If your drainage holes are too large that soil will fall out, you can place large rocks or a mesh to prevent this. If you do not have drainage hole(s), use a layer of charcoal and rocks to line the base. Now place plant centered on top.


Place Plant
Add soil around your plant, doing a little bit on each side as you go to insure the plant stays centered. Do not pack the soil too much as your roots need oxygen. Make sure you have a some room above the soil to the rim of the planter so that when you water, it doesn’t overflow.
How exciting was that? I love helping plants and I really love repotting. I have a feeling my spider plant is just going to thrive now that it has ample space to grow. Send me pictures of yours in their new homes. Water it immediately, set it in proper lighting conditions, and watch it grow. If you have any questions, comment below!