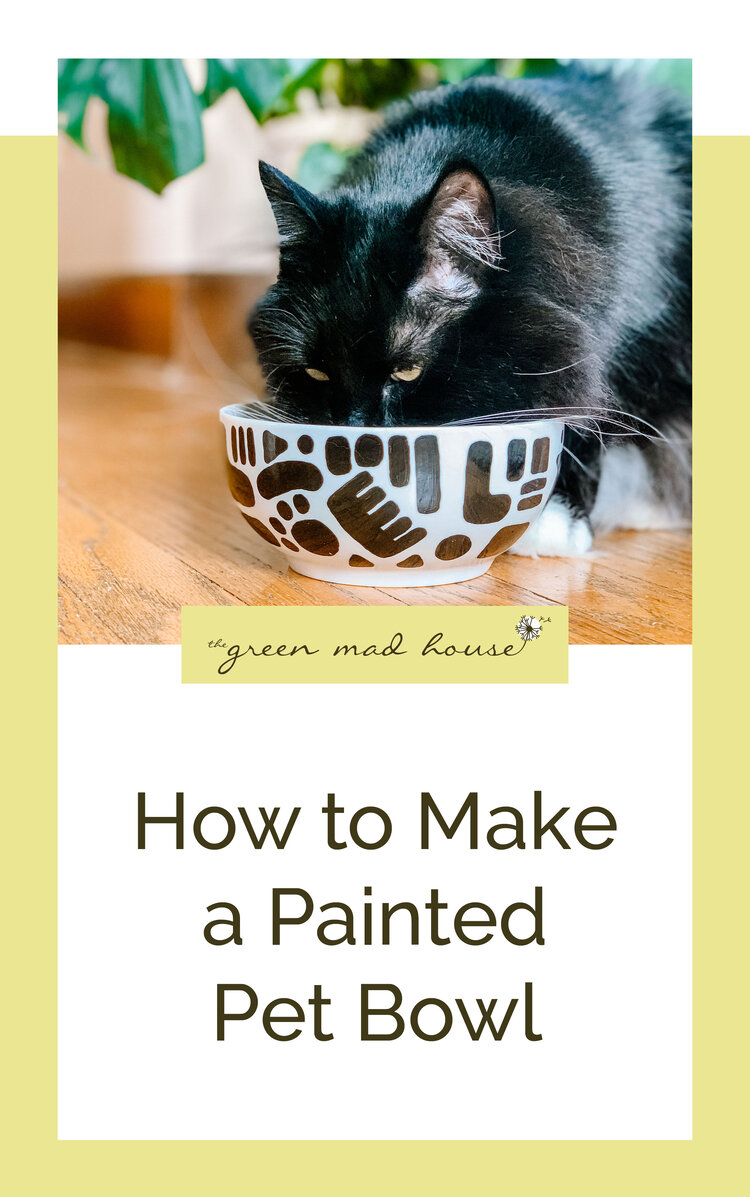
How to Make Painted Pet Bowls
As an Amazon Associate I earn from qualifying purchases.

On my quest to spoil my pets with awesome products, I decided to paint my own bowls. My two cats, Huckleberry and Floyd, drink a lot of water and the water bowl I currently have just isn’t big enough. I had a few solutions to solving this but none seemed ideal. I could use a larger mixing bowl I already own or buy a dog bowl (large cat bowls seem to not exist), but then I run the risk of having something that doesn’t suit my place or has dog iconography on it. So this is how I got to the idea of painting my own.
There are a few key things when it comes to painting a bowl.
First, you need to go with ceramic or porcelain so that it can be baked.
Second, you need to use oil based paint. There are paints that are labeled specifically for ceramic and porcelain but you can use any that is oil based.
Third, select the correct size. I went with a 29 ounce size. If I was making one for their wet food I would have gone with around a 10 ounce. If you need to figure out what would be best for your pets, just pour water in your bowls and measure that to see how big your current bowl is (1 cup = 8 oz.).
If you mess up, use rubbing alcohol to remove mistakes.
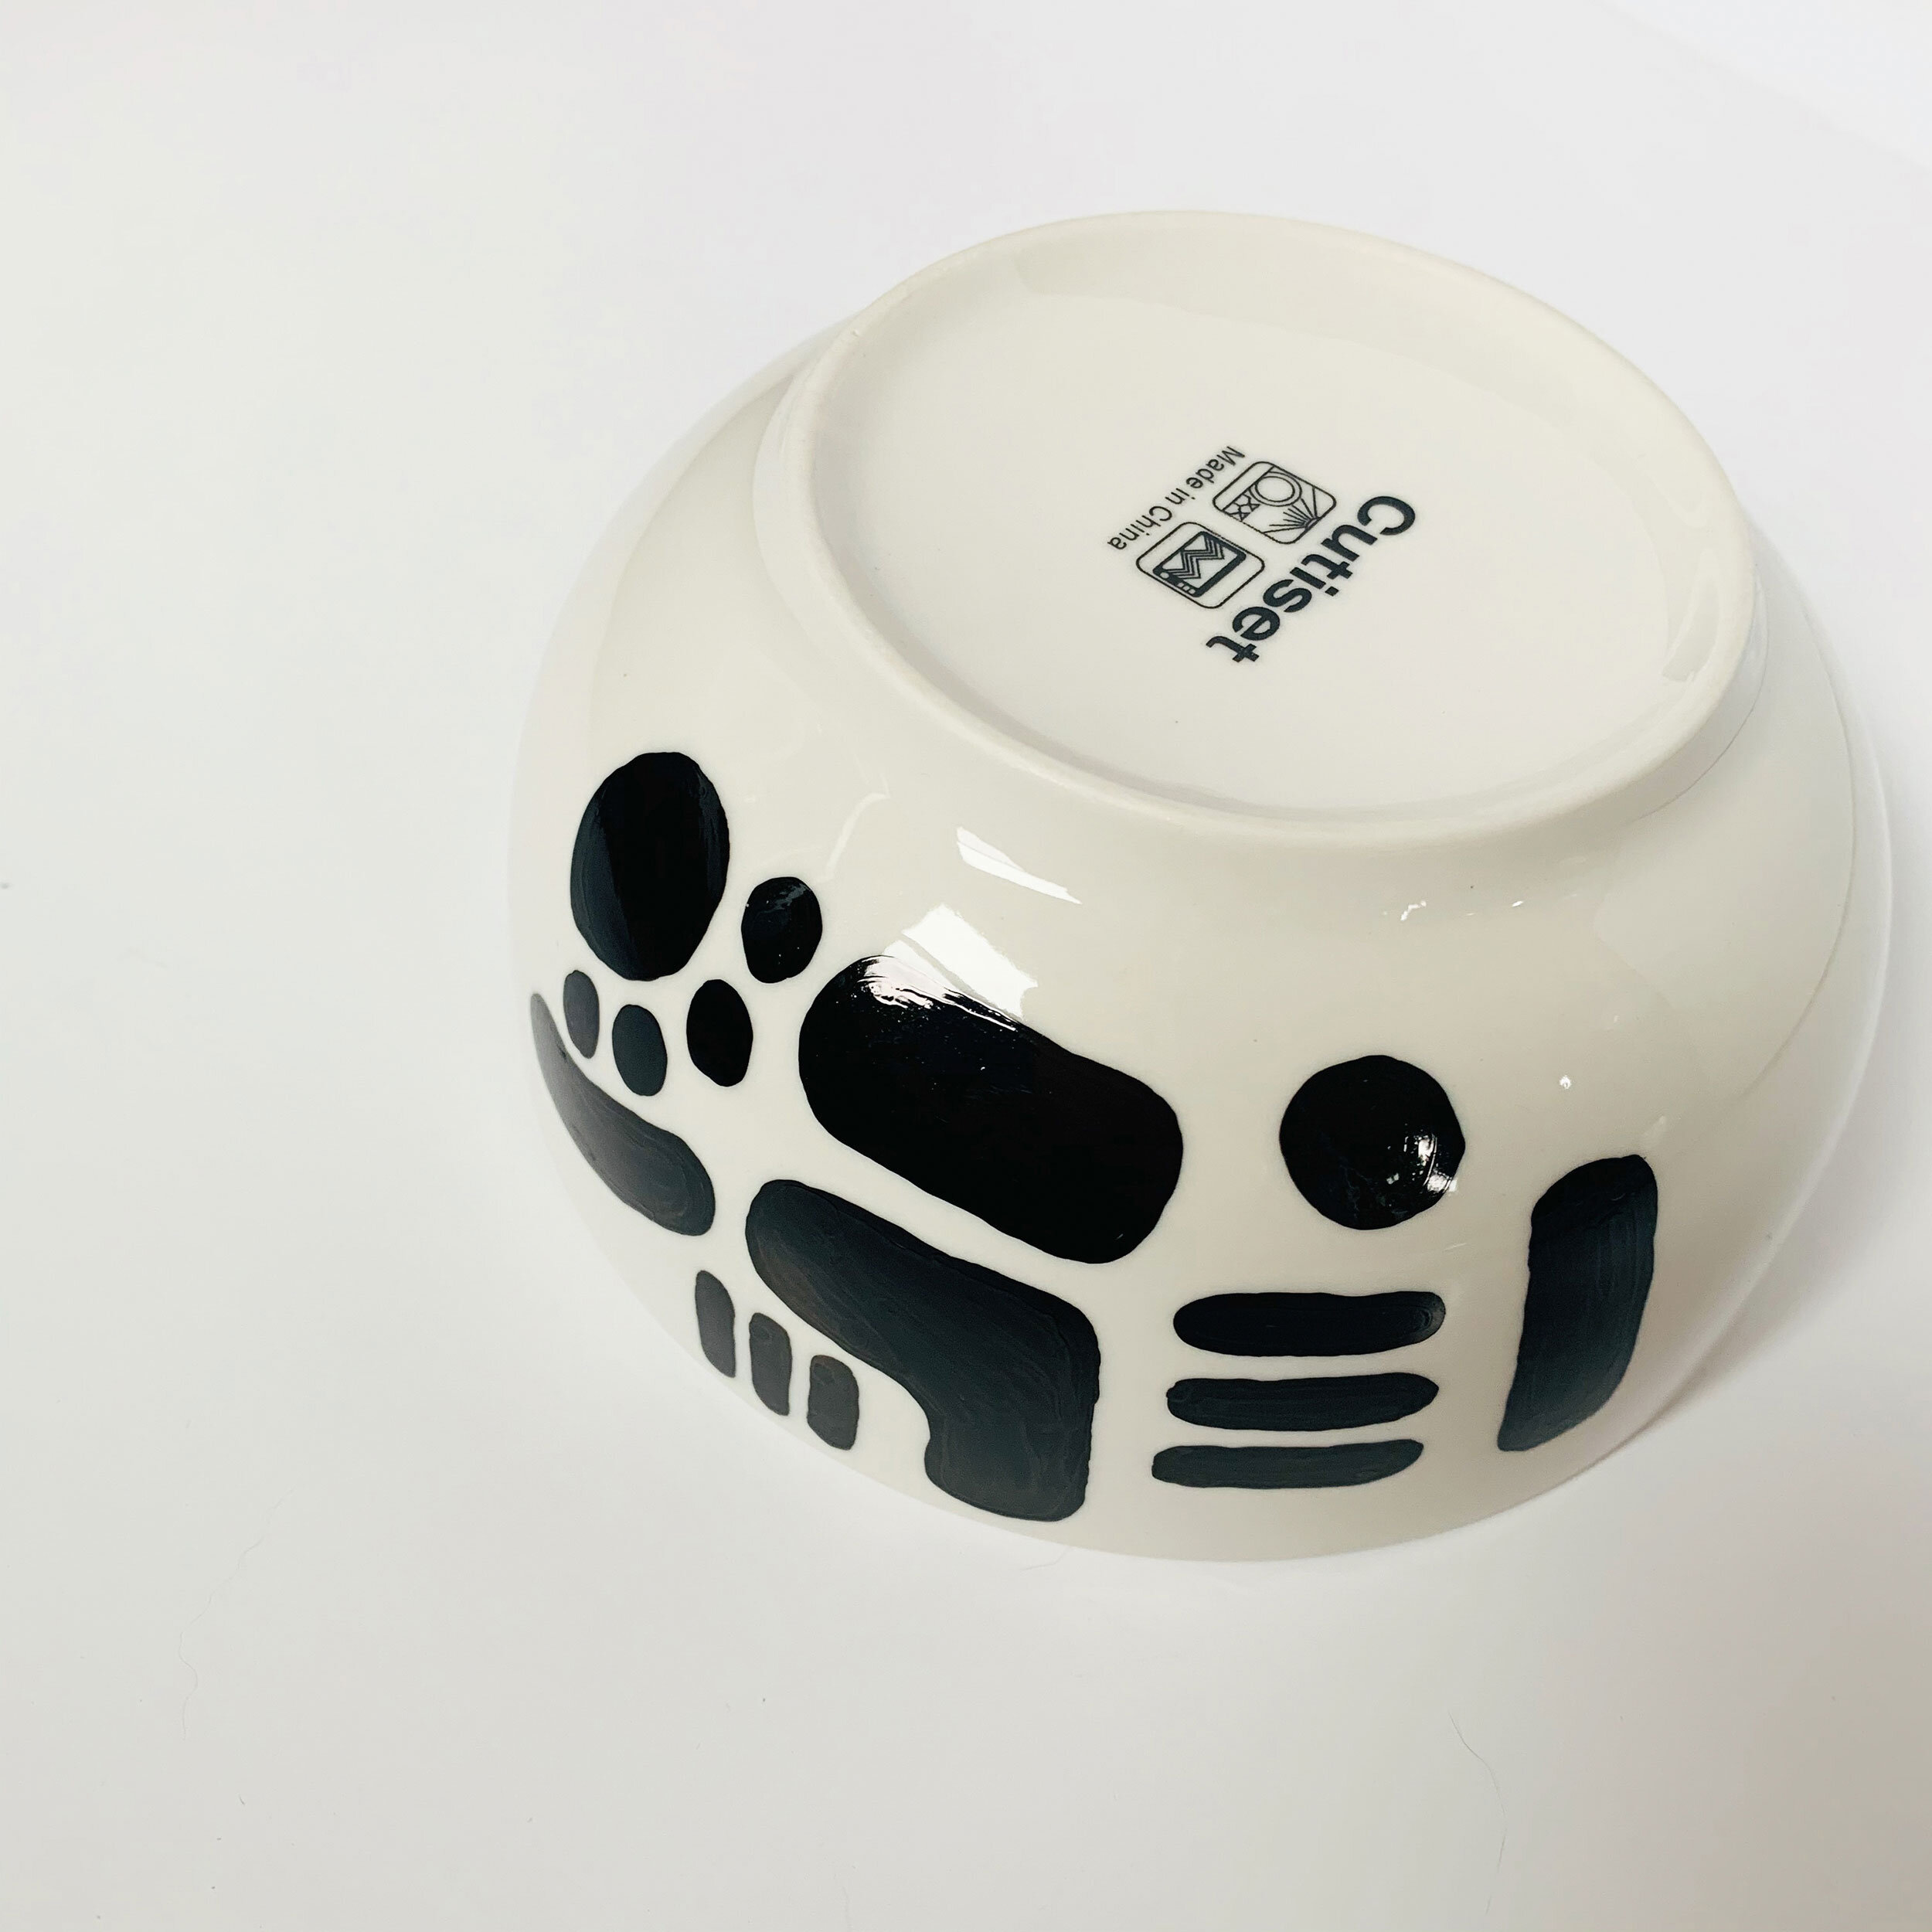
I decided to invite my best friend Emily over to make her own bowl for her cat, Chandler. I went with a mod, all black, abstract look. I did include some more obvious shapes such as a paw, a fish, and a “H” and “F” hidden within the shapes. Emily did a happy yellow and red bowl with flowers and suns. I think it turned out great and both our cats seem pleased with them (meaning they could care less).
Side Note: These are oven, microwave and dishwasher safe; however, I recommend hand washing though to keep the paint from fading over time.

Supplies
Ceramic/Porcelain Bowls:
10, 22, 29 oz. | 20, 30, 36 oz.
Fine Point Paint Pens - For detailed areas
Ceramic Paint - For large areas
Rubbing Alcohol - For mistakes
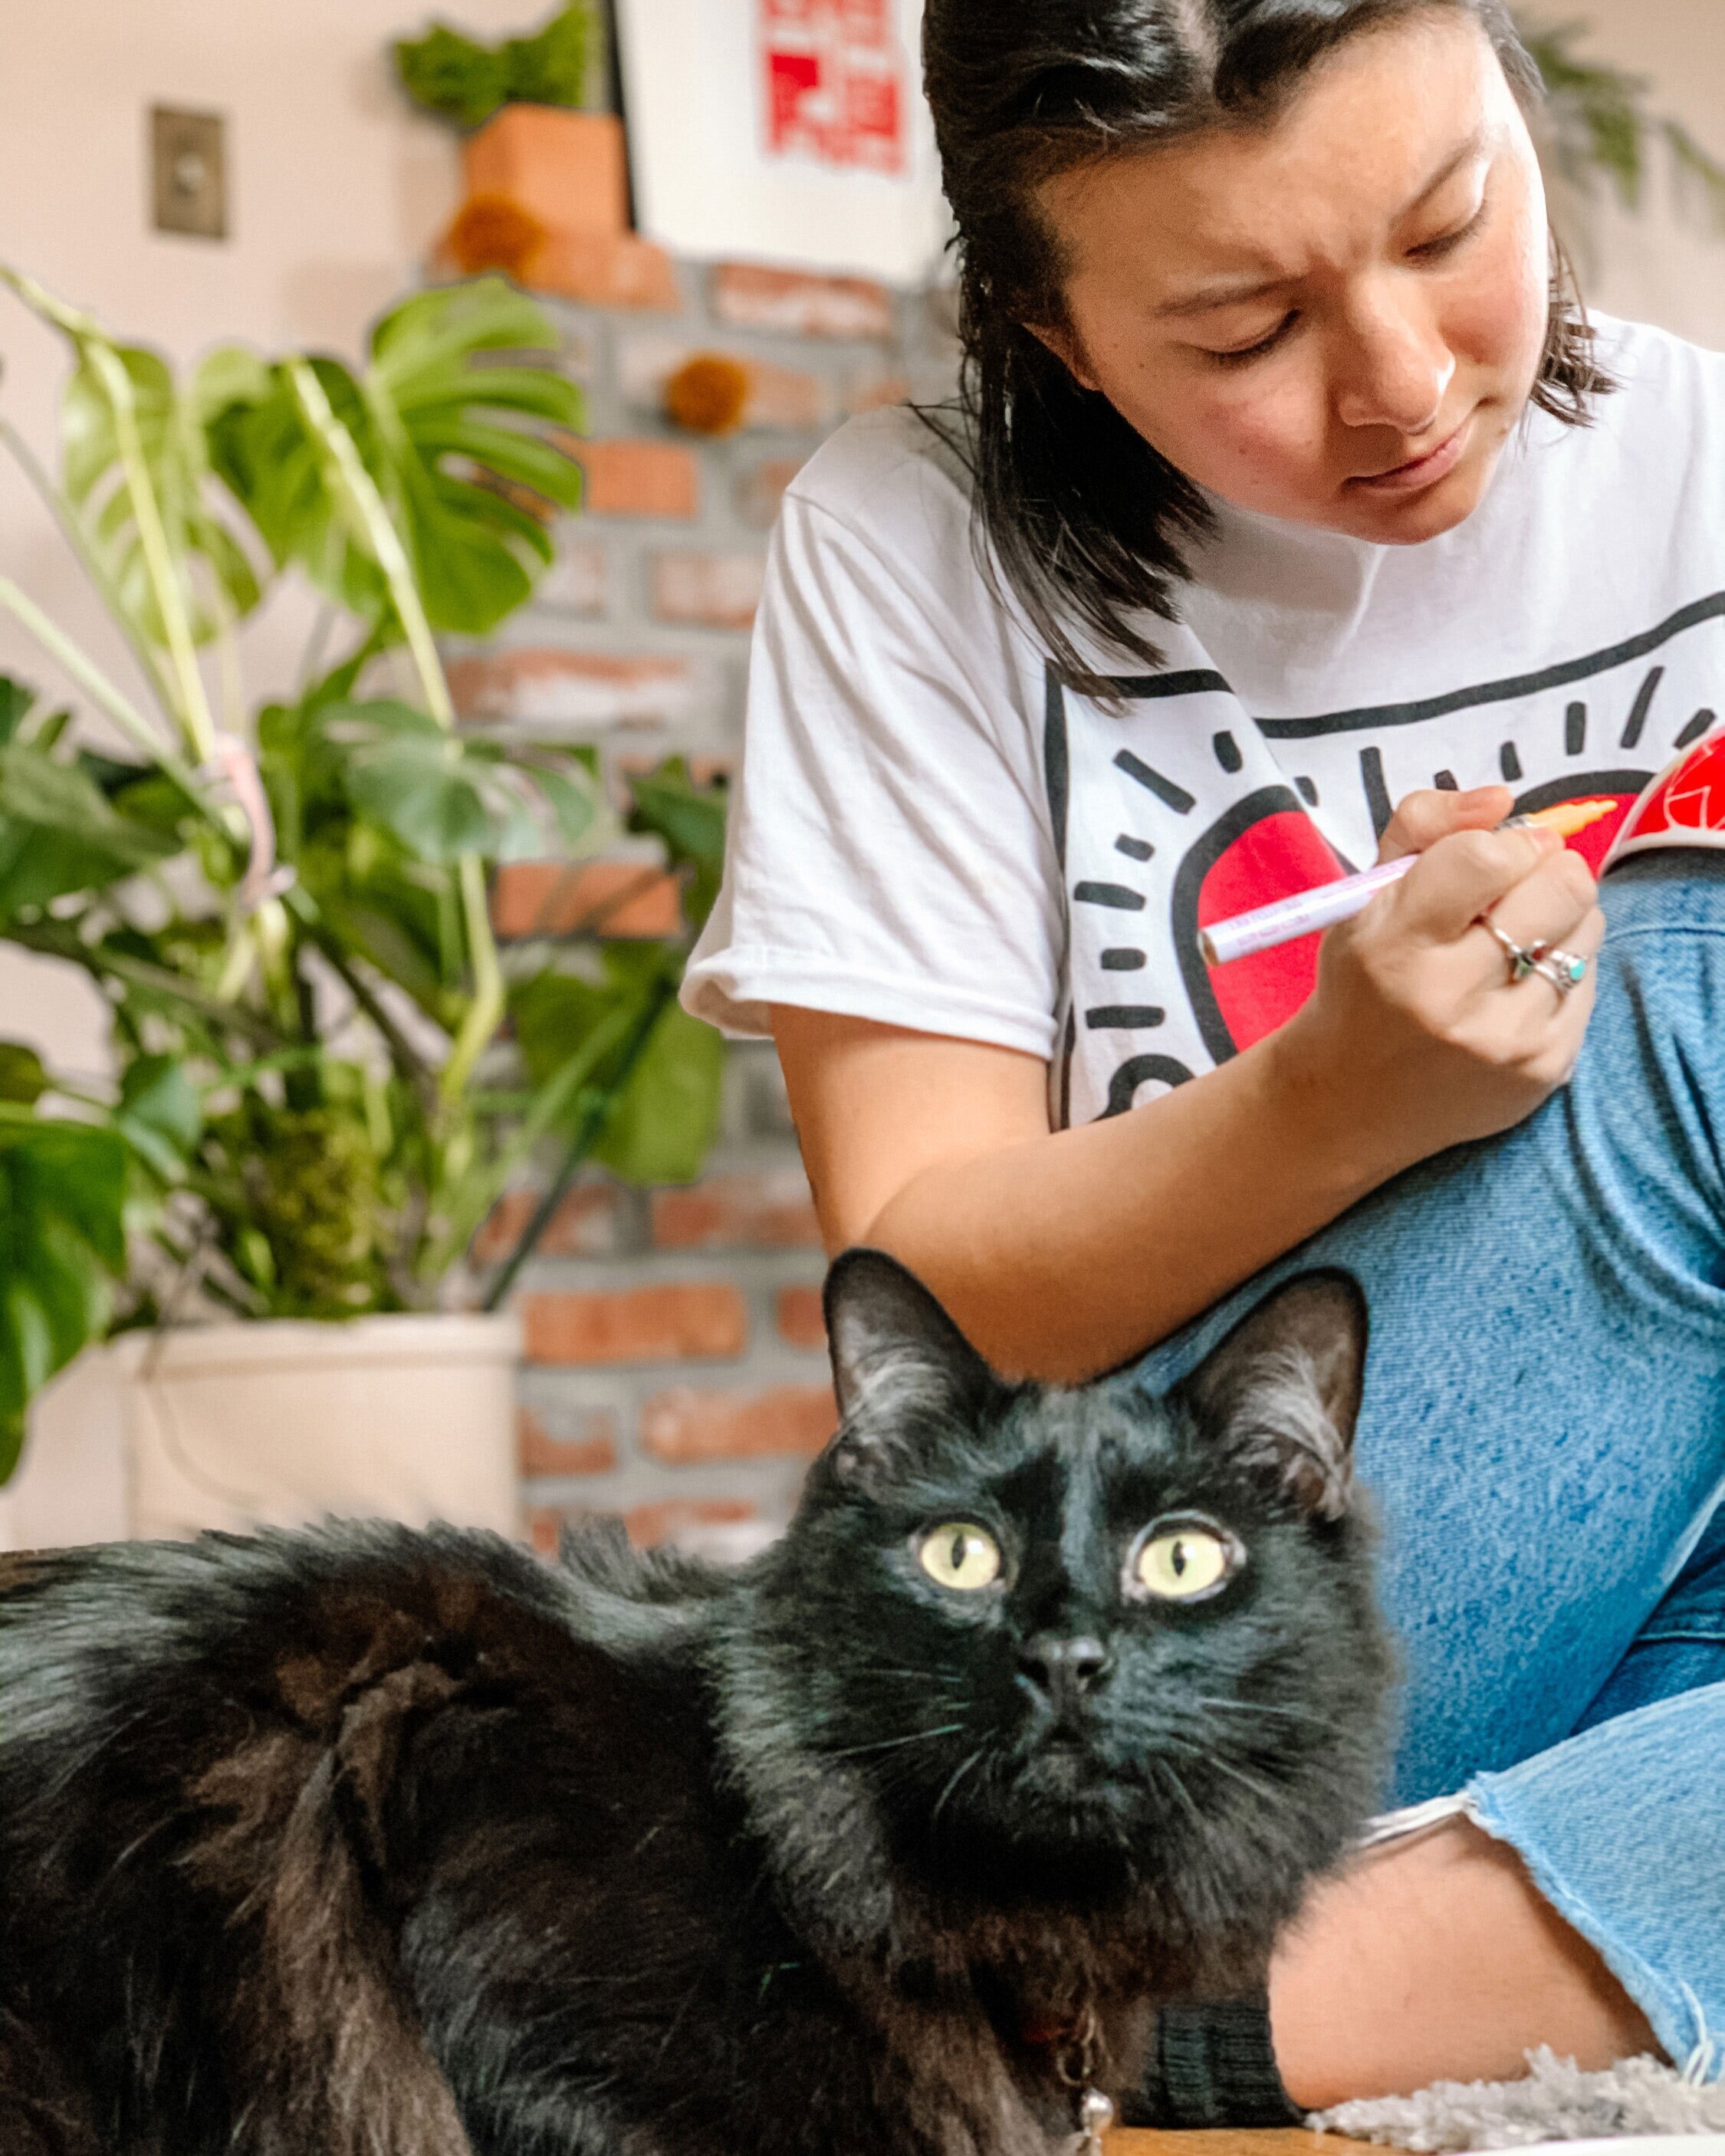
Wrangle Your Cats
Mine stole the caps from the paint pens and then played soccer in the hallway. I didn’t want my pens to dry out so it was a really fun game for them when I had to chase them down.

Prepare Pen
(If your bowl has any smudges or isn’t clean, wipe with alcohol wipes before starting.) Shake the paint pen vigorously and press the point repeatedly until you see the paint coming down the tip. I recommend starting by outlining your shapes.

Fill in Paint
Fill in your shapes and even switch colors if you want. My bowl was all black but Emily wanted to go with yellow and red.
Let Dry
When you reach the halfway point I suggest setting it down for 30 minutes to let it dry. It can be hard to avoid smudging once you have that much done. Finish painting bowl once time has elapsed.

Bake Your Bowl
Let dry for 24 hours and then on to baking! Place the bowl(s) in the oven and THEN turn the oven on. This keeps your bowl from cracking as it warms up with the oven. Set the temperature to 300° and bake for 1-1.5 hours. Turn off the oven and let the bowl cool inside.


Wasn’t that easy?! We did all the painting in the course of watching the Netflix movie “To All the Boys I’ve Loved Before” and by the next day I had a new water bowl for the kitties. Also I loved the movie and plan on reading the book as soon as possible.
I have 4 bowls left and want to try some different designs and patterns. I can always use a large cereal or ice cream bowl so maybe a food theme? I was thinking of painting the inside on some of them too for a fun pop of color. Let me know how yours turns out in the comments.