How to Make a Rainbow Clay Hanging
As an Amazon Associate I earn from qualifying purchases.

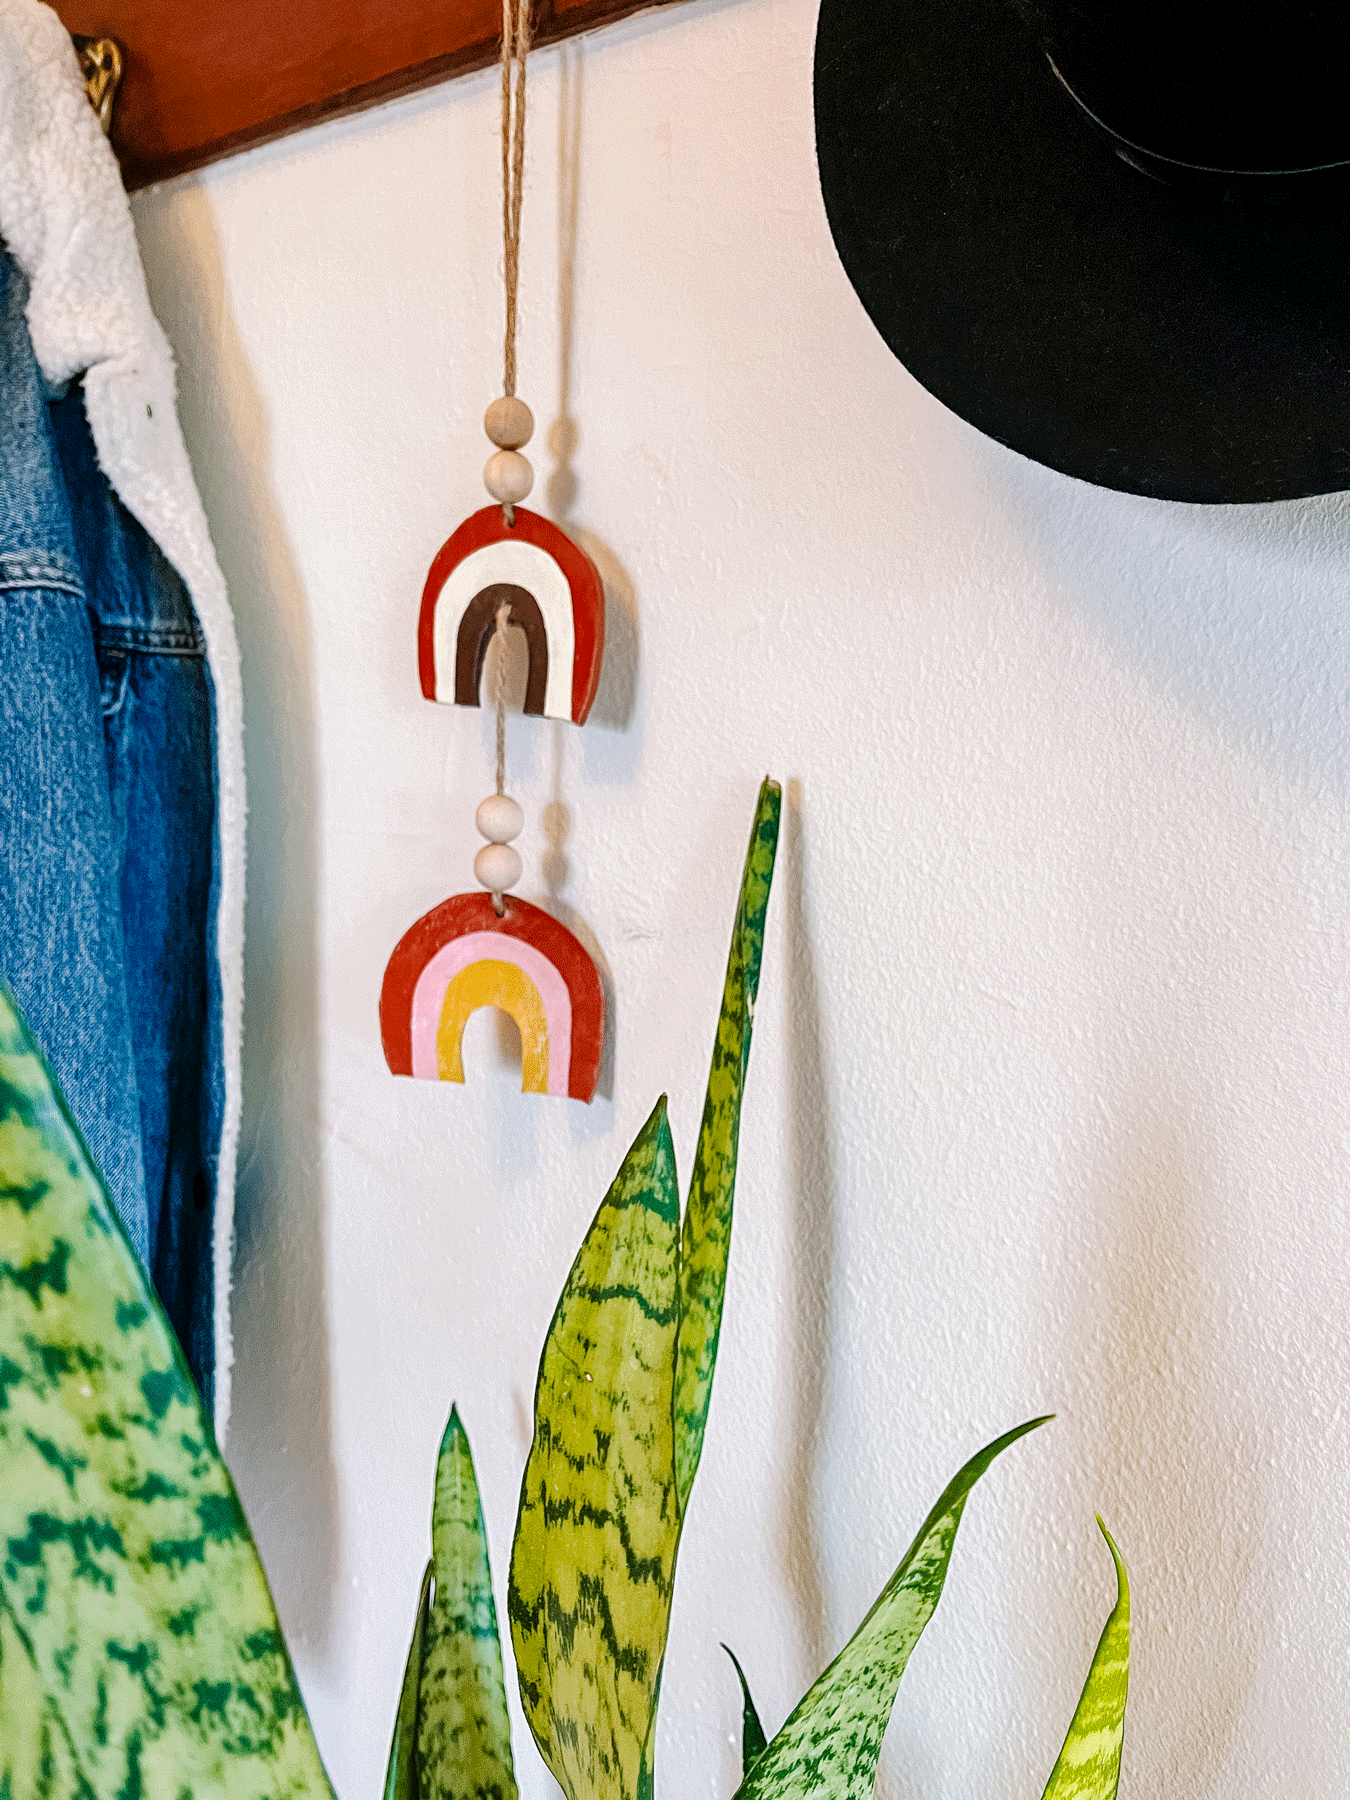
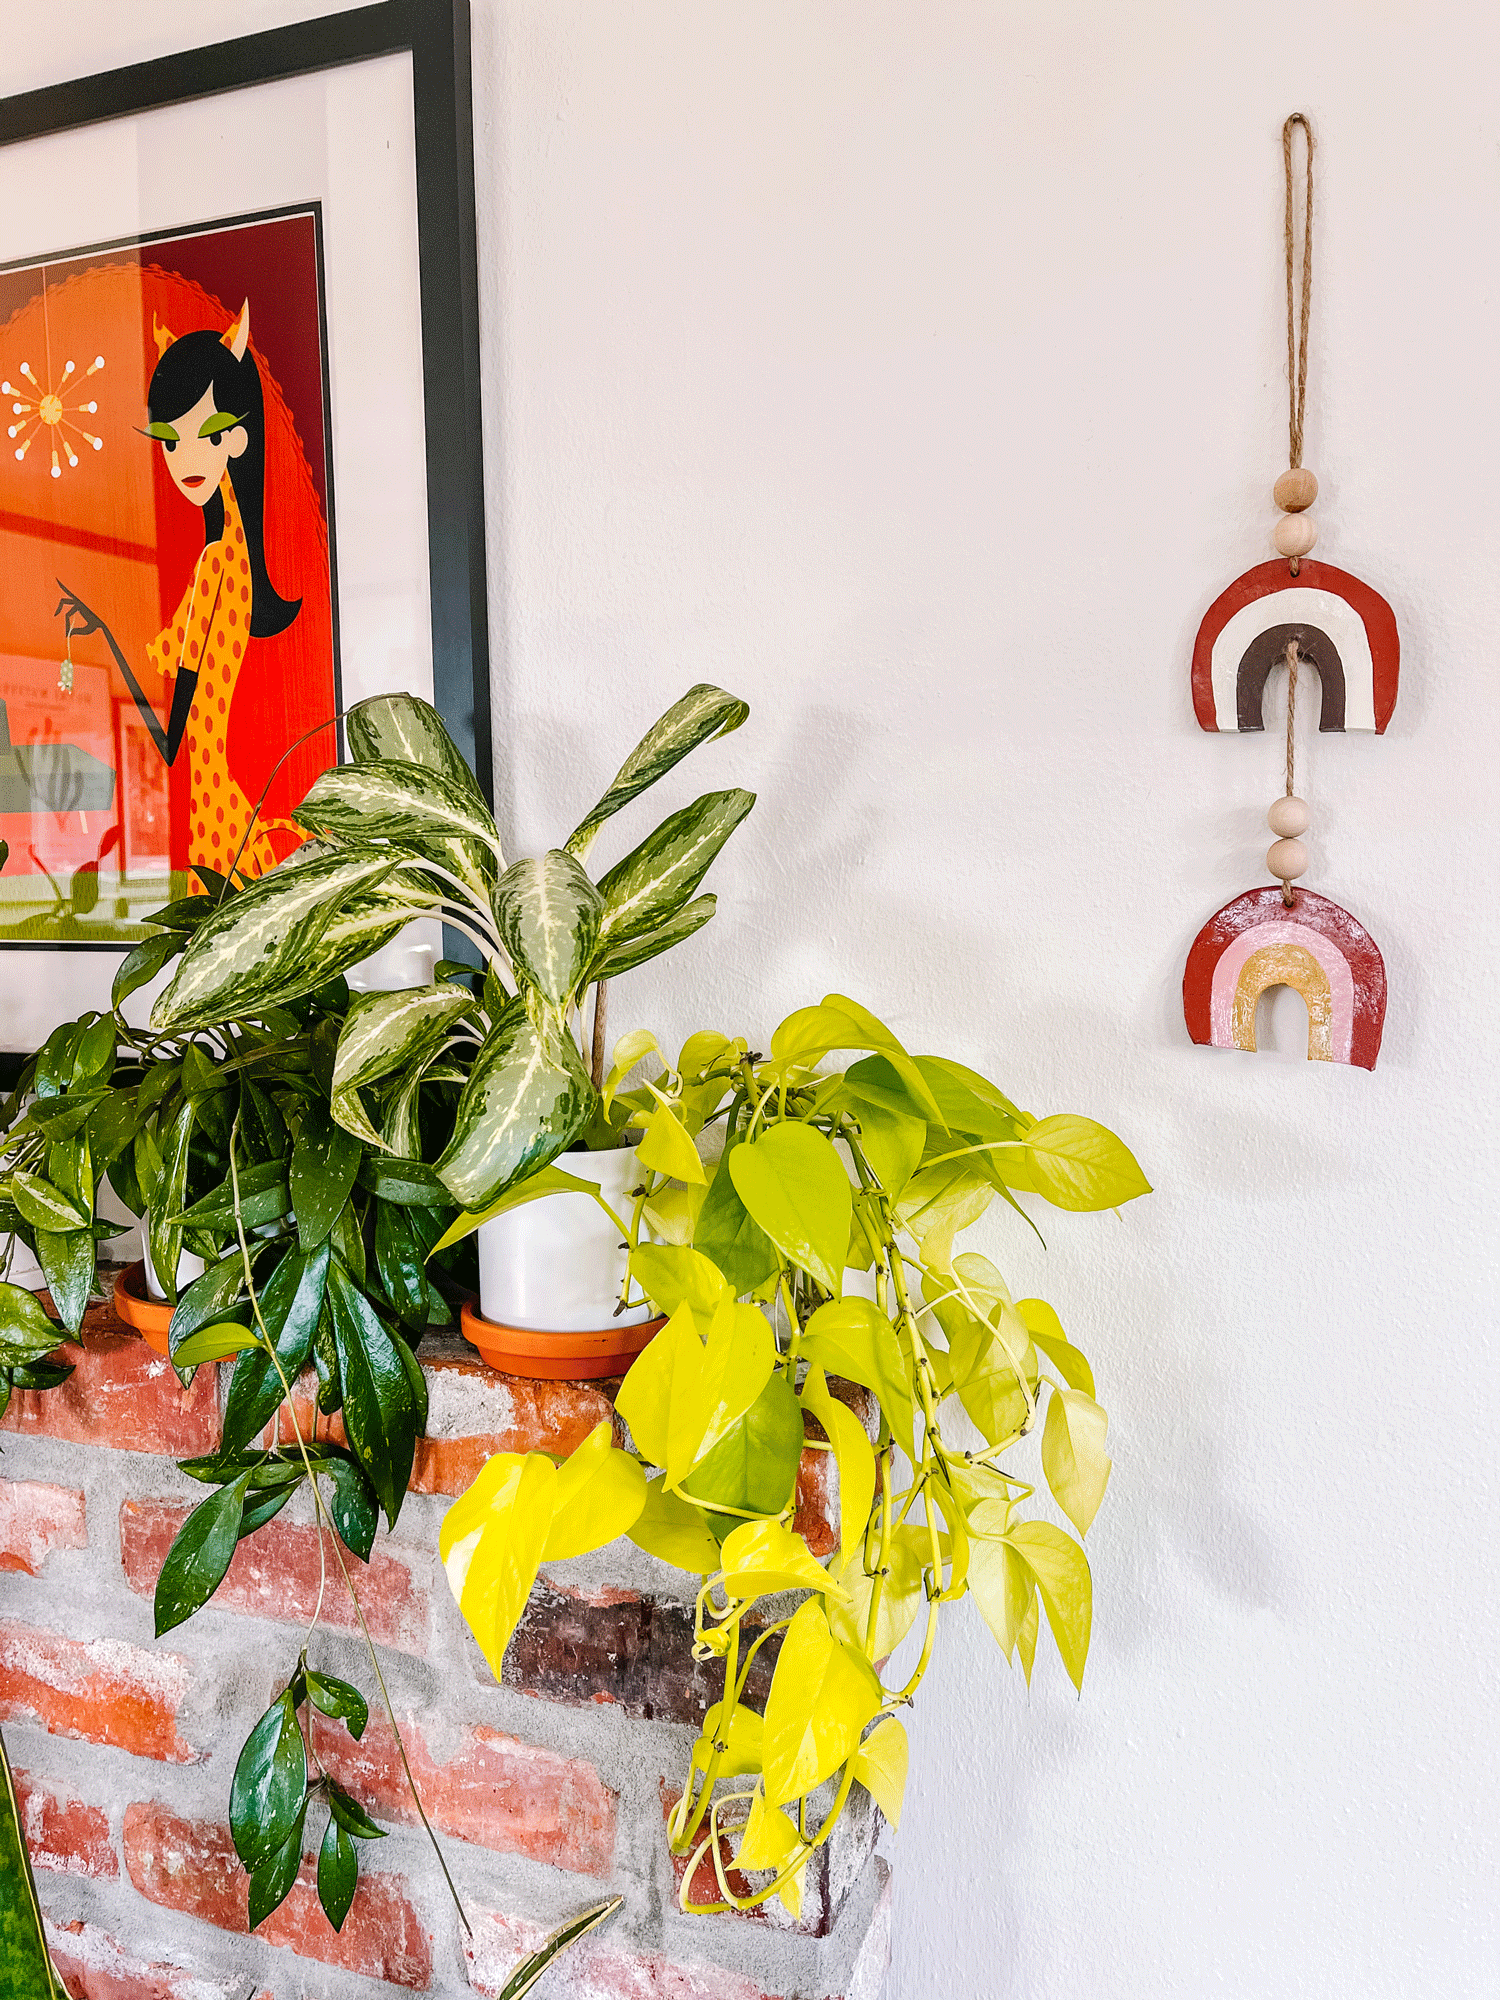
If you want to add some color and personality to your walls but don’t have the money for expensive art and frames, a DIY clay wall hanging is the perfect solution. With the combination of clay, twine and wood beads you get a very natural piece that adds warmth to a space. Due to the long and skinny nature of these hangings, they are excellent for that narrow wall you don’t know what to do with, above light switches, or even hang it on your door handle but beware, the cats may smack at it.
This project cost me $0 as I used leftovers from previous DIYs and it only took an hour or so to make. I chose terra cotta clay cut into imperfect rainbows, earthy twine and wood beads as I wanted a boho feel but you could easily change the feel of this by choosing different mediums. Opt for whites, tans, and browns, leather string, and pale wood beads for a neutral, clean feel. More beachy? Go with shades of blue, glass beads and clear string or twine. Want to modernize it? Cut a perfect half circle for your rainbow (use a cookie cutter and ruler) for a clean shape and use metal beads. So many possibilities for such a simple project! Want to make another wall hanging? Try this mid century modern clay hanger that has a fun yarn tassel.
Tips & Tricks
- Alot of different strings would look great in this piece. I went with twine after originally choosing macrame because I thought it would contrast nicely. Some other suggestions would be leather or yarn!
- Ideally your clay would be 1/4” but any thicker you need to increase the bake time. Keep the oven temperature the same. Low heat prevents burning. Burning isn't a big deal if you plan on painting the entire piece which will hide crispy parts, but if you want to keep the original color, keep the heat low and cover your pieces with aluminun foil or pans.
- Glazing your pieces helps protect it from scuffing. If you want your clay to have a shine, use some gloss glaze on it after it is done baking and cooling. If you want to keep it matte use this glaze.
- Silicone mats are really helpful for craft projects, espeially resin, clay and anything involving paint, stains, and dyes. My mat has measurements on it, rolls up, can be easily cleaned and is actually for baking.
- Another great baking product I use for clay is my rolling pin. It has screw off sides that denote how thick your item is. I used the 1/4" setting for this project.


If video format is more your speed, I made a compilation of the DIY for you to follow. I am going to try this on more of my blog posts. Let me know if you like it! Subscribe to my YouTube channel to keep up with new videos or my TikTok @thegreenmadhouse.

Supplies
Clay: White | Terracotta
Rolling Pin - this one has set thicknesses!
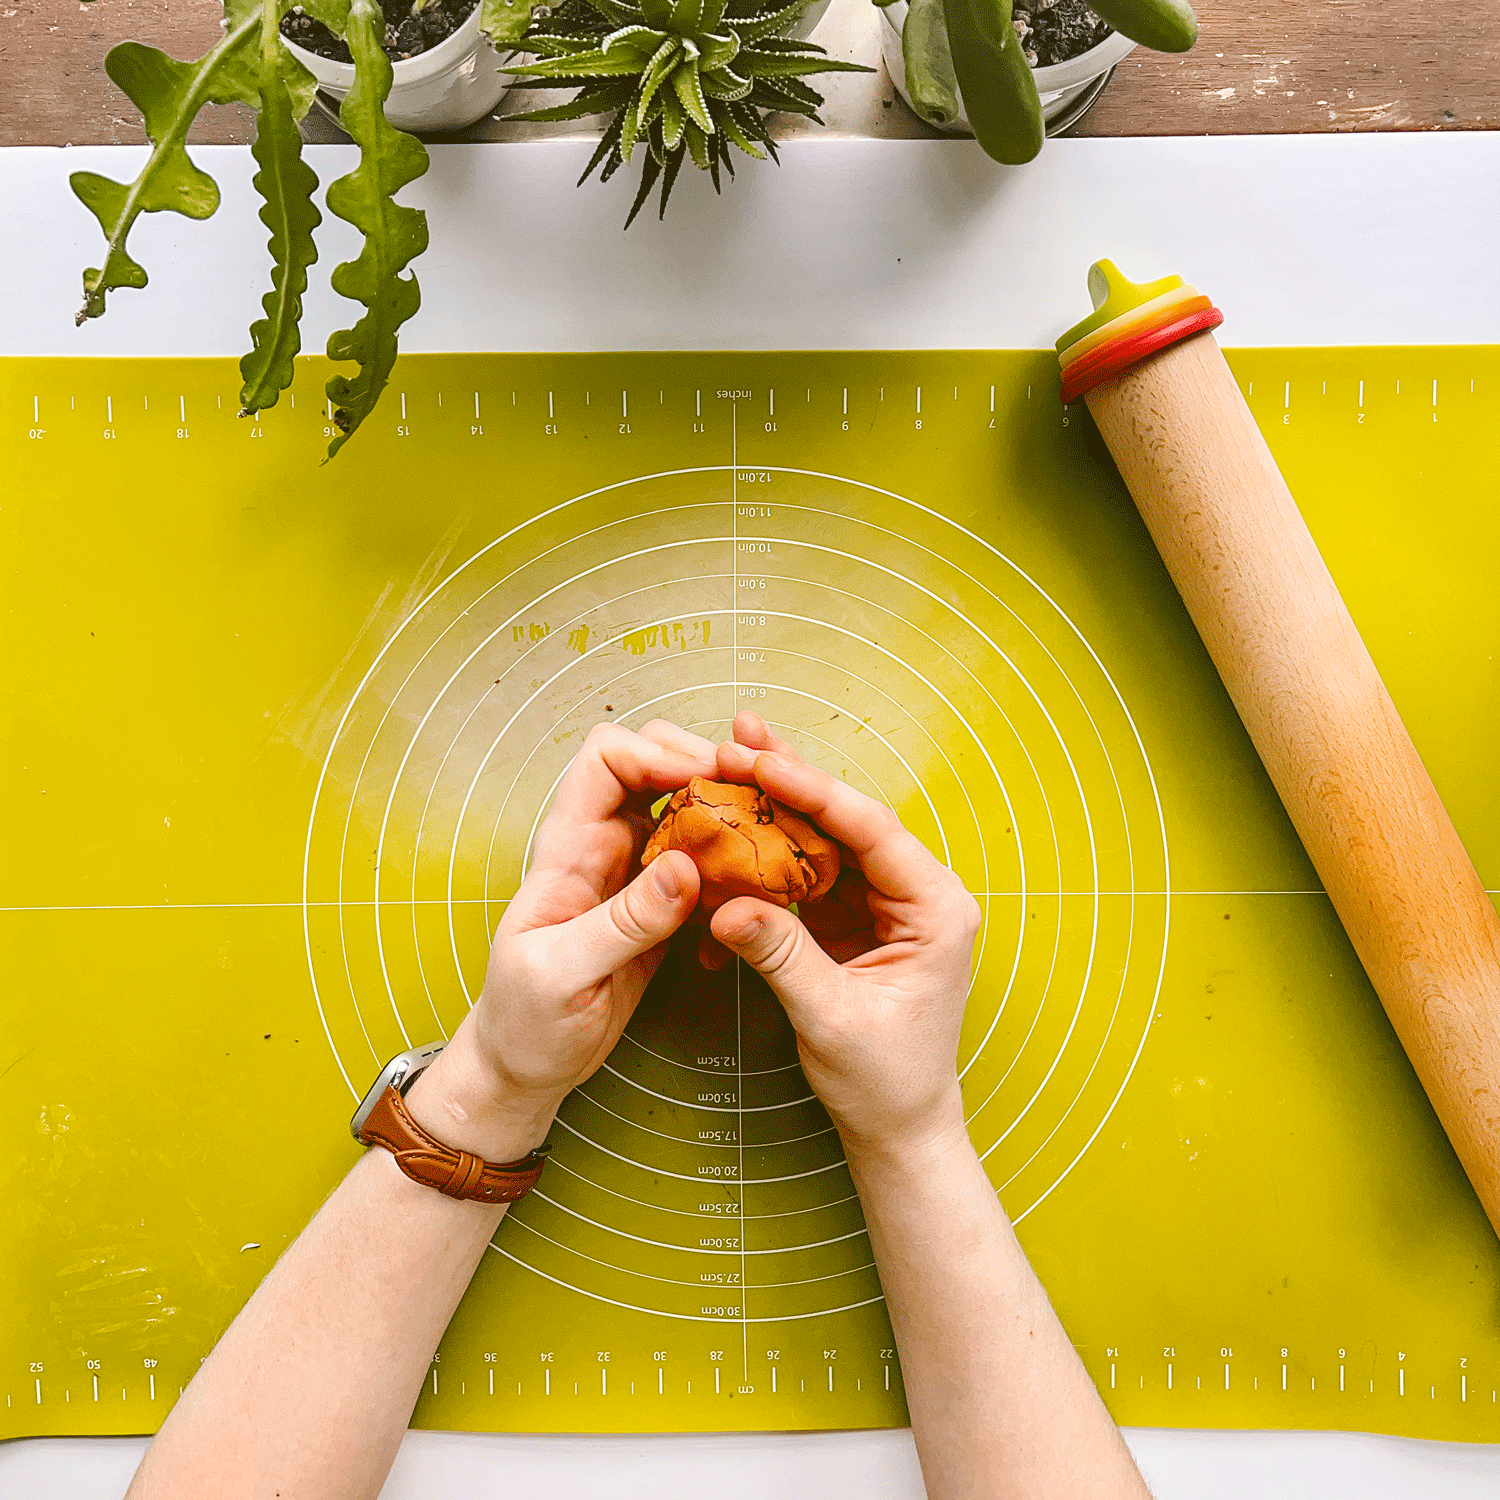
Knead the Clay
Roll the clay in your hands and knead it to get it soft.

Roll Your Clay
Roll it out using a rolling pin to 1/4” thickness.

Cut the Clay
Use a cookie cutter if you want an exact shape or an exacto knife if you want a more organic shape. Cut out 2 rainbows.

Punch the Hole
You can use a skewer, chopstick, an exacto or even a back of paint brush to punch your hole. Mine was about 1/4” across. Punch 2 holes, top and bottom, in one rainbow and punch 1 hole, just top, in the other rainbow,

Bake Clay
Preheat your oven to 275°. Place your clay in the foil pan and then place another foil pan upside down on top of it to create a lid. This keeps your clay from burning. Bake for 10 minutes.

Paint Clay
I wanted to keep the original terracotta clay color so only painted two of the stripes. If you were using leftover clay that you didn’t like the color, then paint it all!

Optional (Glaze)
You can keep your clay as is but I like glazing to add a layer of protection to my clay.

String Your Rainbow
Cut some string and knot it through the top hole of your 1-hole rainbow. String on beads and then knot it in the bottom hole of your 2-hole rainbow. Take a second string and knot and string it. Loop it around and string it back inside your beads. You can knot it again or place some glue inside the beads.


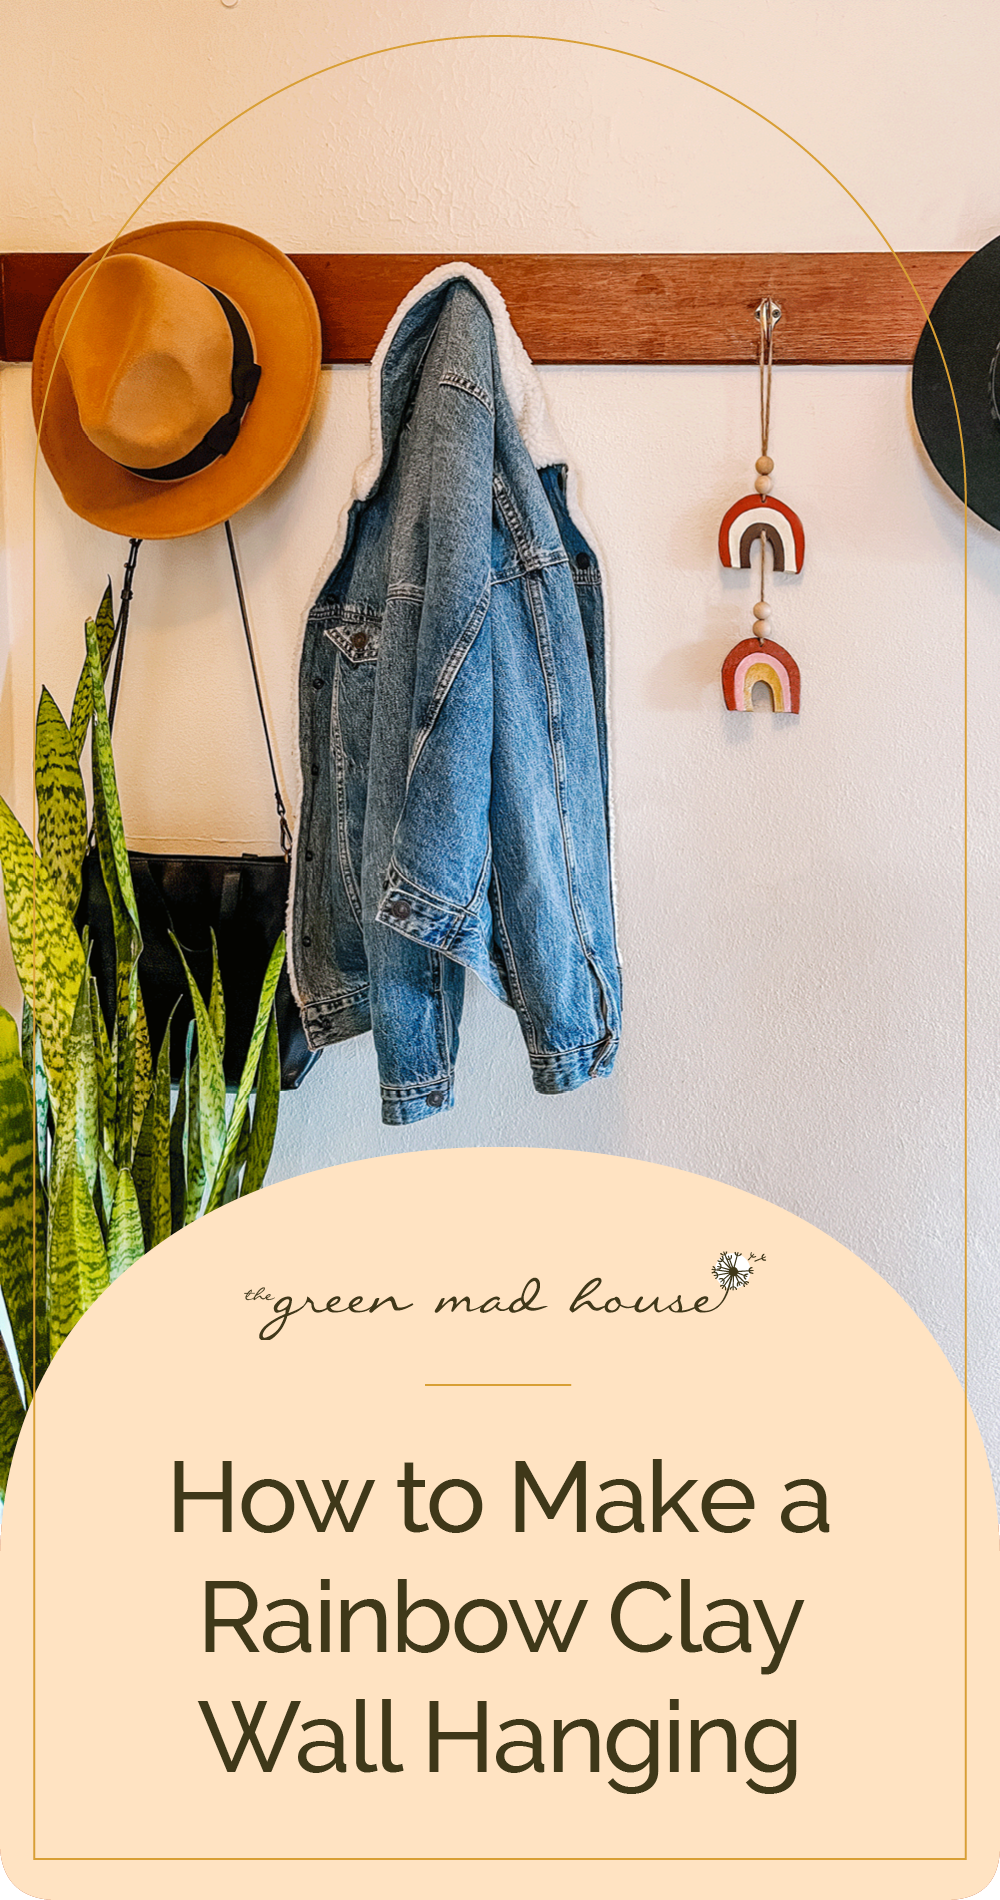


I love being able to use leftover scraps from other projects and turning it into something pretty. This hanger can be used in so many places that I tried it out on my hallway coat rack, by my fireplace and on my bedroom door. Where do you think it looks best?
I hope you all have fun making this. Let me know in the comments how yours turns out or tag me on instagram @thegreenmadhouse.