How to Make a Macrame Hanger for Hats
As an Amazon Associate I earn from qualifying purchases.
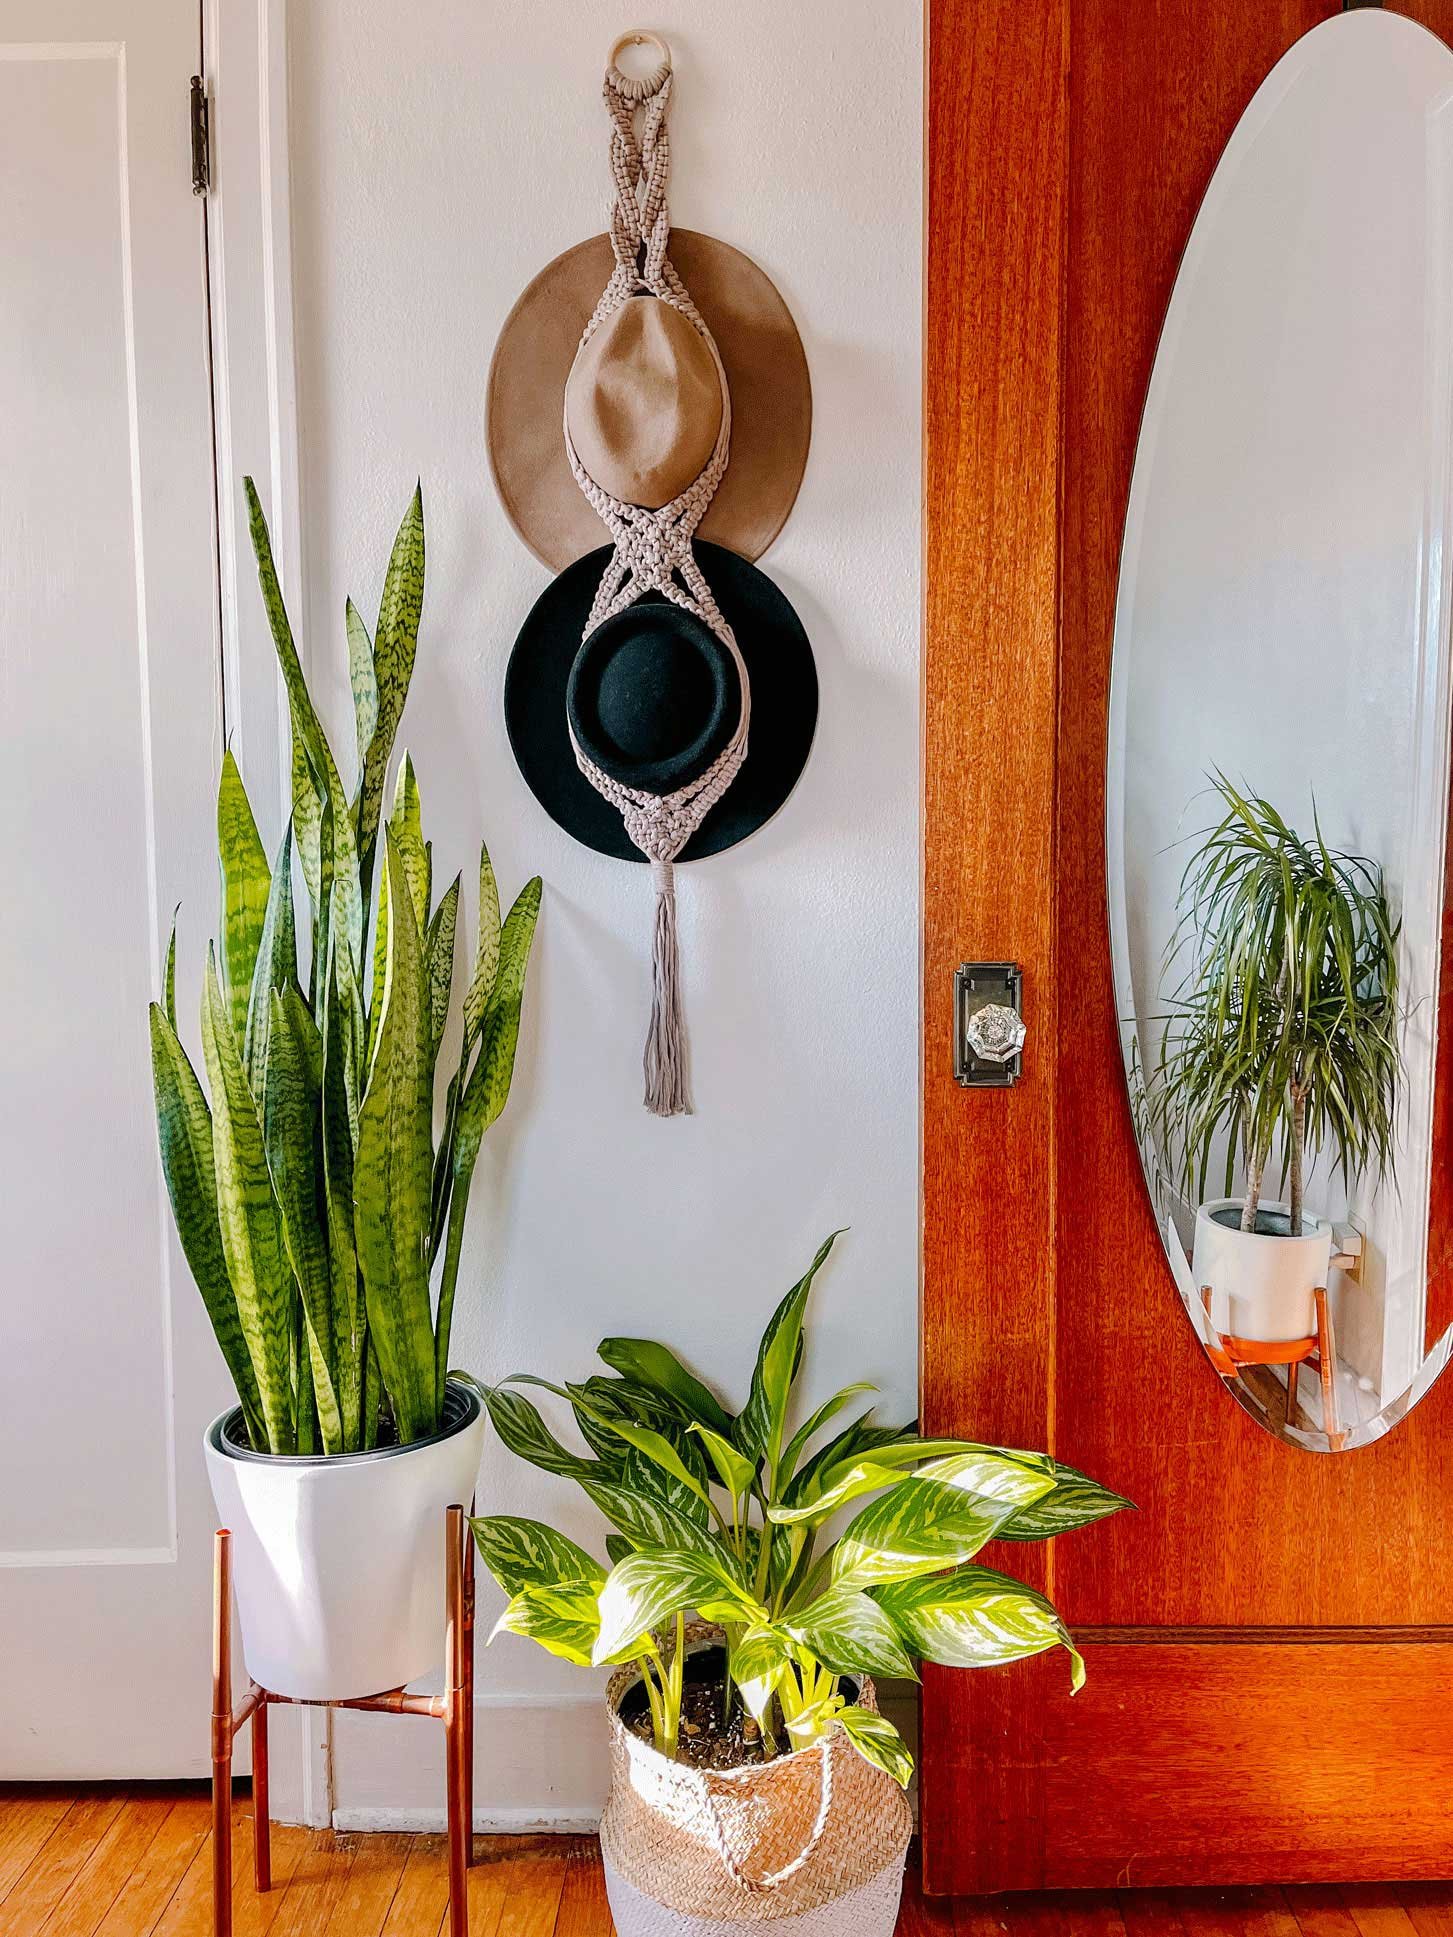
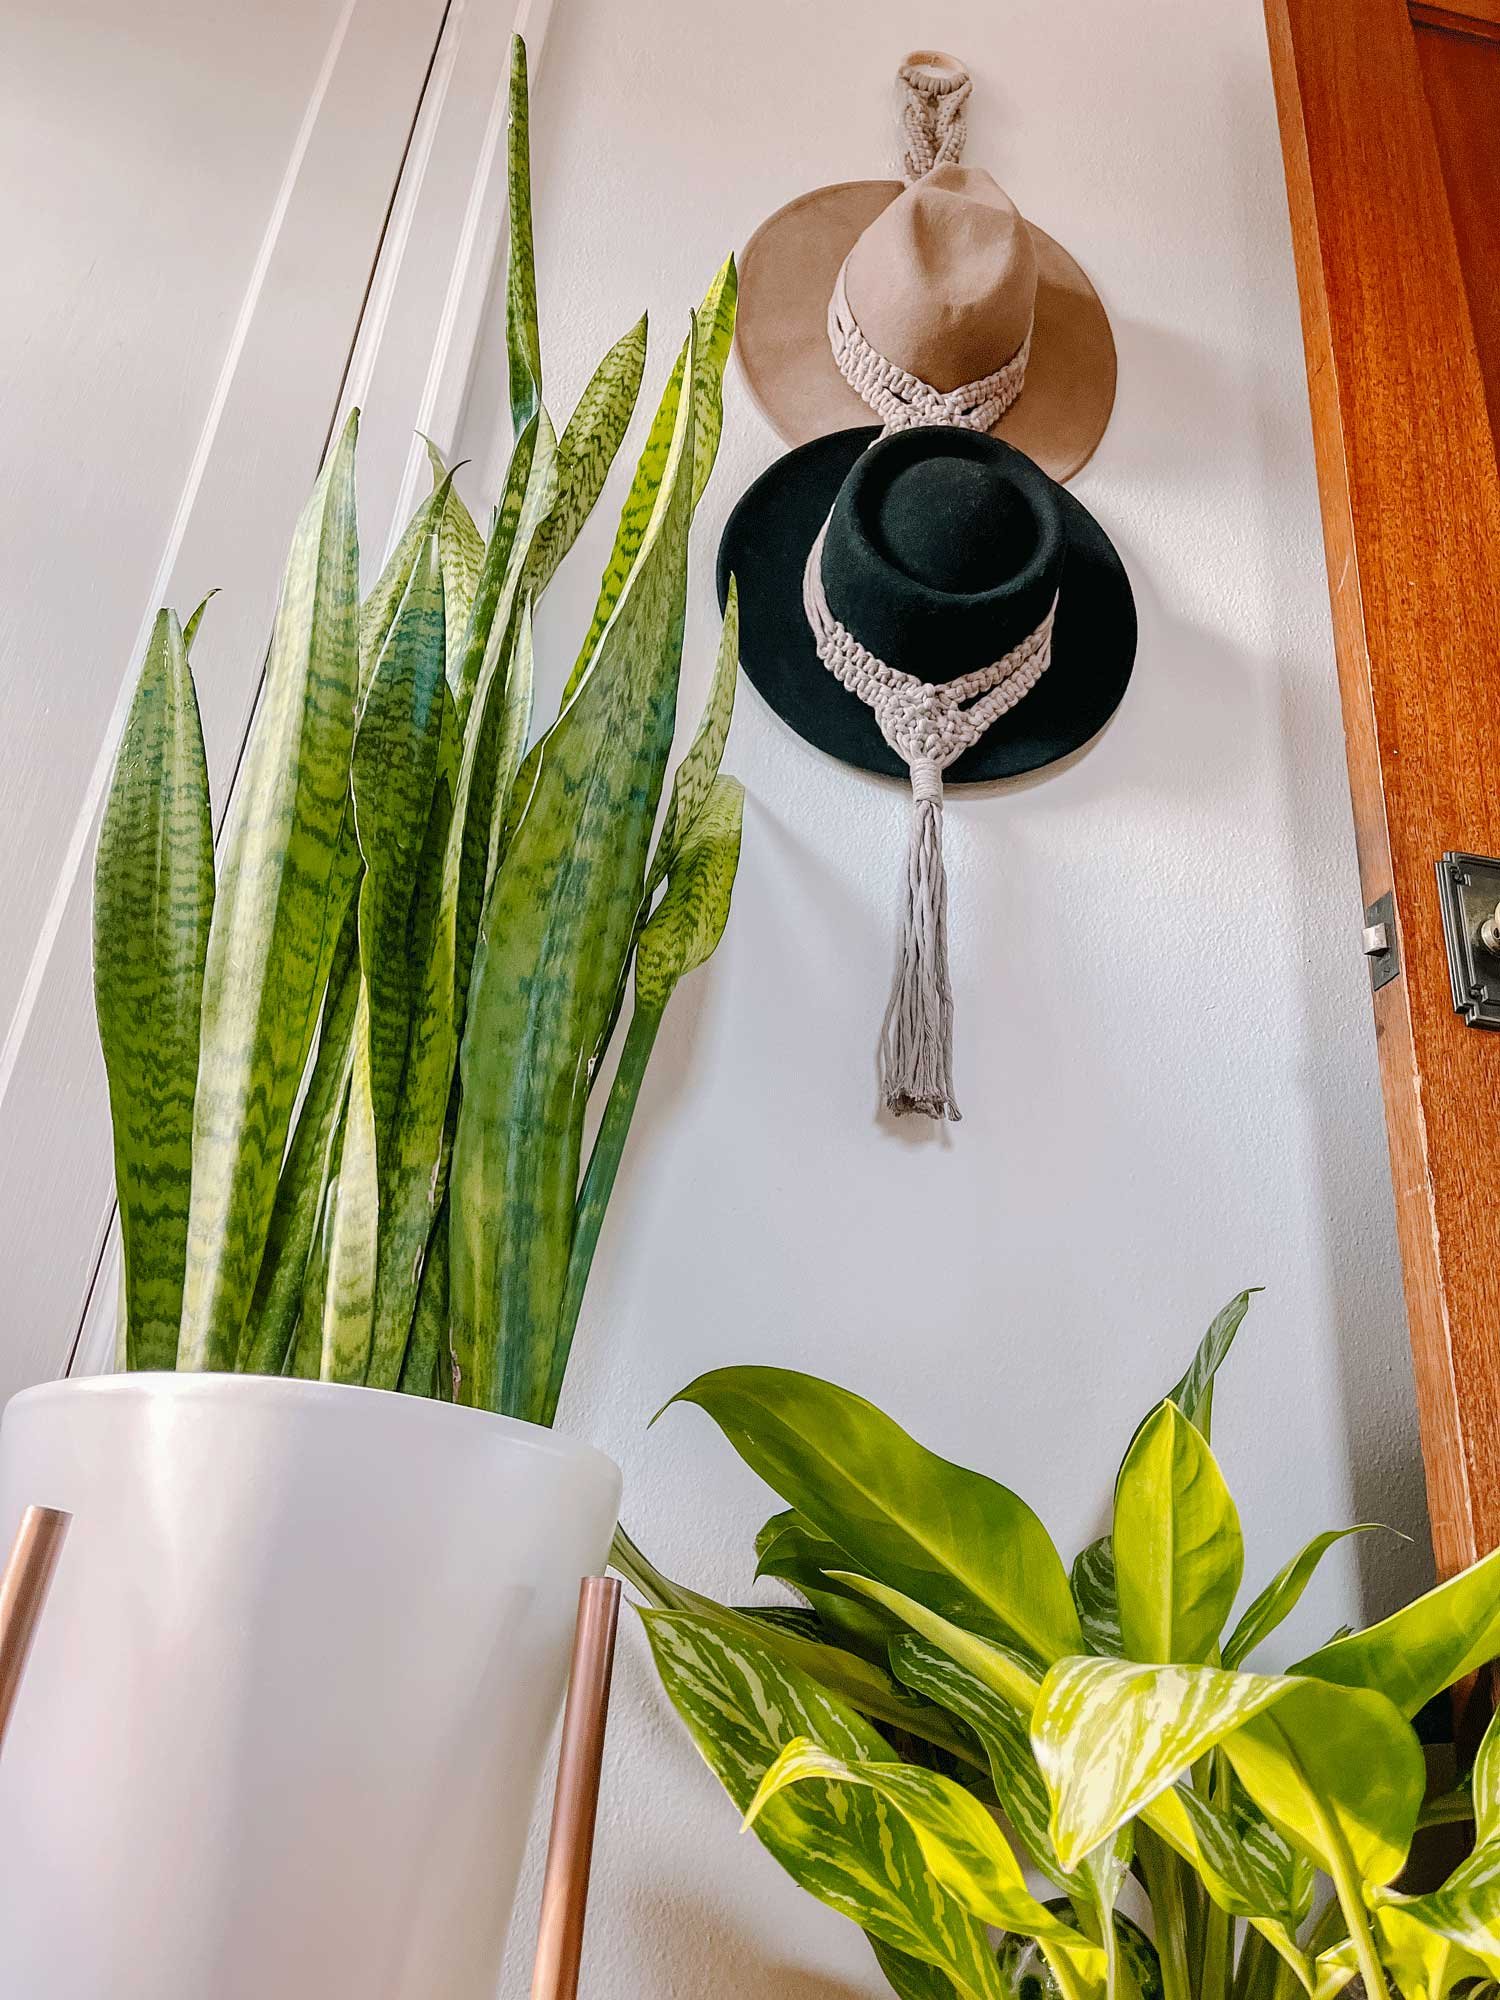
After seeing macrame hat hangers all over Pinterest I decided to create my own along with a step-by-step tutorial and video so anyone else can recreate this boho craze. Hat storage is always tough and this not only provides an organizational solution it is also a beautiful wall accent. My hanger holds two hats but you could end the hanger early and have it hold a single hat or just keep going and make it hold as many hats as you want.
The amazing thing about macrame is you can learn just a couple of knots and the possibilities are endless. This only uses three knots: the Lark’s Head knot, Square knot and Gathering knot. Honestly from there you could customize your hanger in endless ways, my guide is just a jumping off point. Change the color, use baseball caps, have it hold 5 hats, try it all!
I used a light taupe colored macrame instead of cream because my walls are that color and I wanted it to stand out but still be neutral. I use the fiber brand Ganxxet for all my macrame DIYs and on my Etsy shop because it is eco-friendly with it all being recycled from factory scraps and comes in beautiful colors but has zero dyeing.
Tips & Tricks
I used 4mm macrame. You could down to 3mm or up to 5mm but any larger and the knots would become very thick and you might want to alter the design. The thicker the macrame the less overall length you need when starting and vica versa.
I stagger my lengths at the beginning because it saves overall macrame usage. If you didn’t you would need about 40’ more for this project and most of that would be scraps at the end.
If you want to make this for 3 hats as opposed to 2 you would need to add about 4 feet to your length making when you stagger your lengths in step 2 go from 11 feet and 6 feet to 13.5 and 7.5 feet. This is an approximation so when in doubt add more! Braids take up a surprising amount of length.


If video format is more your speed, I made a compilation of the DIY for you to follow. I am going to try this on more of my blog posts. Let me know if you like it! Subscribe to my YouTube channel to keep up with new videos or my TikTok @thegreenmadhouse.

Supplies

Cut Macrame
Cut 8 pieces of 17 foot macrame and 1 piece that is 3 foot.

Knot Macrame
Take your 8 long strands and attach using a Lark's Head knot to the wood ring. You are going to stagger the lengths of your strands at 11 feet and 6 feet because we mainly use the outer strands for braiding so you need more length for those. This just saves us from wasting macrame.

Square Knot
Take two adjoining pairs of strands and grab the two outermost strands. Cross the left over the two middles and under the right. Now take the right and loop it behind the two middles and through the opening. Pull tight.

Square Knot
Now repeat on the OPPOSITE side. You must alternate sides on square knots.

Crossover Knot
Square knot the outer pairs to 3 inches long and the inner to 5 inches. Take the two most inner strands of the outer pairs and cross them. Then perform square knots with the switched strands.

Repeat Knots
Continue this method of crossing over the strands until have done your third cross. From there, braid that set another 3 inches and match the other pairs to that length.

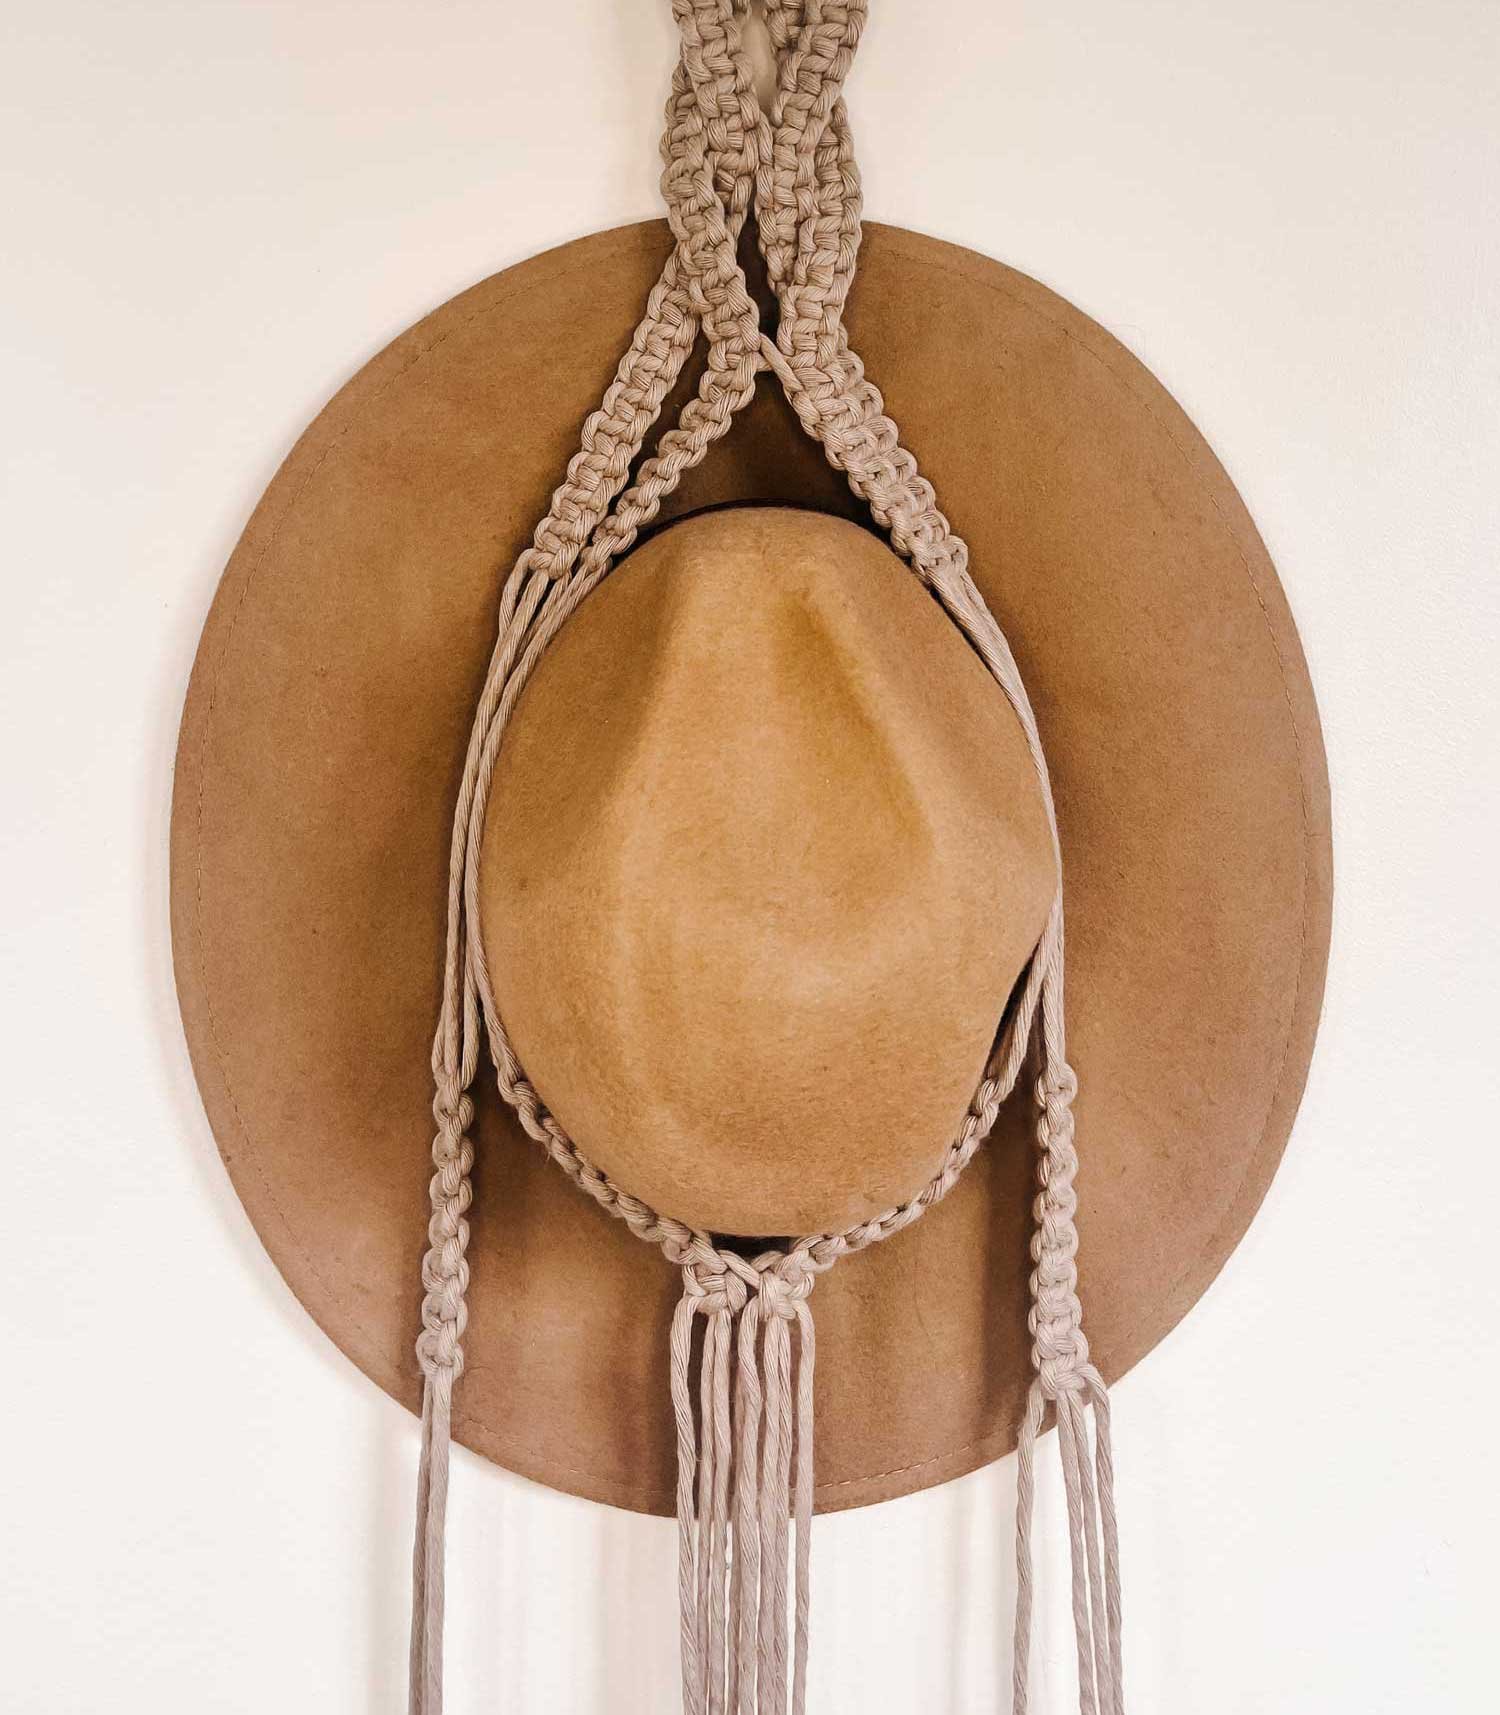
Place Hat
Place your hat between the braids. Grab the two inner pairs and loop them around the hat grasping where it holds the hat snugly.

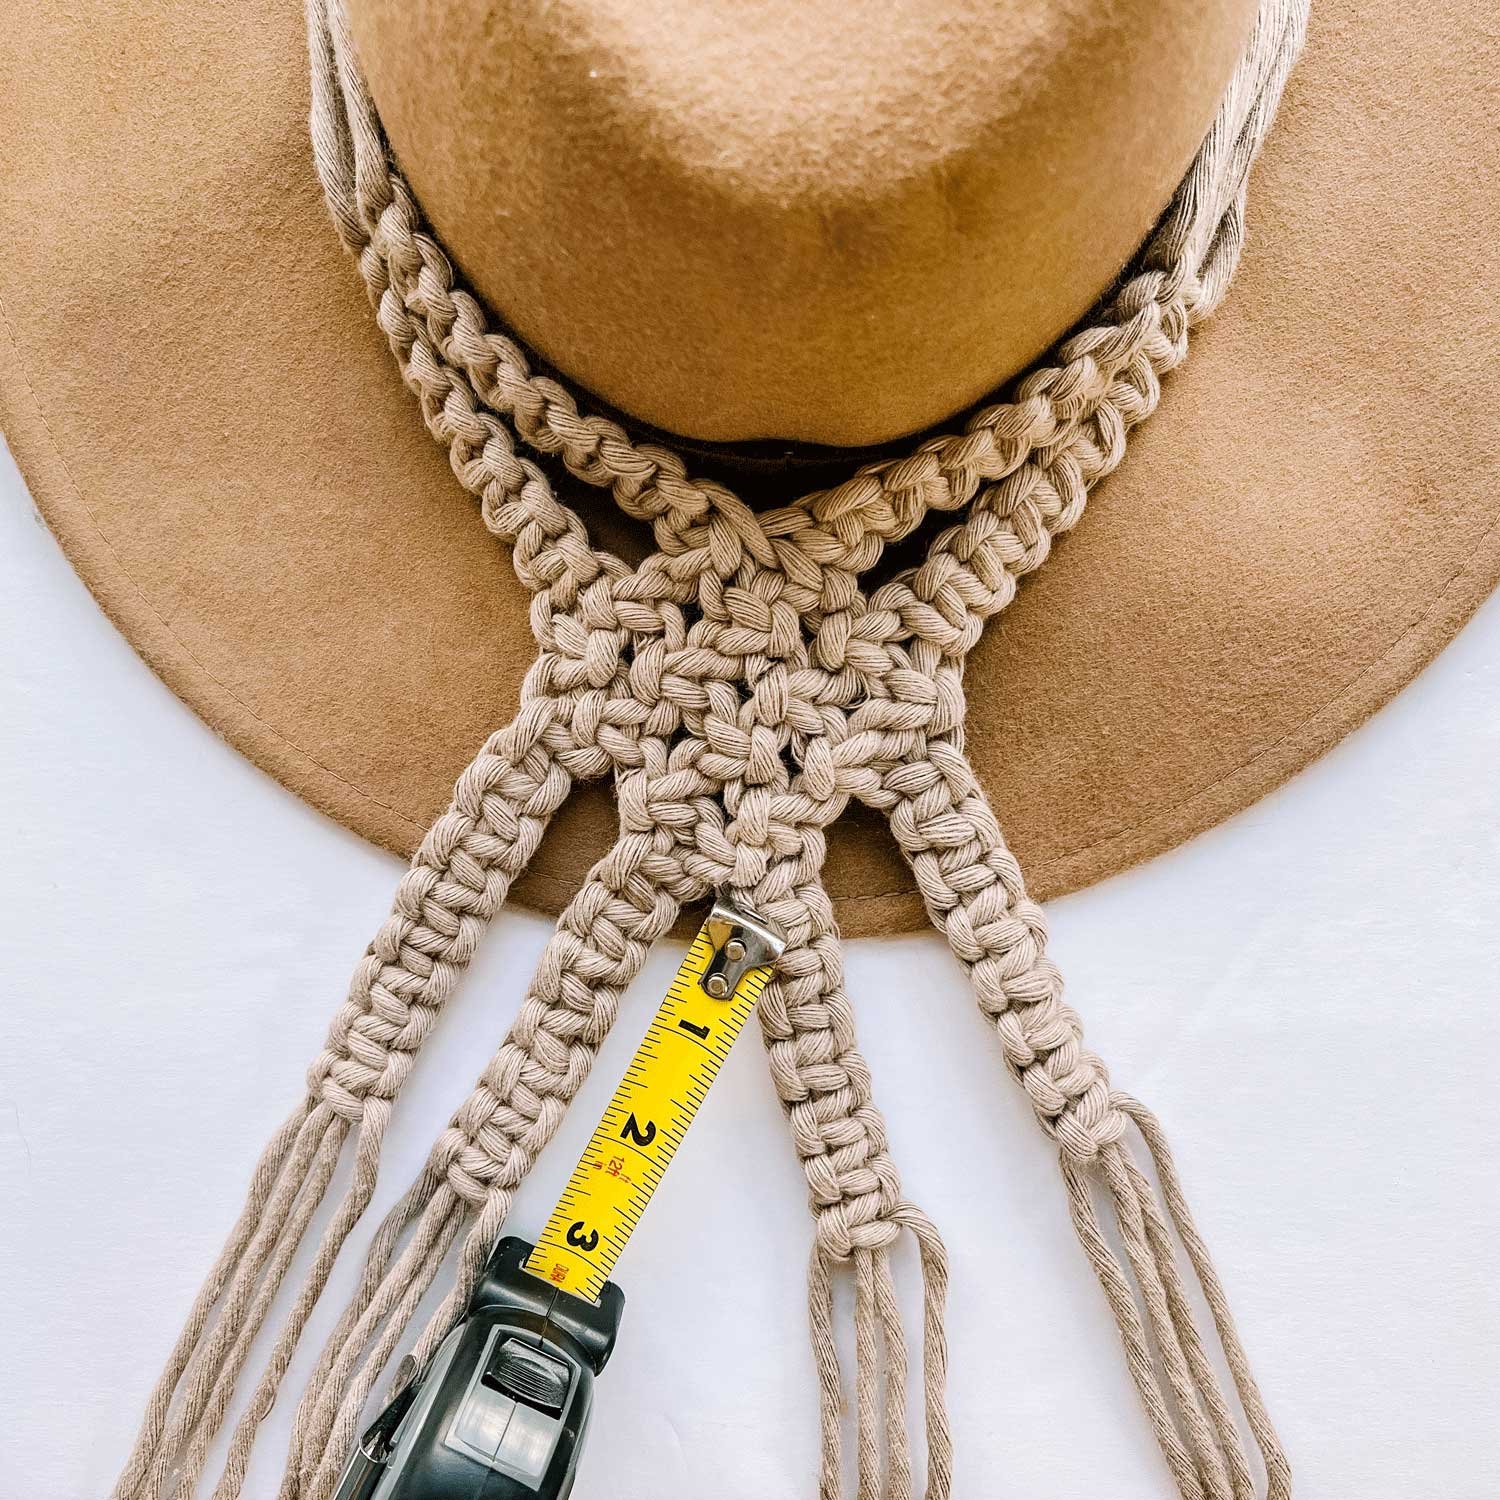
Square Knot
From the point you are holding, measure 3 inches back up the strands and start square knotting.

Square Knots
Square knot down 3 inches on all 4 braids .
Diamond Row 1
Do the crossover method on the two inner braids. Only do 2 alternating knots on each one. This is Row 1 of the diamond which has 2 sets of knots.

Diamond Row 2
Take 2 strands from your outer pair and 2 from your inner. Do 2 alternating square knots. Then use the inner 4 strands and repeat. This is Row 2 of the diamond which has 3 sets of knots.

Diamond Row 3
Diamond Row 3 has 4 sets of knots. Use every set of 4 strands and do 2 alternating knots.

Diamond Row 4
Diamond Row 4 has 3 sets of knots. Repeat diamond Row 2 step.

Diamond Row 5-6
Diamond Row 5 has 2 sets of knots. Use the inner 8 strands and do 2 alternating knots on each pair. Diamond Row 6 has 1 set. Use the middle 4 strands to make 2 alternating knots.
If you want to have this hold a single hat, stop here and skip ahead to this step.
Separate Strands
Re-separate your strands back out and square knot down another 3 inches.

Repeat Steps
Repeat the steps to create a second hat loop with a diamond bottom using Diamond Rows 1-5.
Keep repeating the above steps until you have as many hat holders as you want then continue past here.

Pinch End
Pinch the bottom of your strands. Take the 3’ piece and create a 5” loop.
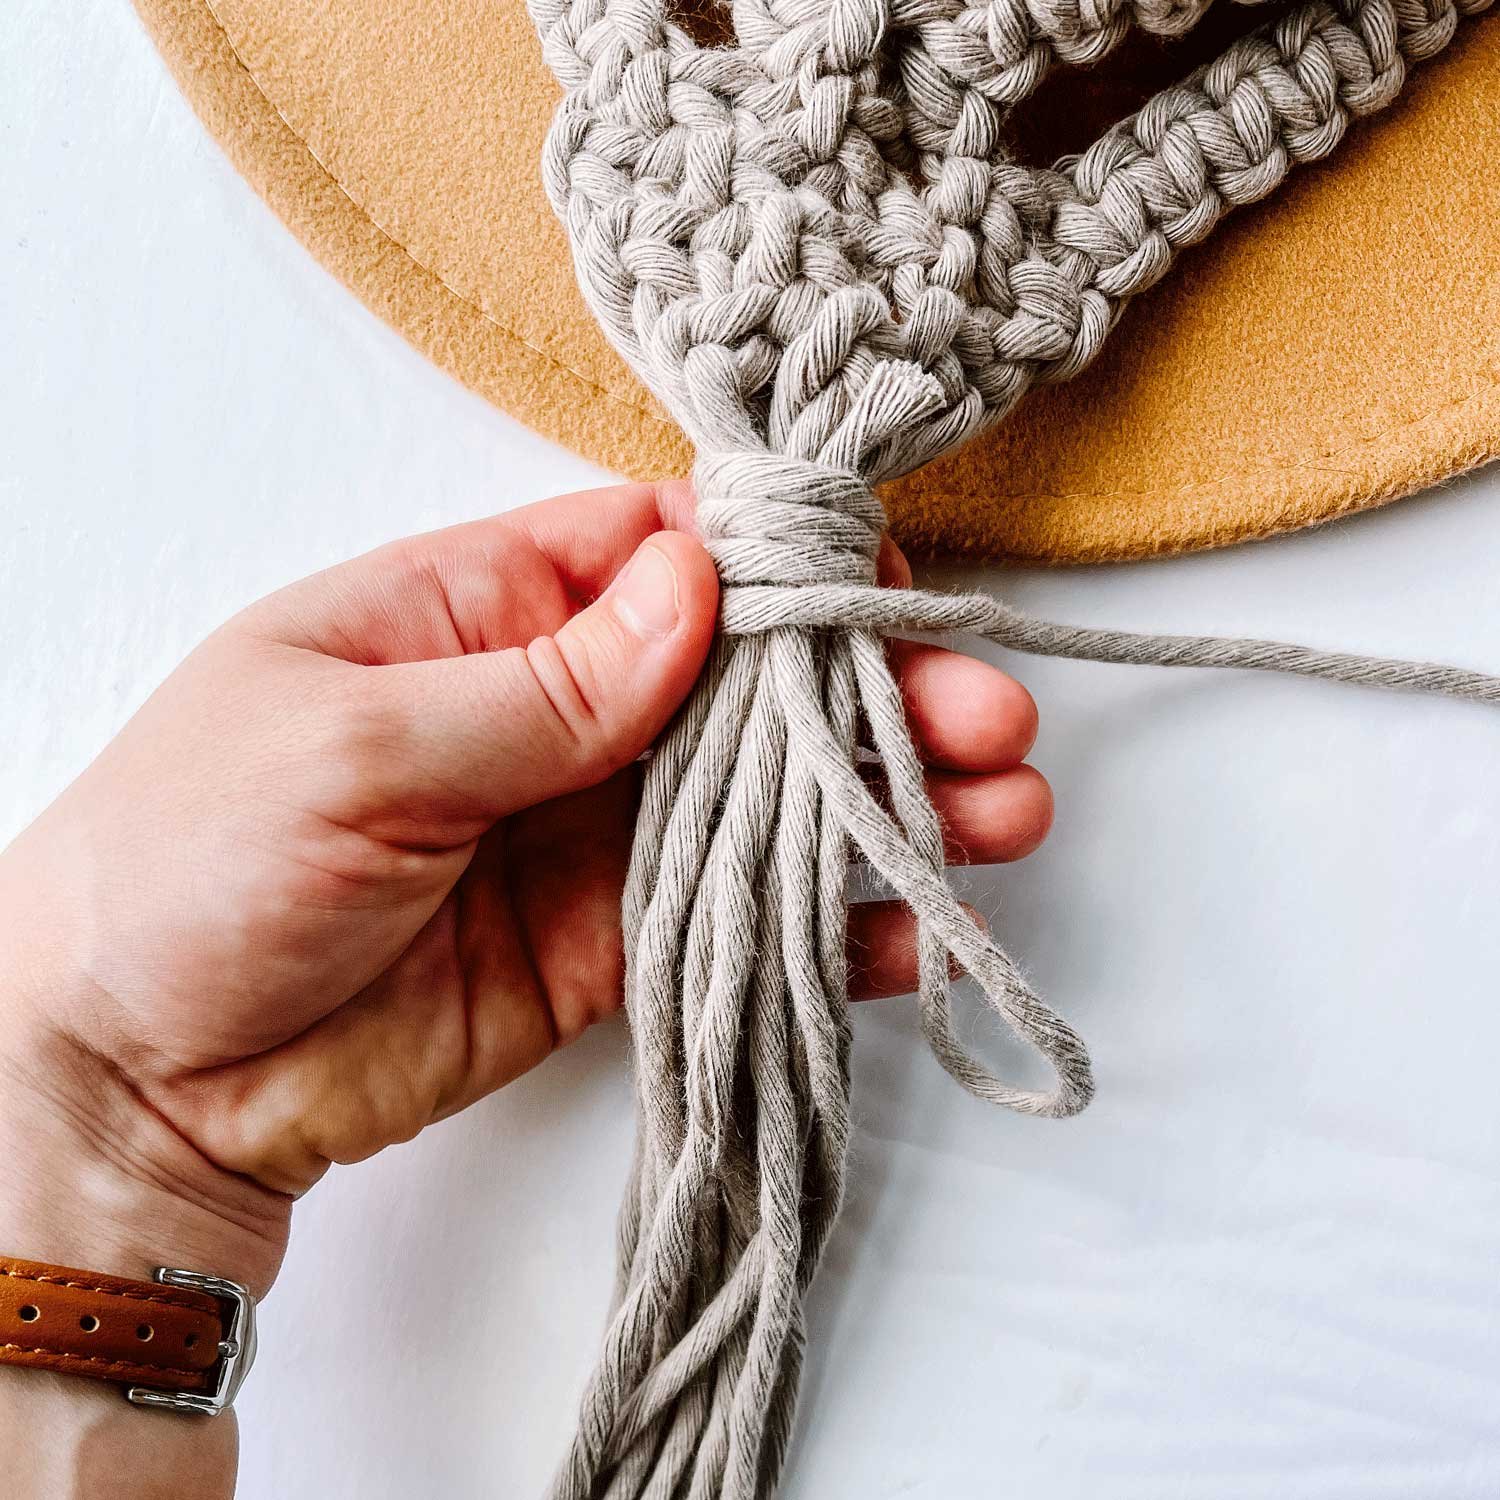
Wrap
Wrap your macrame till you get to the end of the strand. Stick the end through the loop we made at the beginning.

Tighten
Pull the end of the strand that you left sticking out at the beginning. This will scoop your other end and the loop under your wrapped yarn. Leaving nice, clean lines and no visible knots.

Trim
Trim any pieces sticking out of your loop and the tails to your desired length.


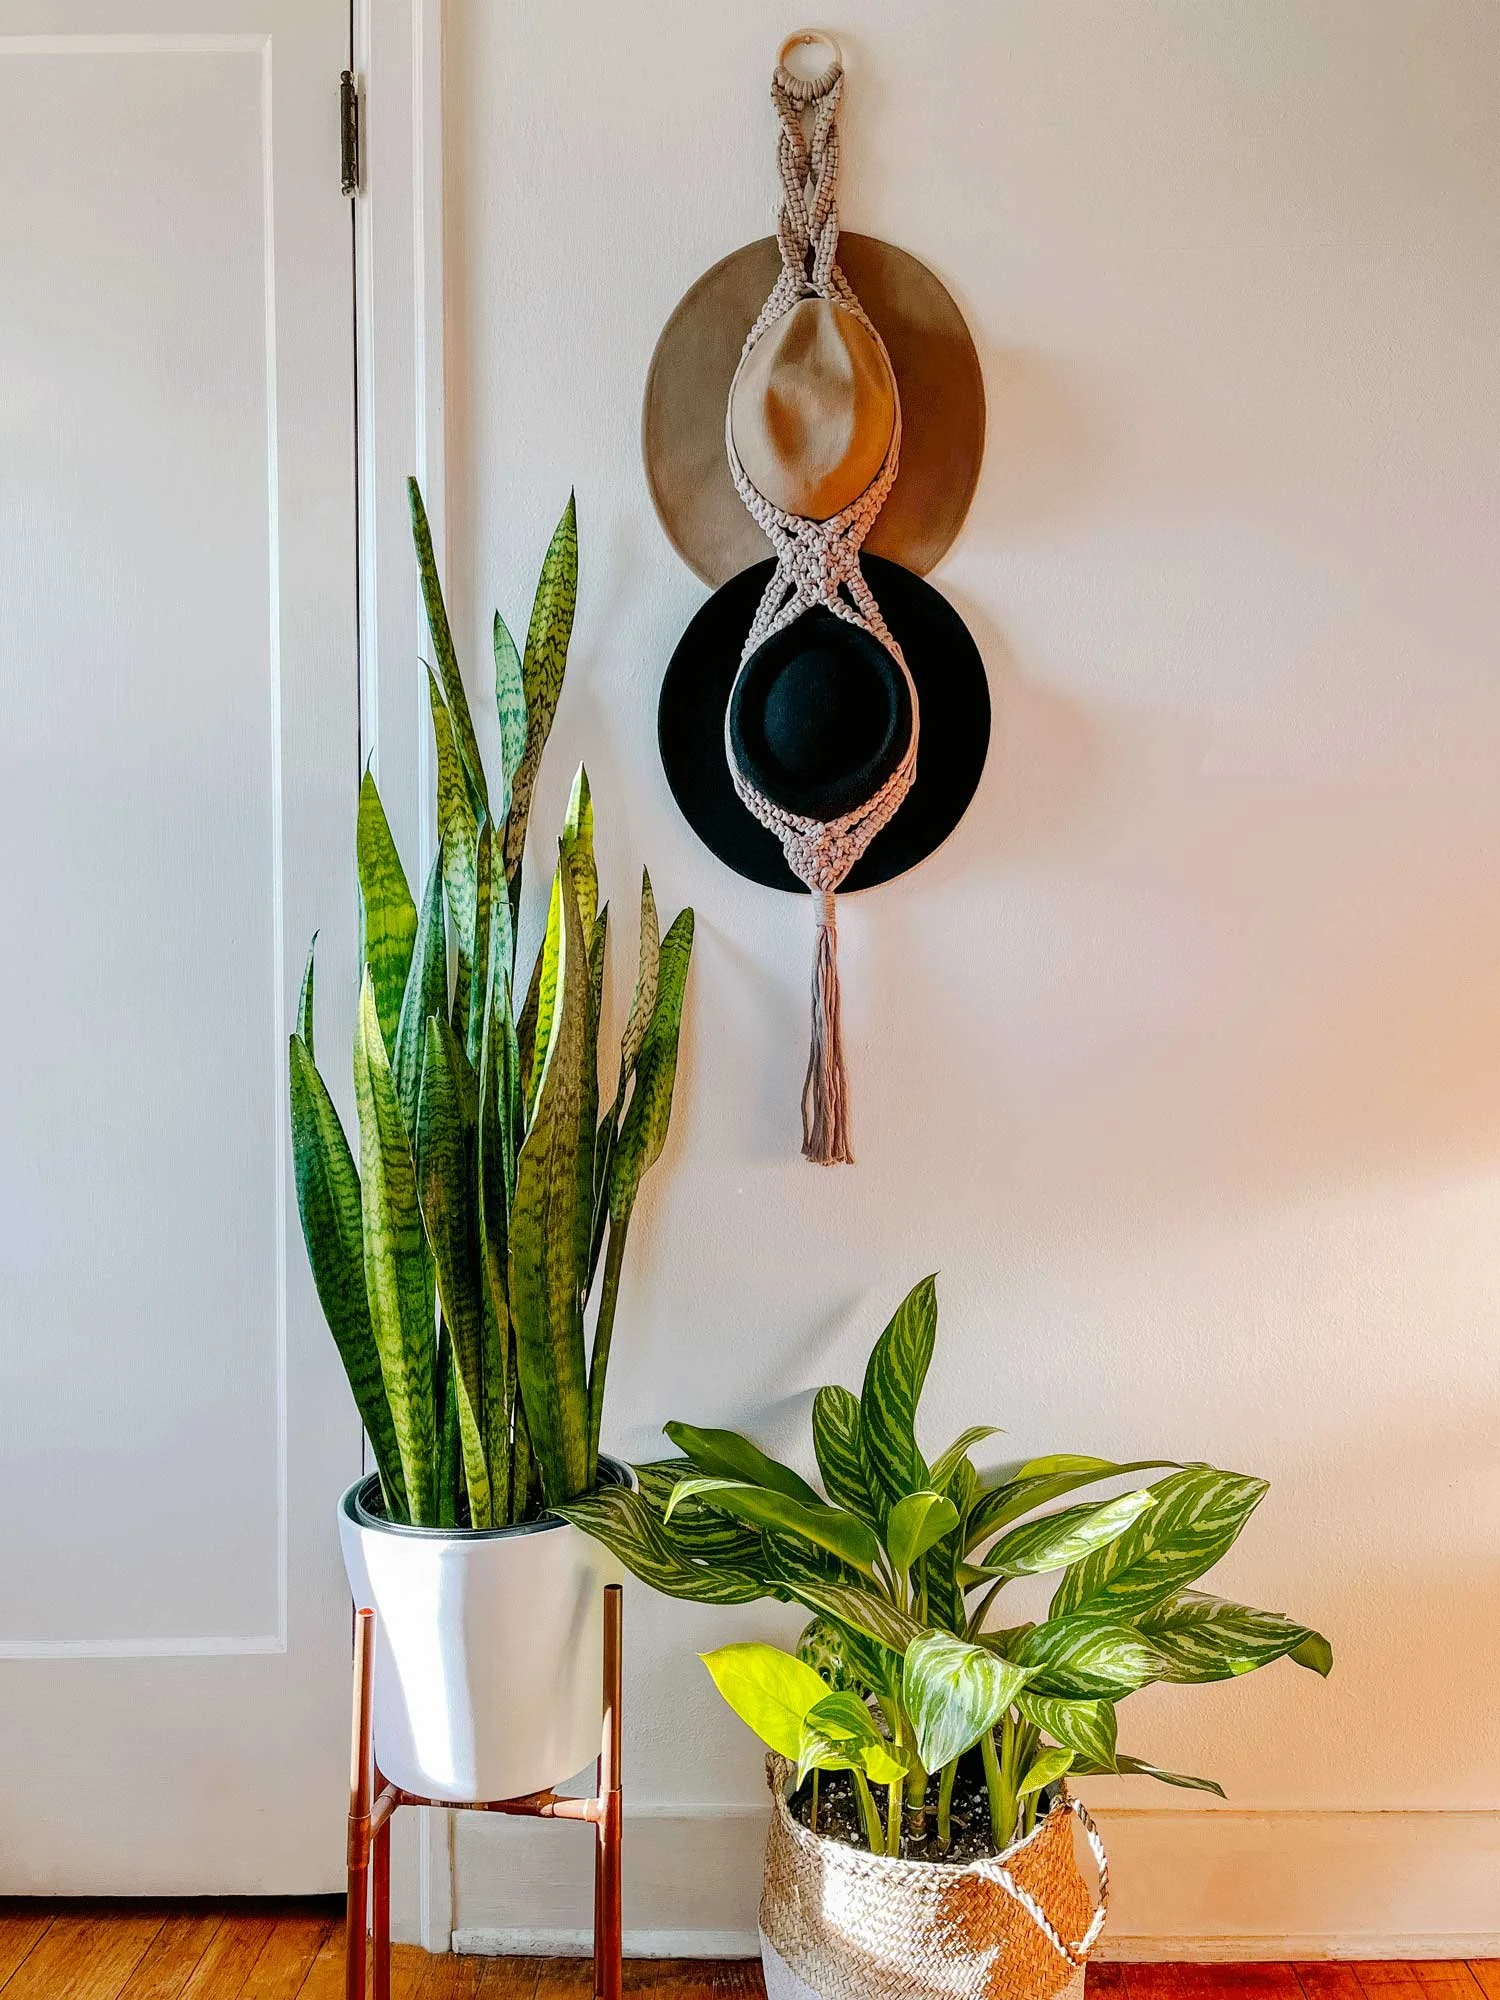


I am so pleased with how this one turned out. I love cute organization and since I used the same macrame I use in my Etsy Shop it connects to all the plant hangers I have in my room. Since I have plants below mine the double hat hanger fits nicely but I think a triple one would be really stunning and I still have three hats without a home. Hope you like this one and let me know how yours turns out in the comments or tag me on instagram @thegreenmadhouse.