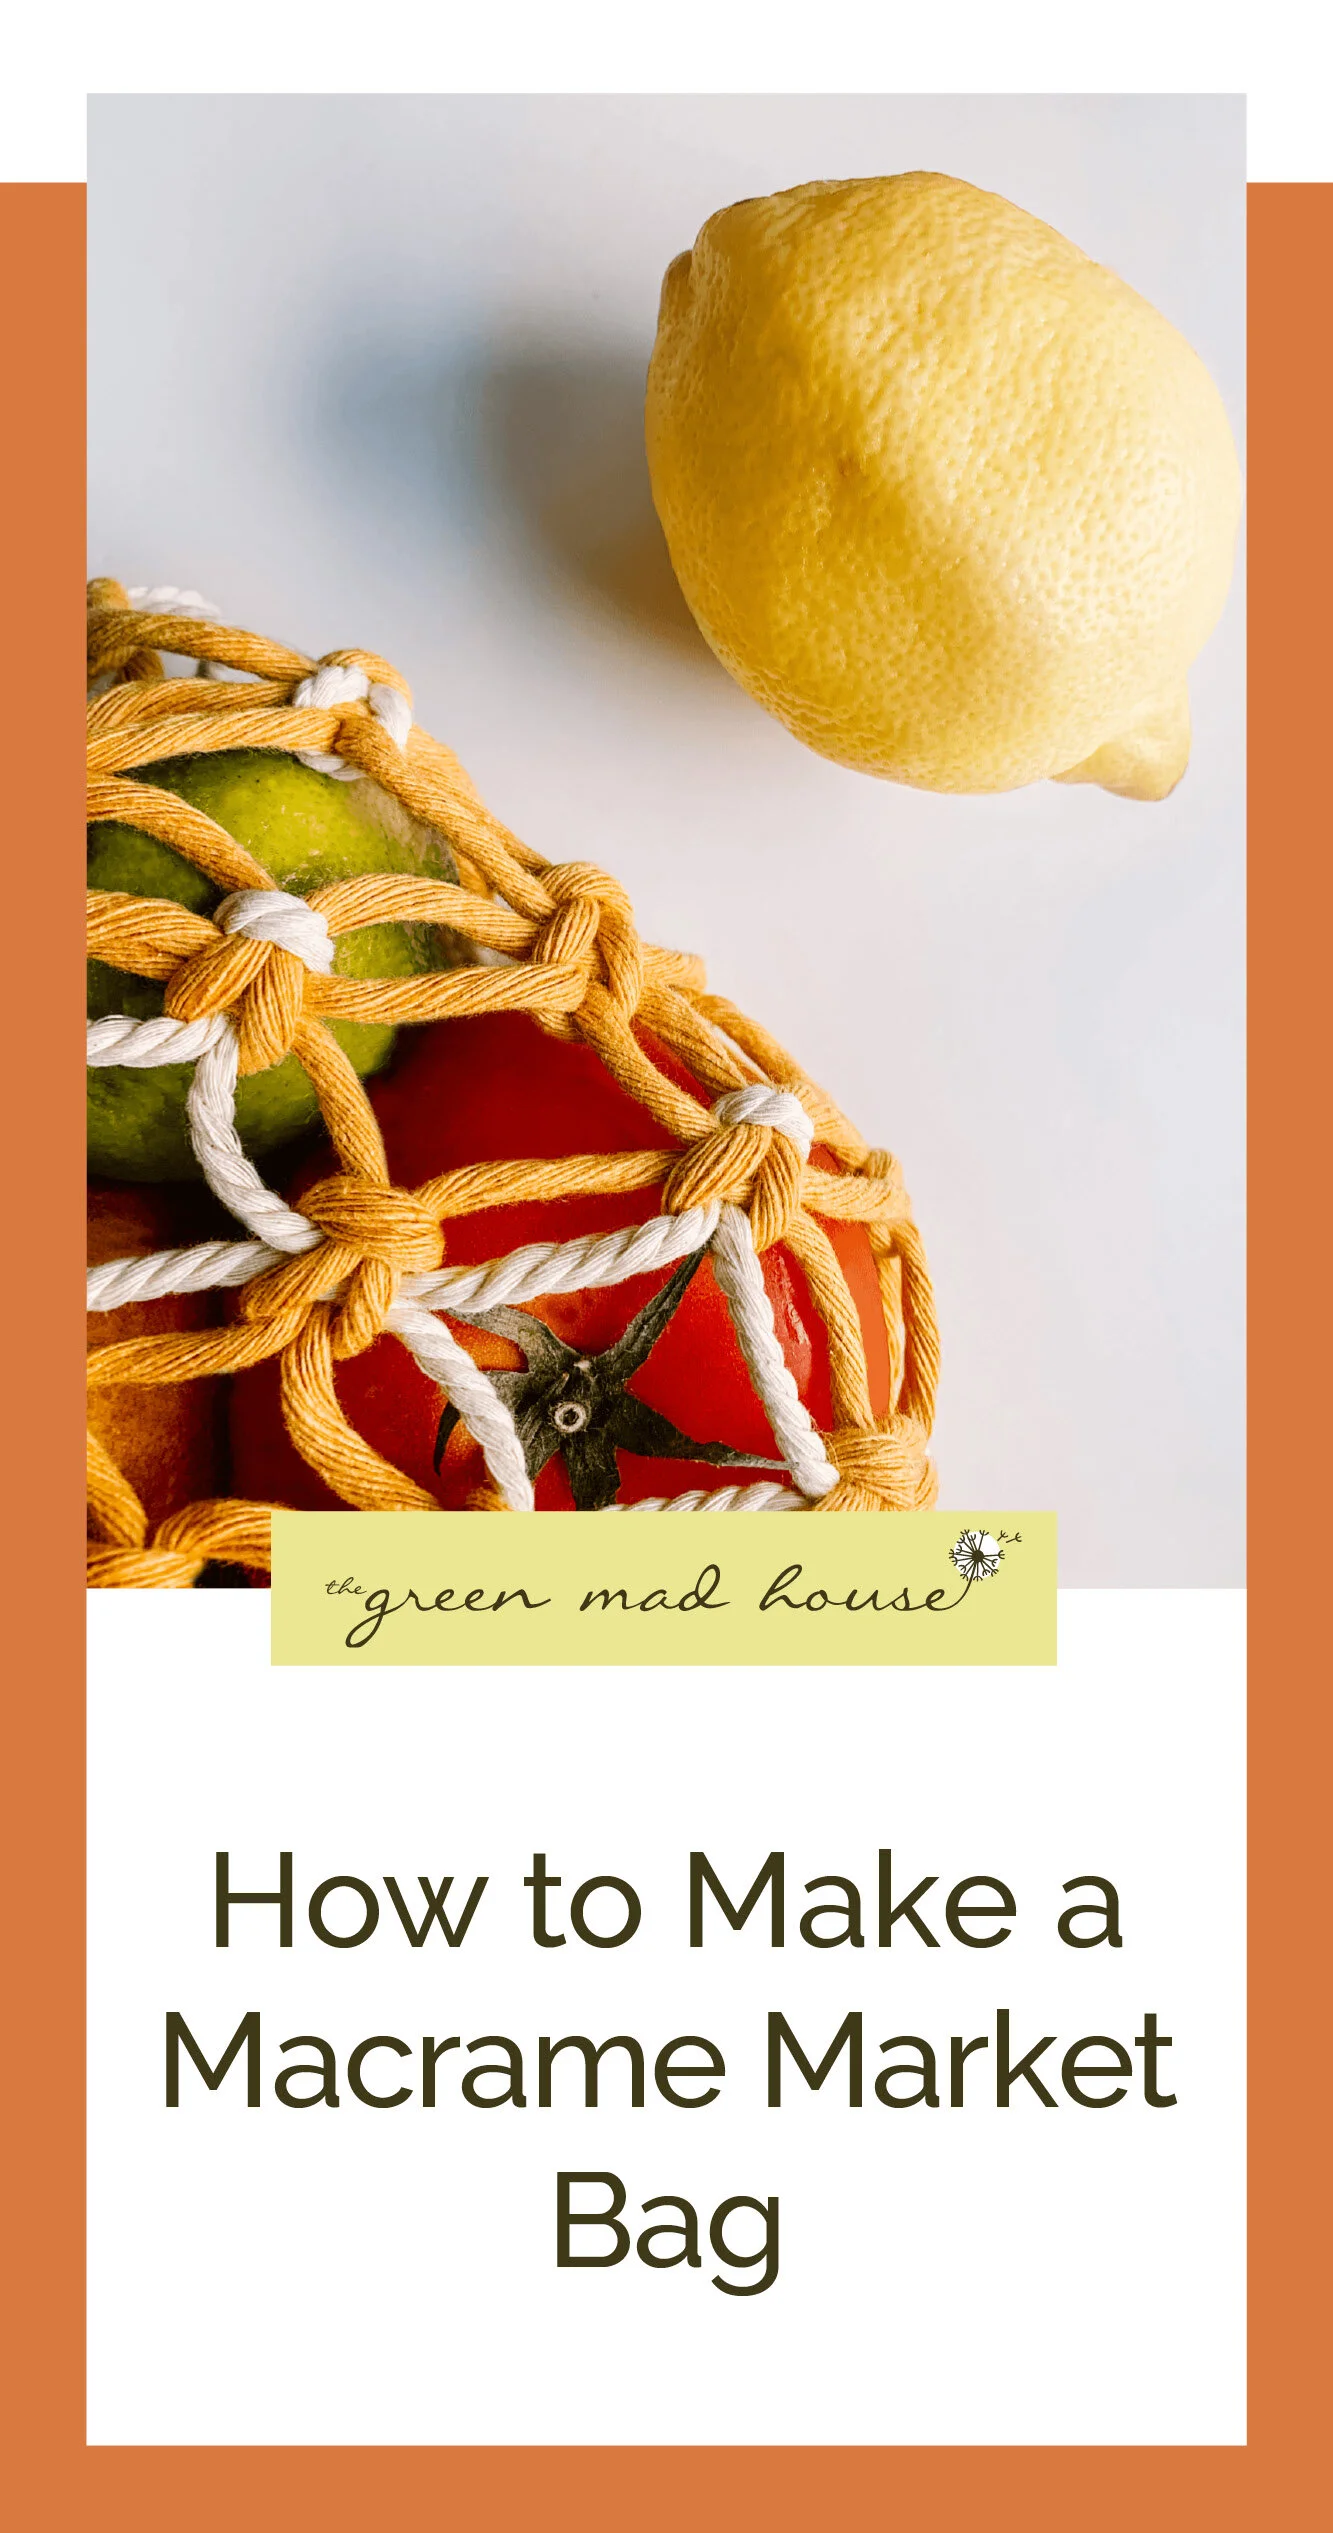
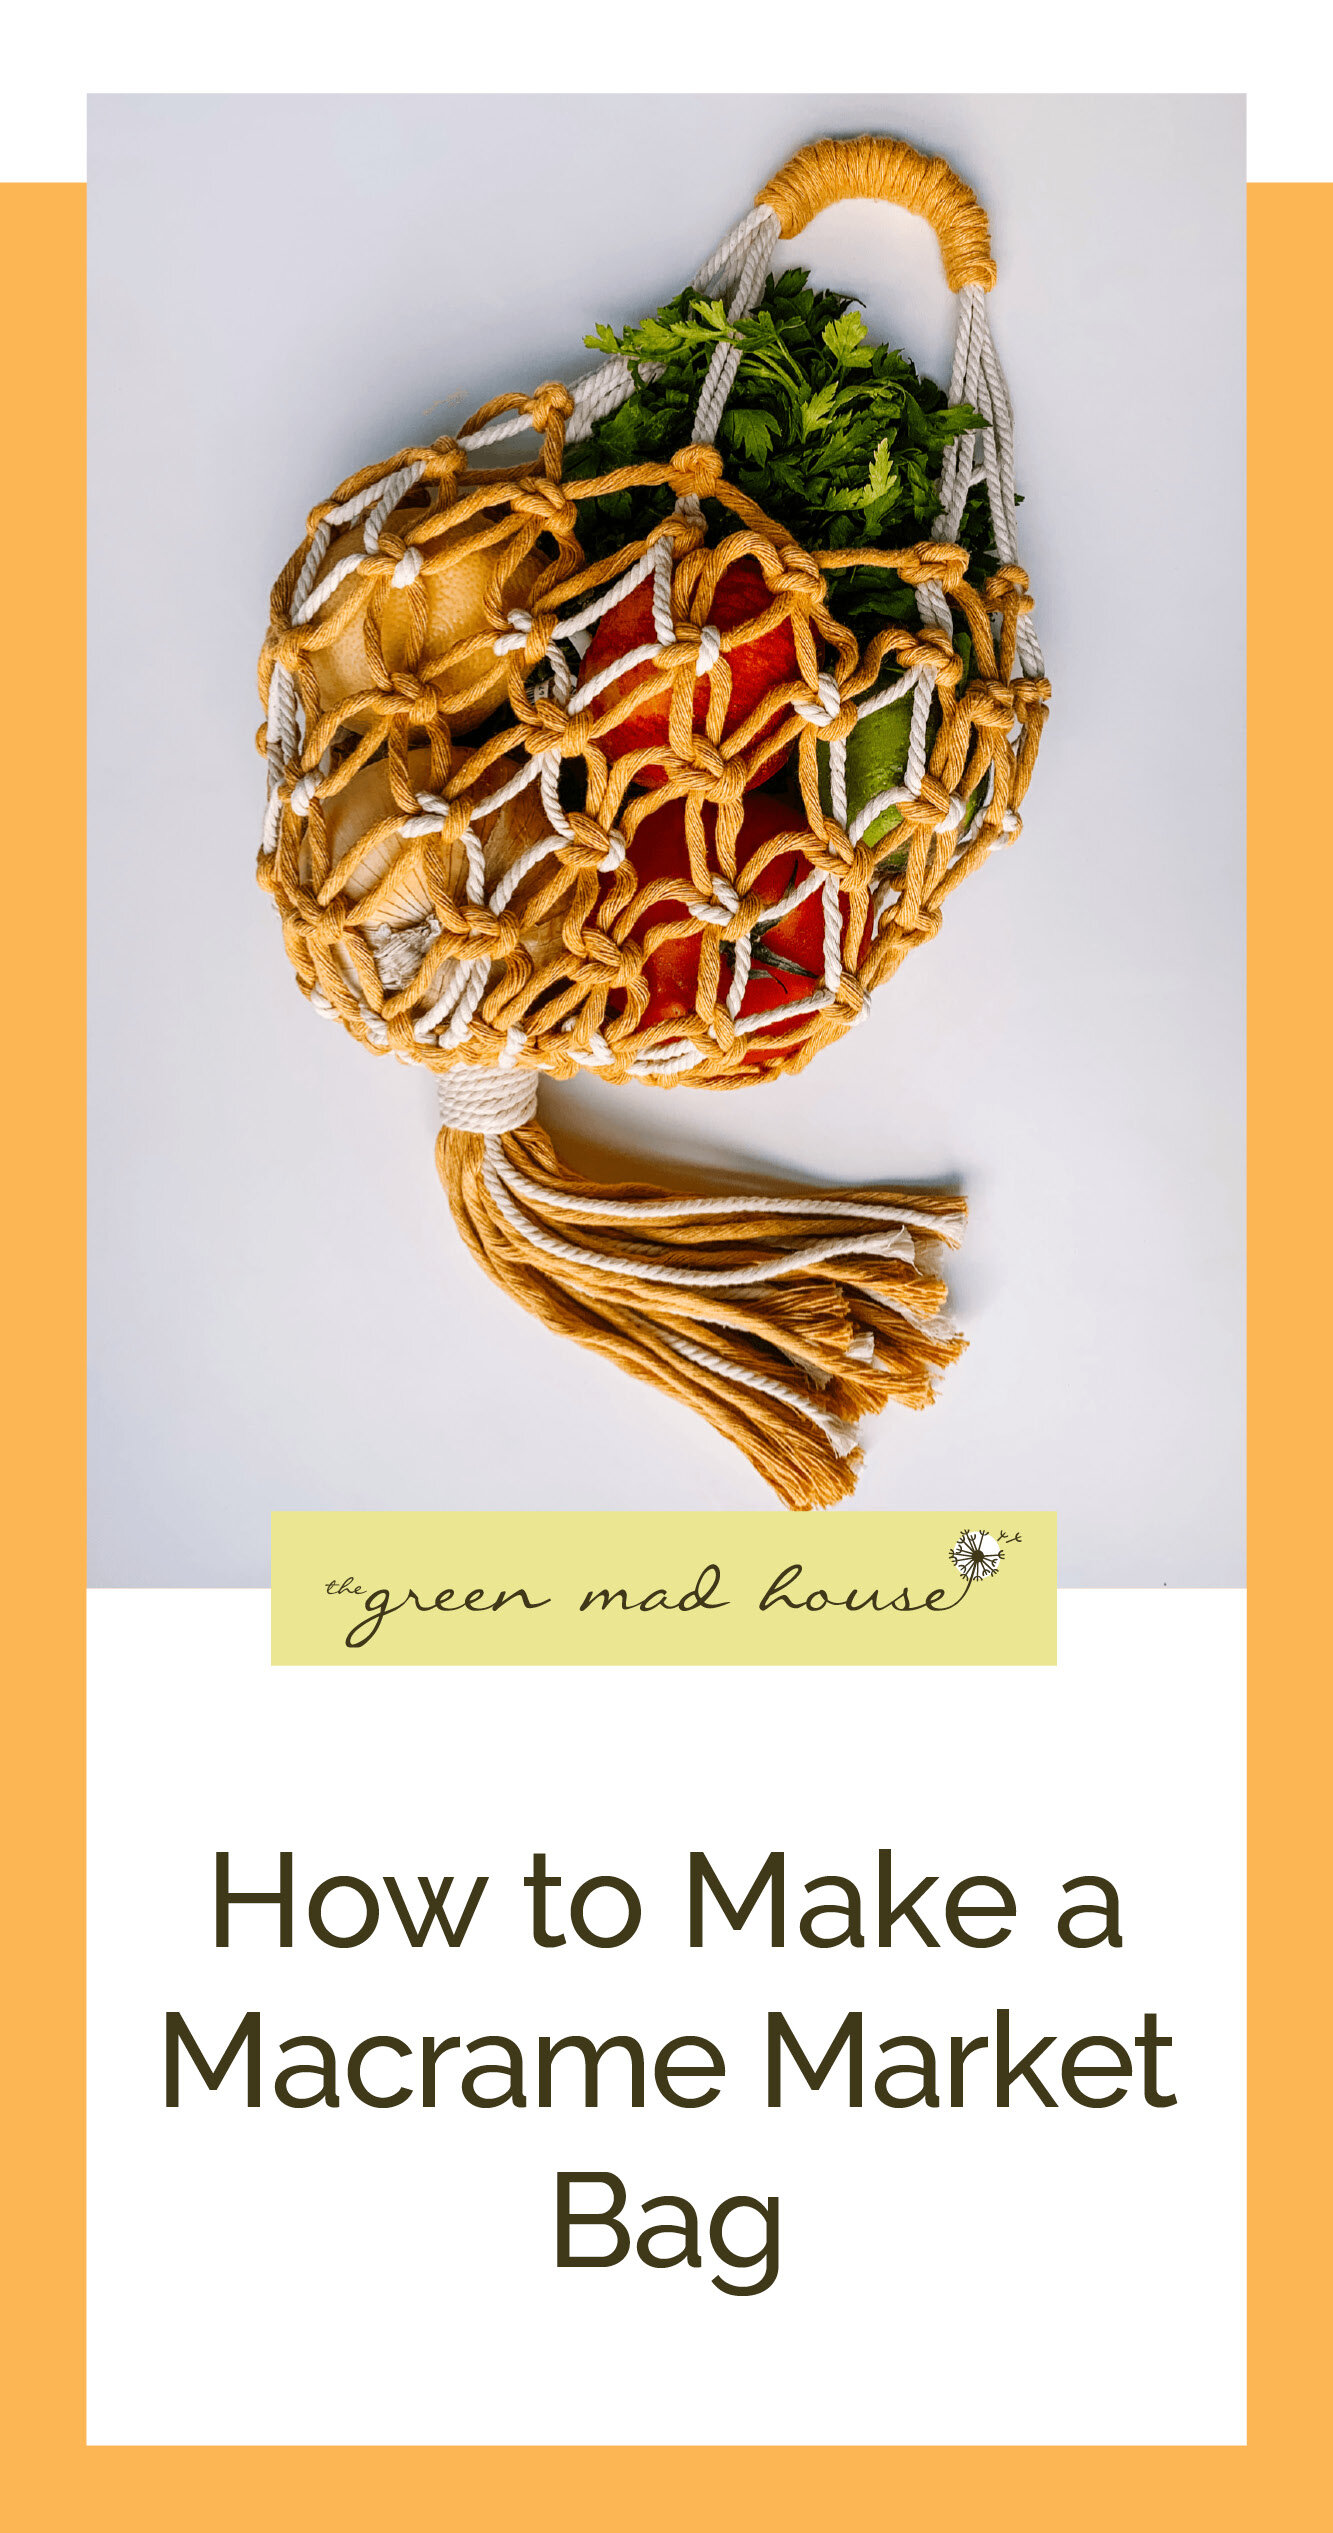
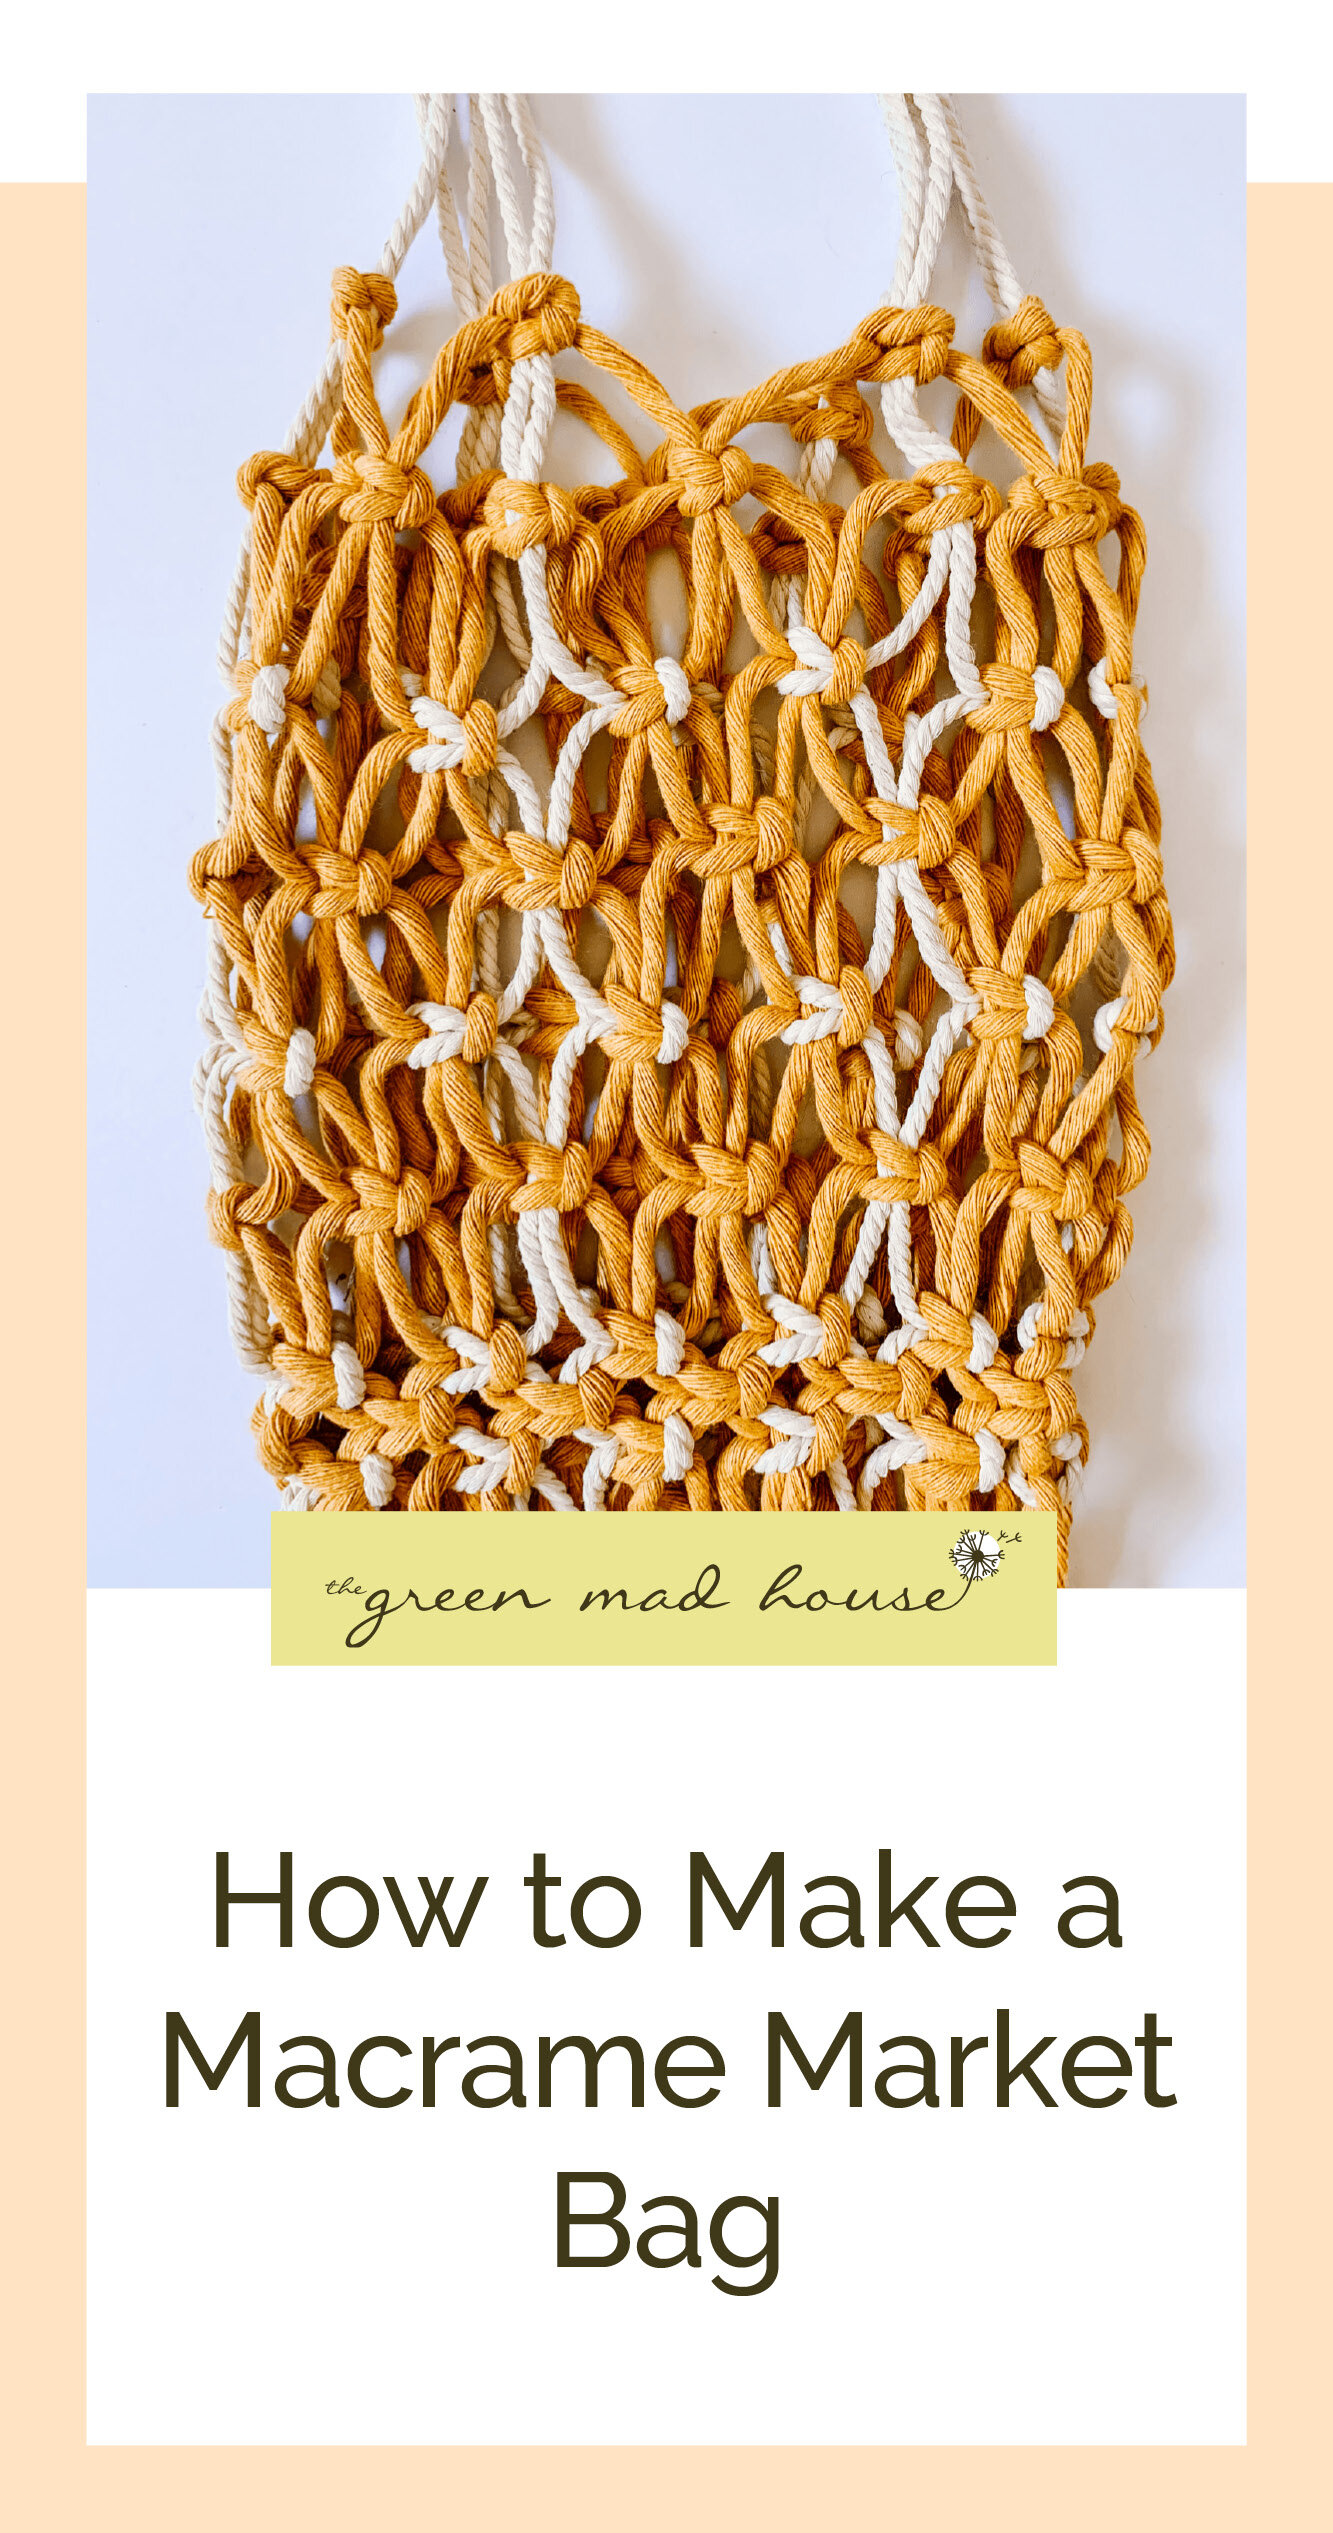
How to Make a Macrame Market Bag
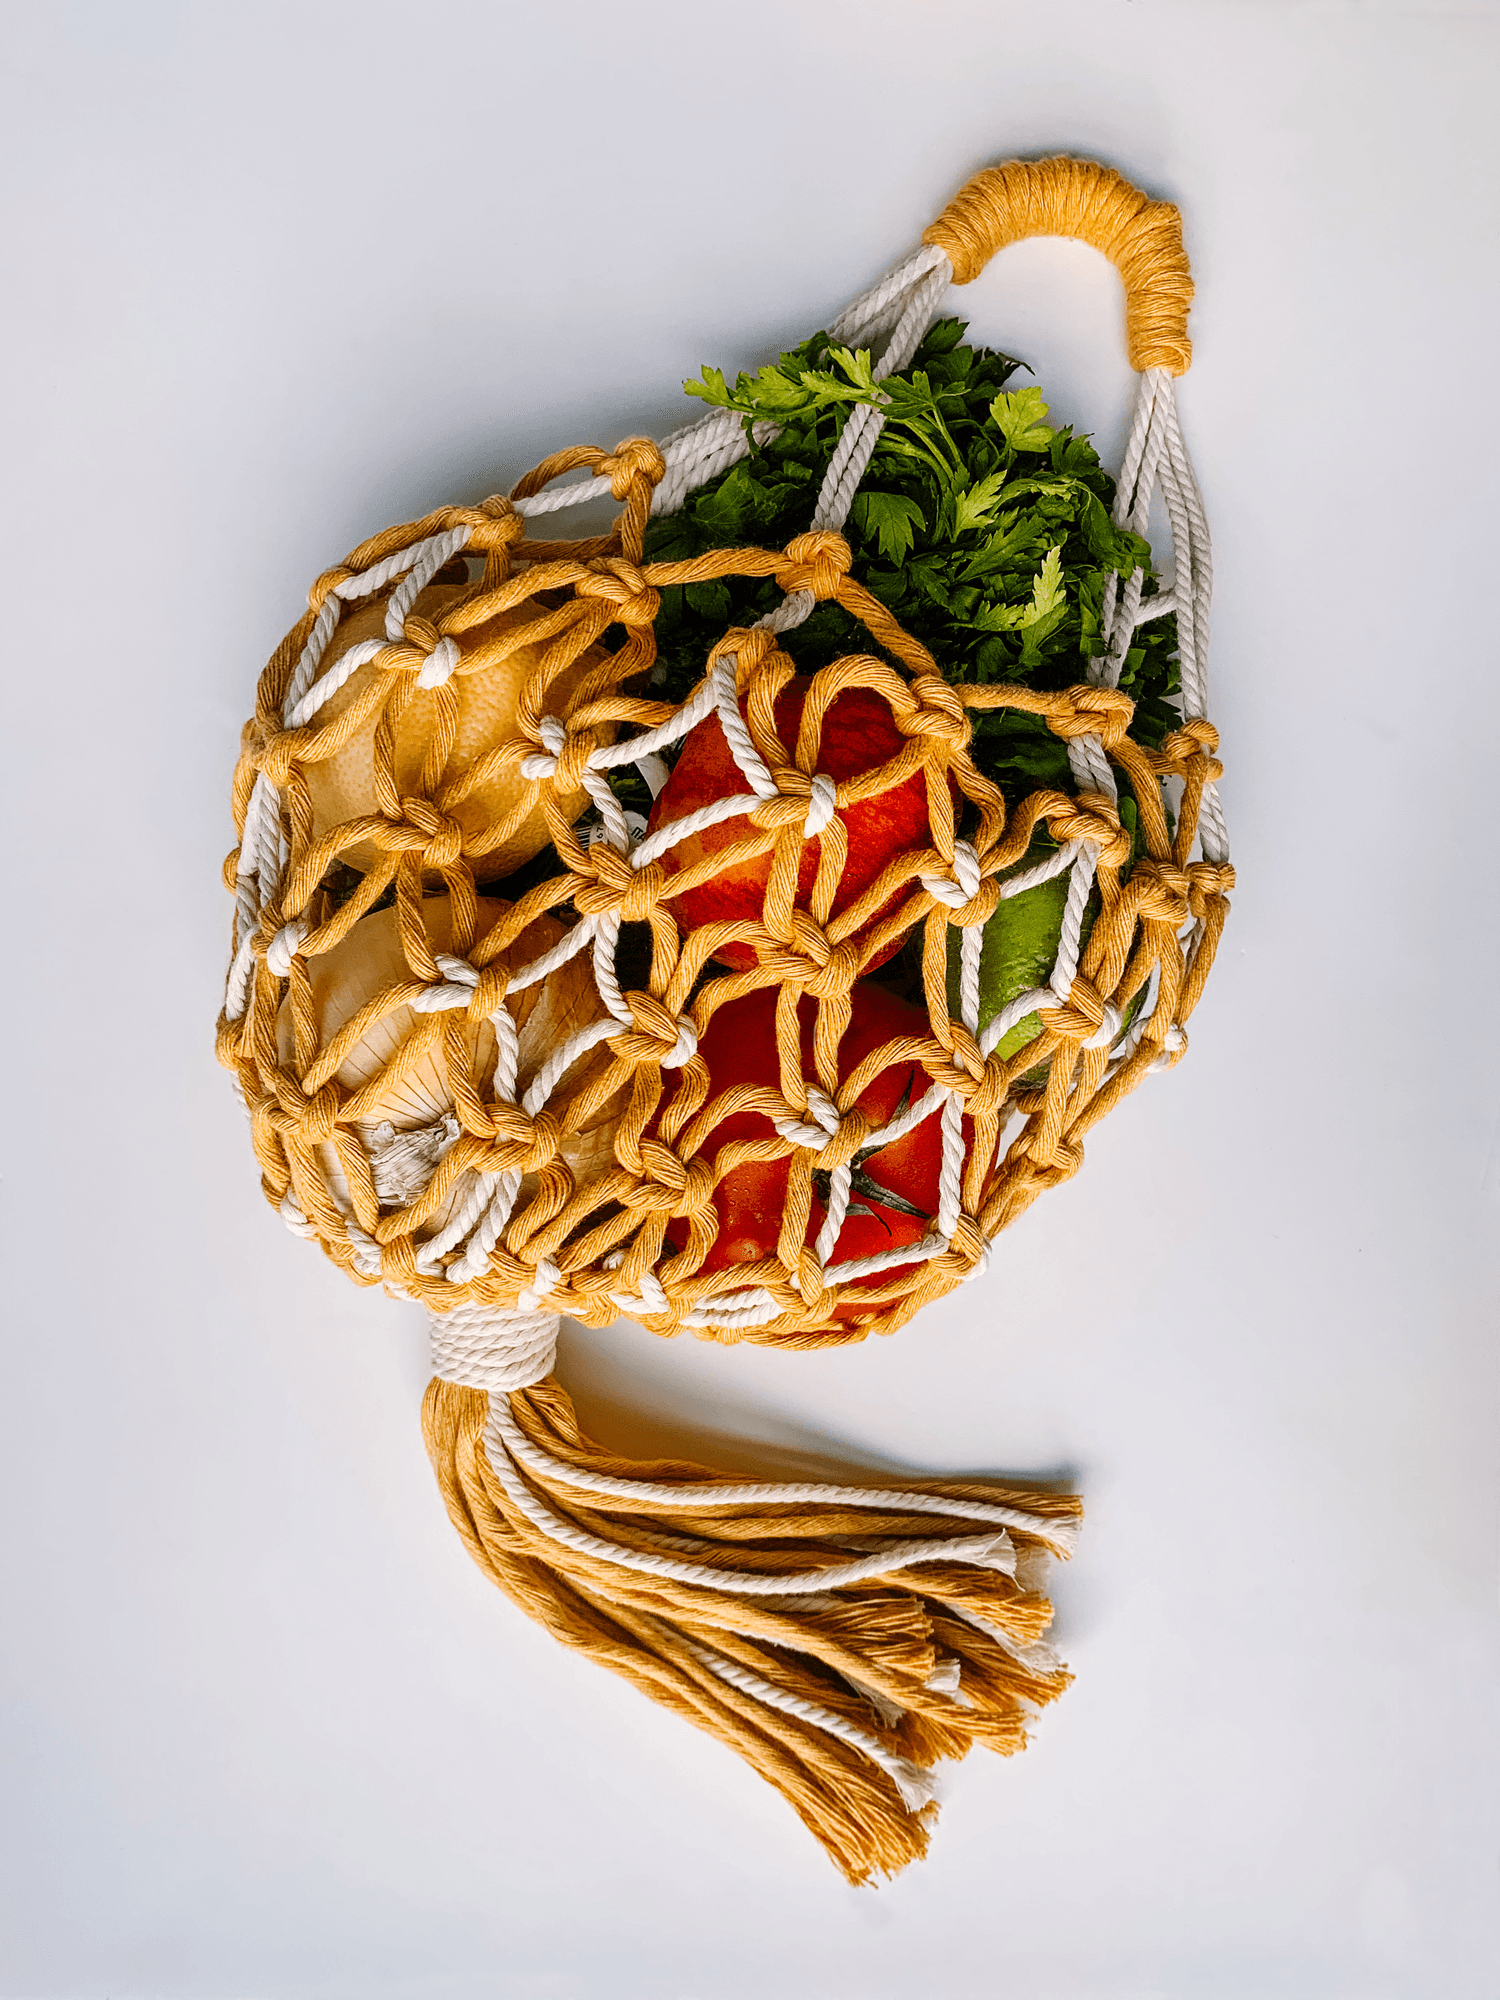
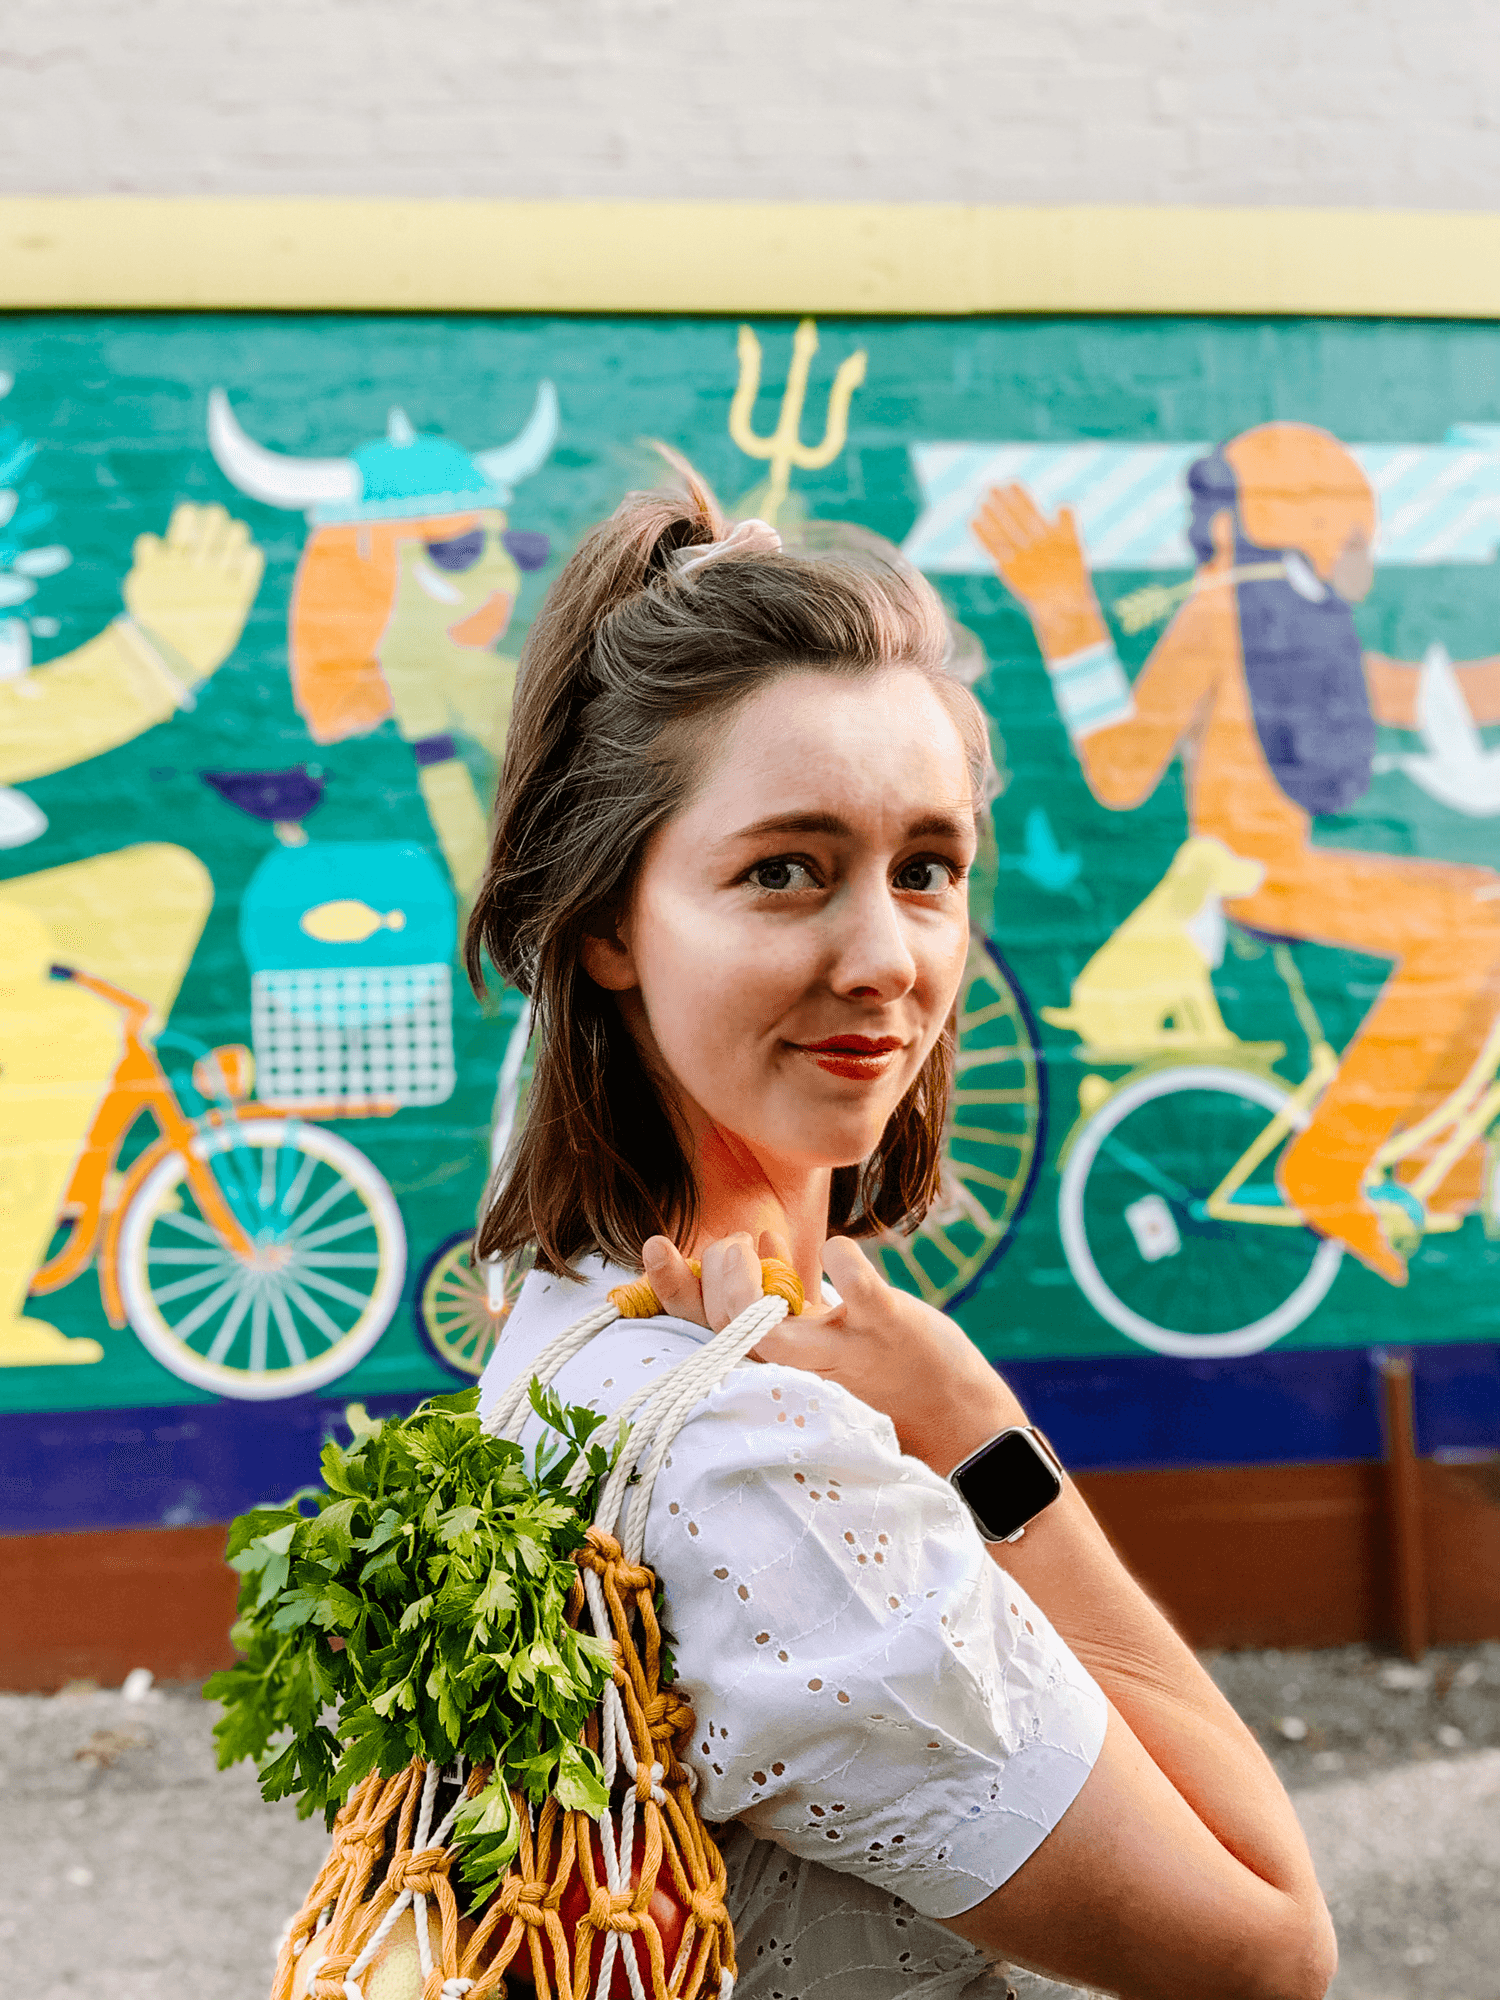
Inspired by my love for macrame and my desire to be more eco-friendly (check out my latest article on how to be more eco-friendly in the kitchen), I decided to make a produce bag that is not only cute but cuts down on those single-use plastic sleeves we slide our veggies and fruits into at the grocery store. Whether you are bringing it the store or using it as a beach tote or purse, this bag is flexible and cute.
Likely you have seen this trend all over Pinterest and Instagram and thought, I can make that right? Yes, yes you can. This only requires 2 knots and any macrame or rope you have lying around the house. My macrame is from Ganxxet, an eco-friendly fiber company that uses production leftovers to reform into the strands you see here. I have been using their macrame on my Etsy pieces and I am obsessed. They have beautiful colors and it is sustainable. Double eco bonus! Below I will give some tips on how to modify this project to whatever your needs are.

Tips & Tricks
When choosing your thickness of macrame keep in mind:
1mm is very thin and fragile, this would need to be doubled up with many knots to create strength. It would take much longer to make the bag but as a result it would be very dainty and pretty.
2-4mm is most ideal for a stronger base but isn’t too thick that your bag becomes clunky. The thicker you go the easier it is to knot and the faster you will make it.
I used 4mm but looking back I think I would have preferred doing 3mm because my bag is on the smaller side.
5mm+ will be very thick and chunky. I only recommend this if you are doing a very large tote otherwise the knots will be overwhelming visually
Your first set of knots will dictate how long your handle is so make sure they are slid down far enough.
If you want a shoulder strap as opposed to a short handle then you need to add a couple feet to the total length of the main 6 strands.
I spaced all my knots an inch apart. Depending on the thickness of your macrame (thicker farther apart, thinner closer together) you may want to alter this. Also if you want to use this for small things (keys, chapstick etc.) you will need your knots to be very close together. If so, you need to add a few feet to your macrame lengths. You would be surprised how fast your length goes when knotting,

If video format is more your speed, I made a compilation of the DIY for you to follow. I am going to try this on more of my blog posts. Let me know if you like it! Subscribe to my channel to keep up with new videos.
Supplies
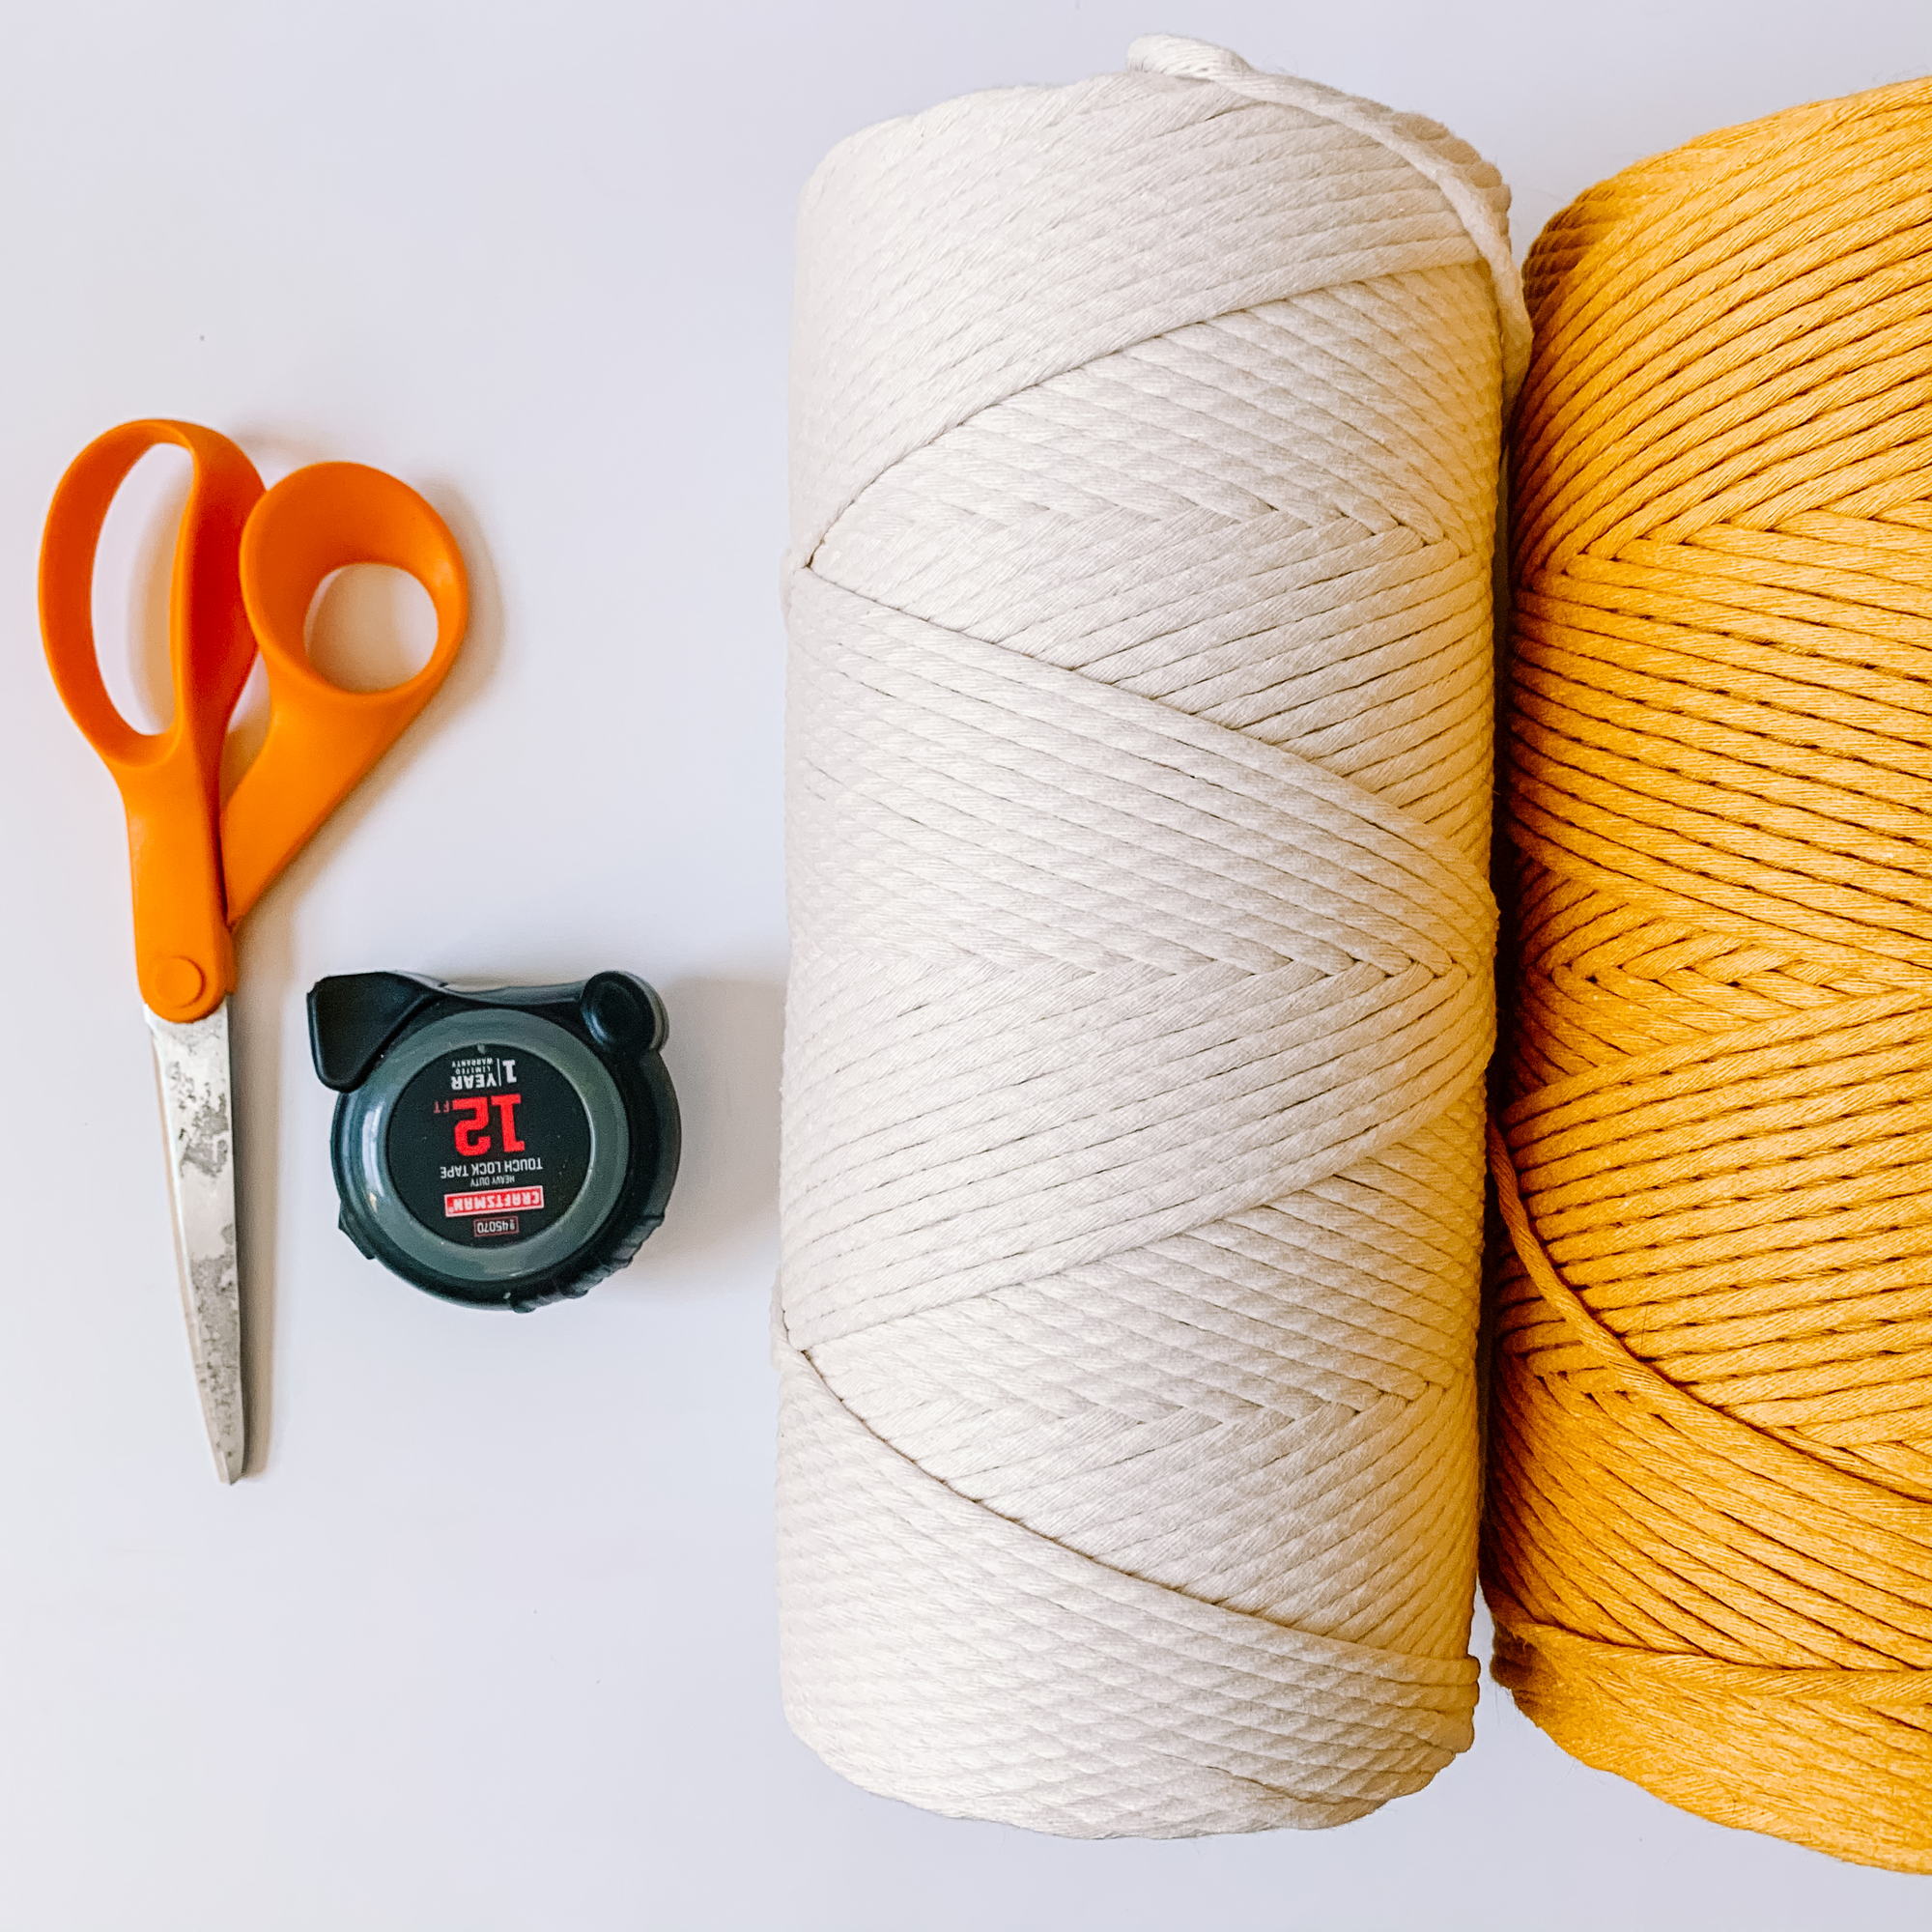
Supplies

Cut Macrame
These lengths are based off of 4mm macrame. If you want to make a larger bag OR you are using a thinner macrame then add a couple feet to these lengths:
Six 8’ pieces (white)
Eighteen 6’ pieces (yellow)
One 4’ piece (yellow)
One 3’ piece (white)
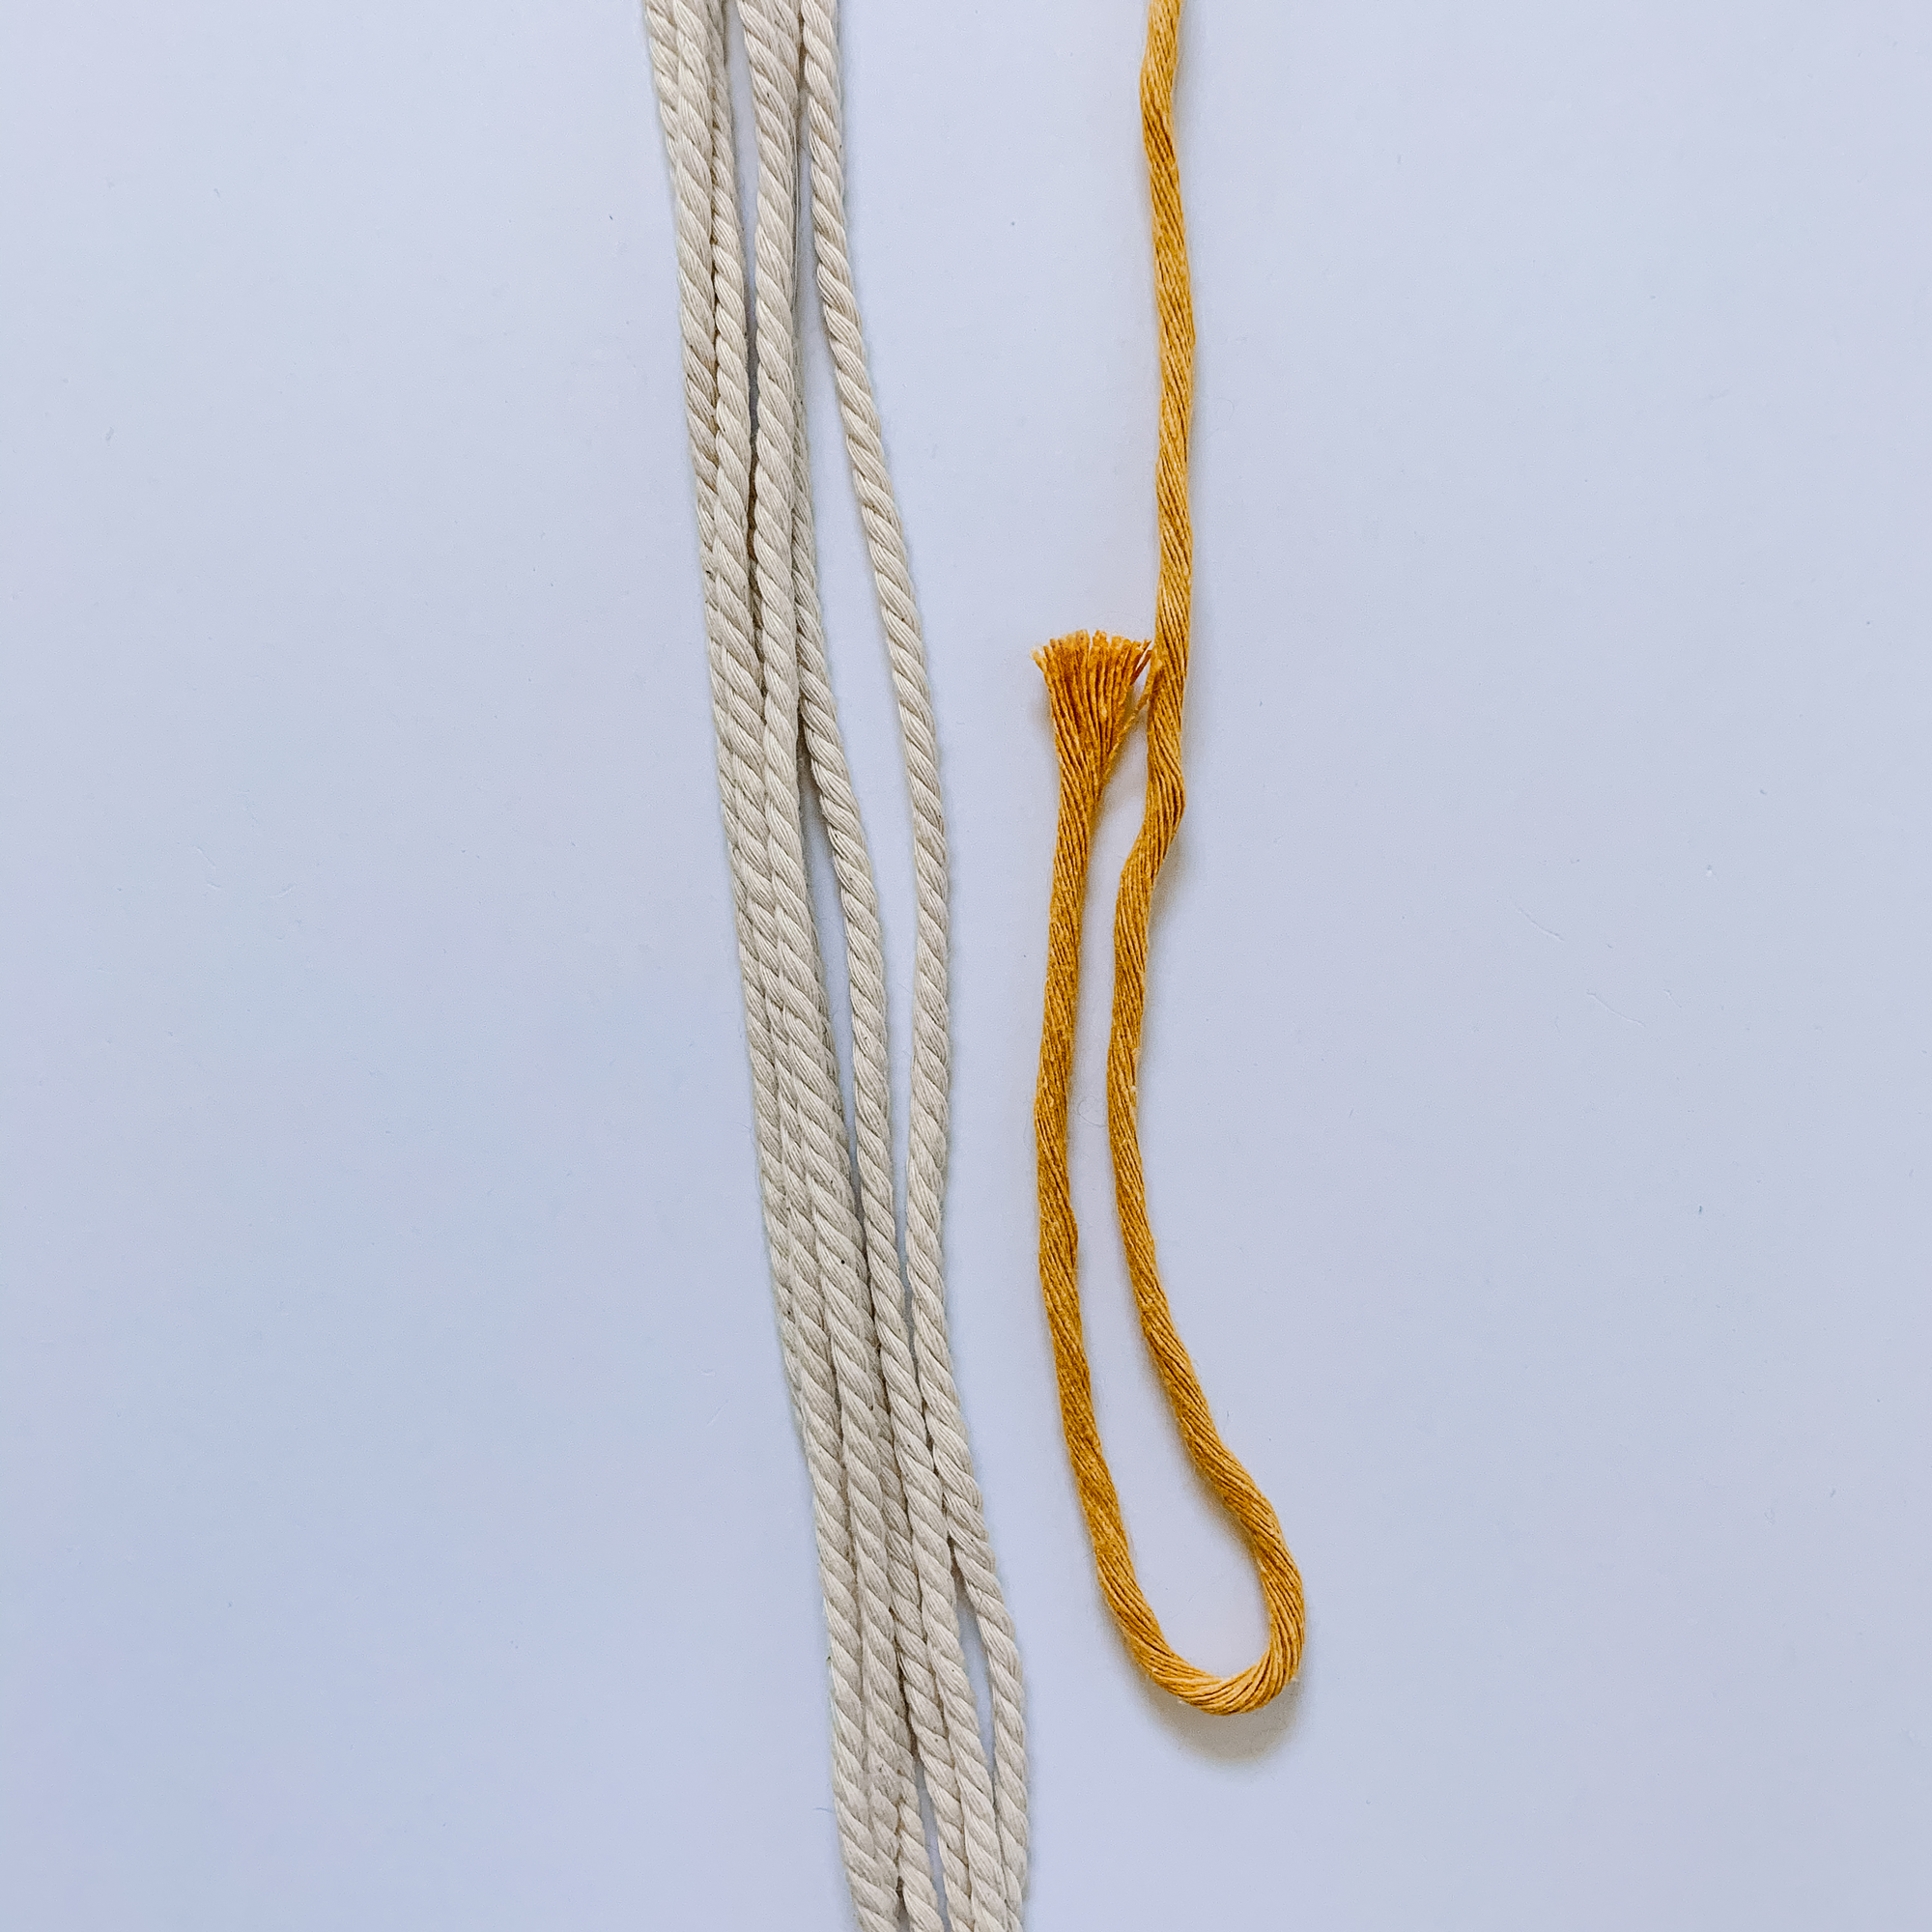
Gathering Knot
Take your 6 long strands and find the center point. Then take your 4’ yellow piece and create a loop of around 8” (this can vary but you can always rewrap if you have excess and want your handle to be longer).
Gathering Knot
Tightly wrap around your loop, leaving the top sticking out, we will pull that later.

Finish Knot
When you get to the bottom of the loop, stick the end of your macrame through it. Then pull the piece sticking out the top. This will pull everything up underneath, creating a clean finished handle.

Trim Macrame
Trim any of the pieces sticking out the bottom or top. If your handle is no longer centered on your six strands, slide it to center it.

Square Knot
Separate 2 strands from one side of your handle. Then take one of your 6’ pieces, fold it evenly in half, placing the center behind the two strands. Cross one piece over the central stands and under its other side.

Square Knot
Take the other side and loop it down and around. Pulling tight to make a square knot.
Second Knot
Repeat the square knot BUT make sure you start the loop on the opposite side this time. If you do it on the same side it creates a spiral effect. Repeat on all 6 pairs.


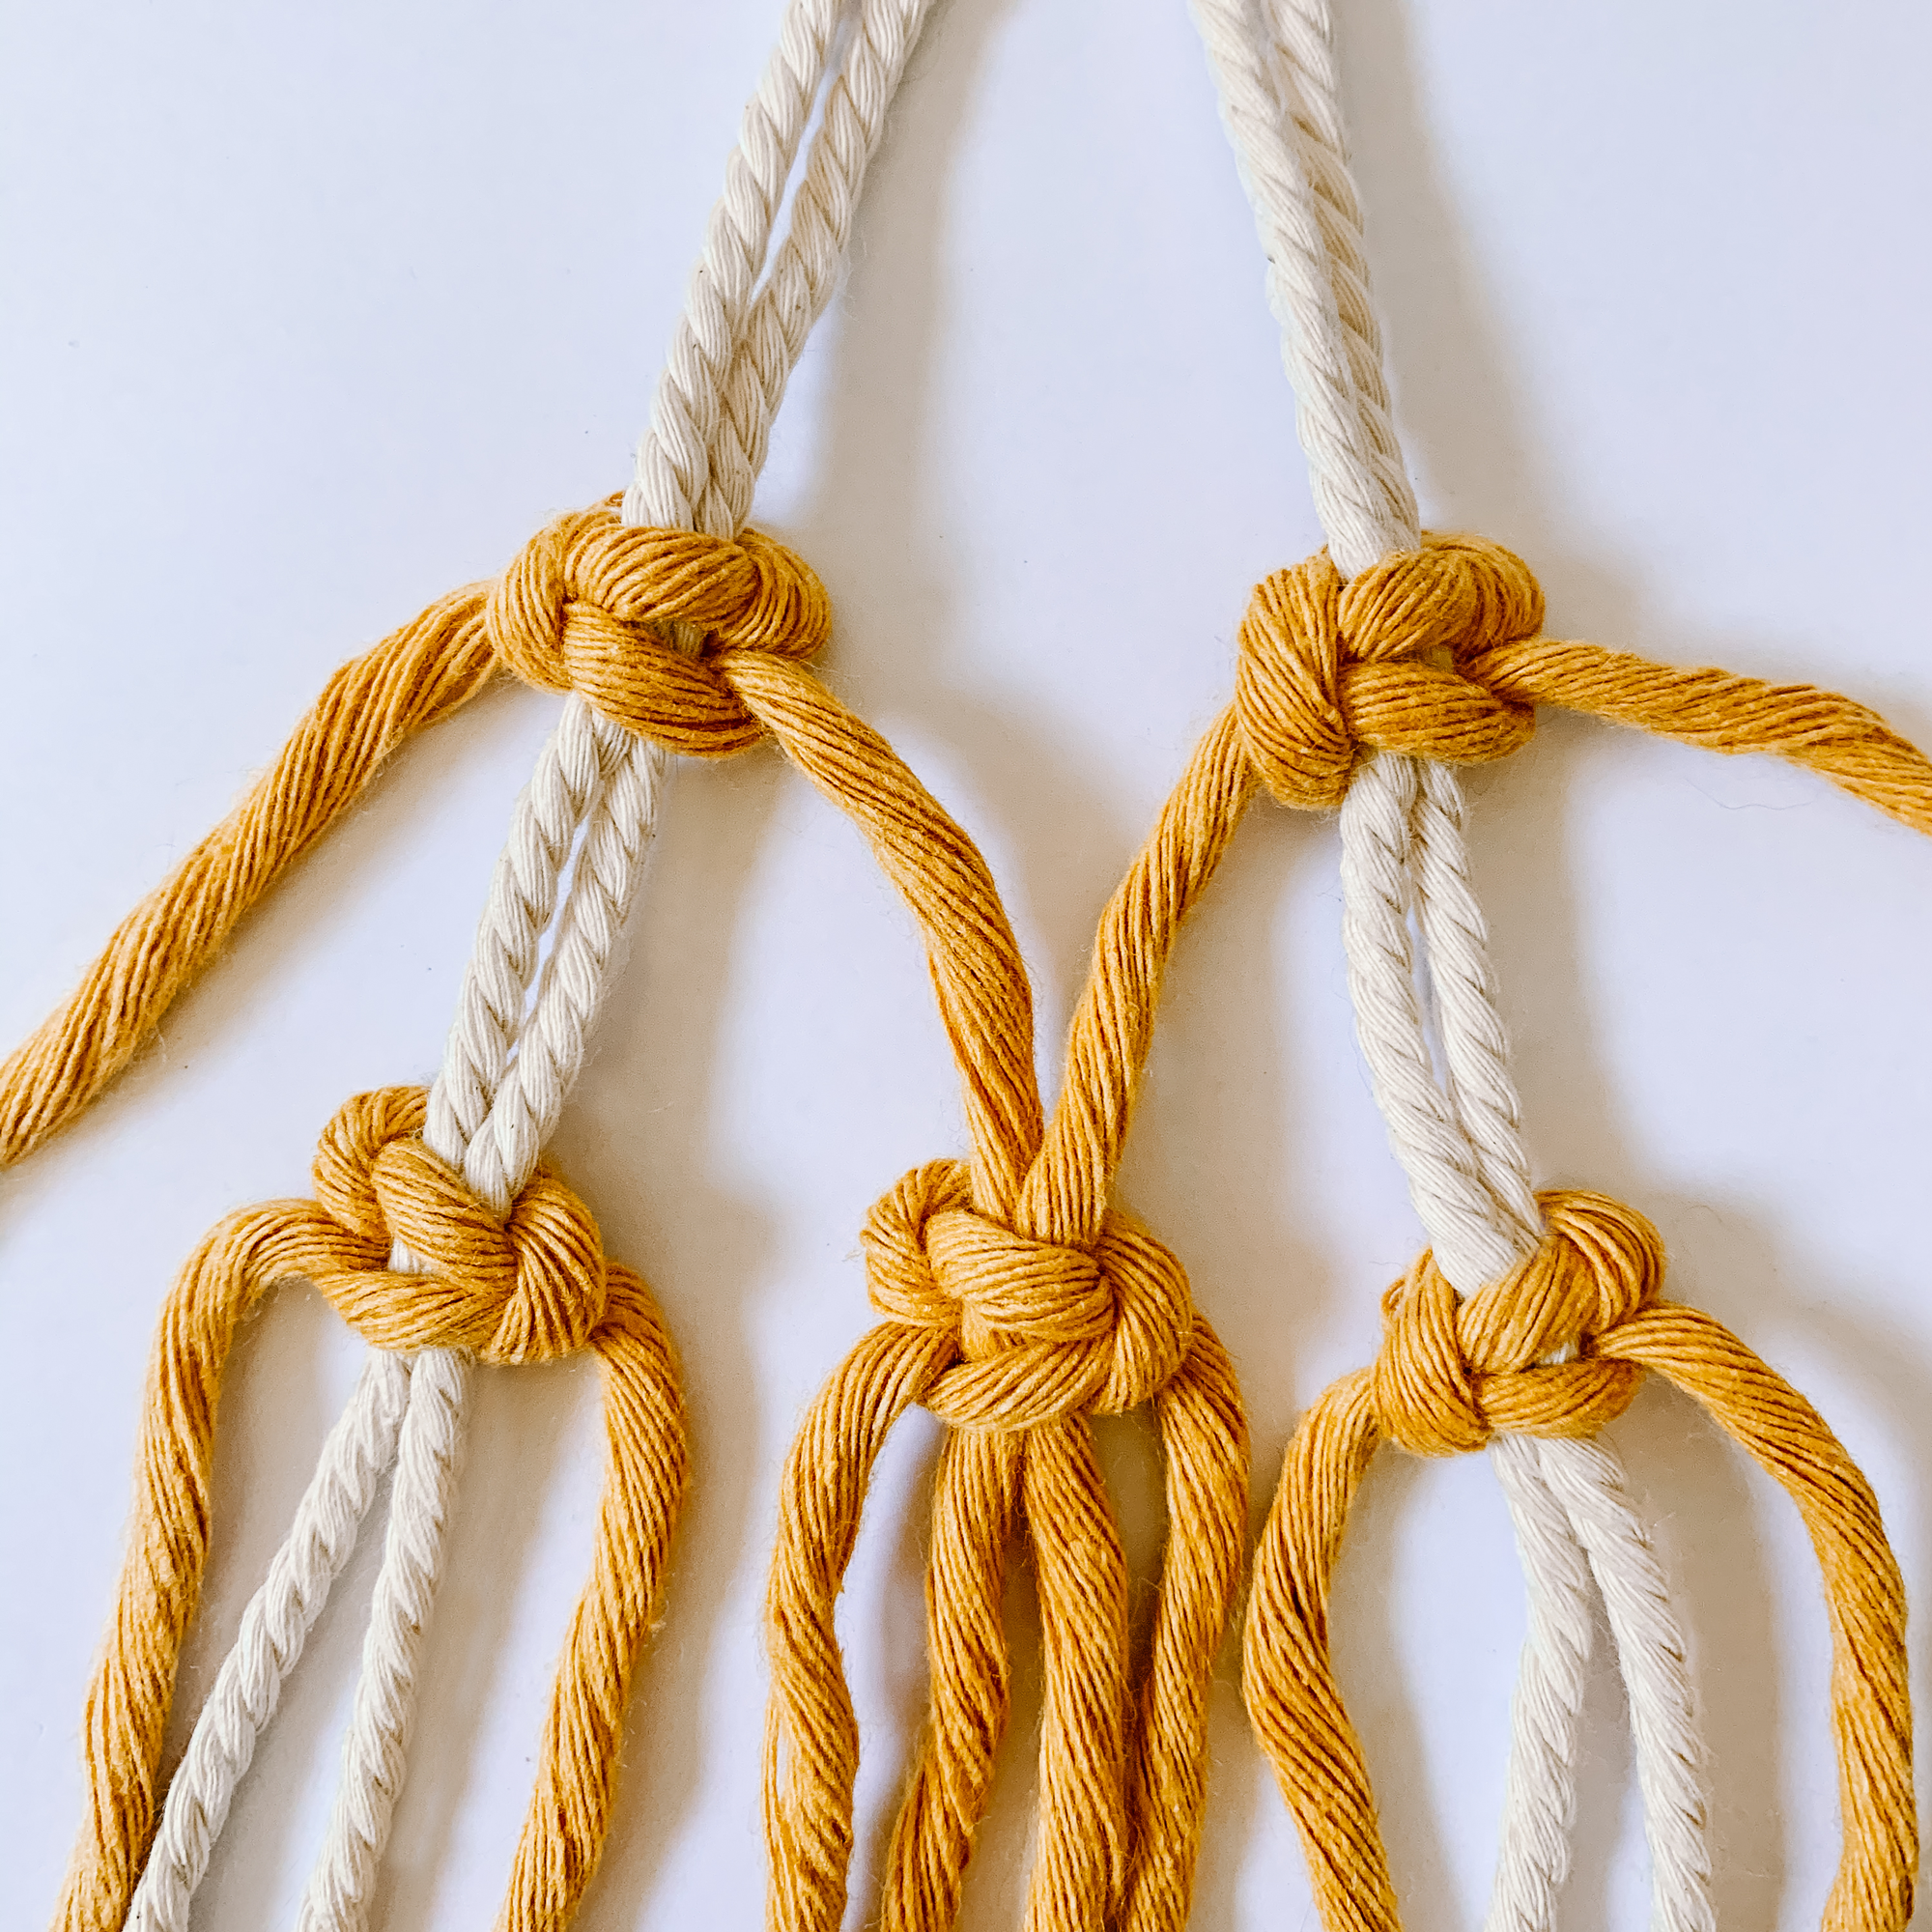
Second Row
Now take every adjoining pair and attach a second row with your remaining 12 strands.

Repeat
Keep repeating your knots, alternating rows until the bag is as long as you want it. Then add 2 tight rows immediately below your last row. This gives the bag a tighter bottom so things don’t drop through.

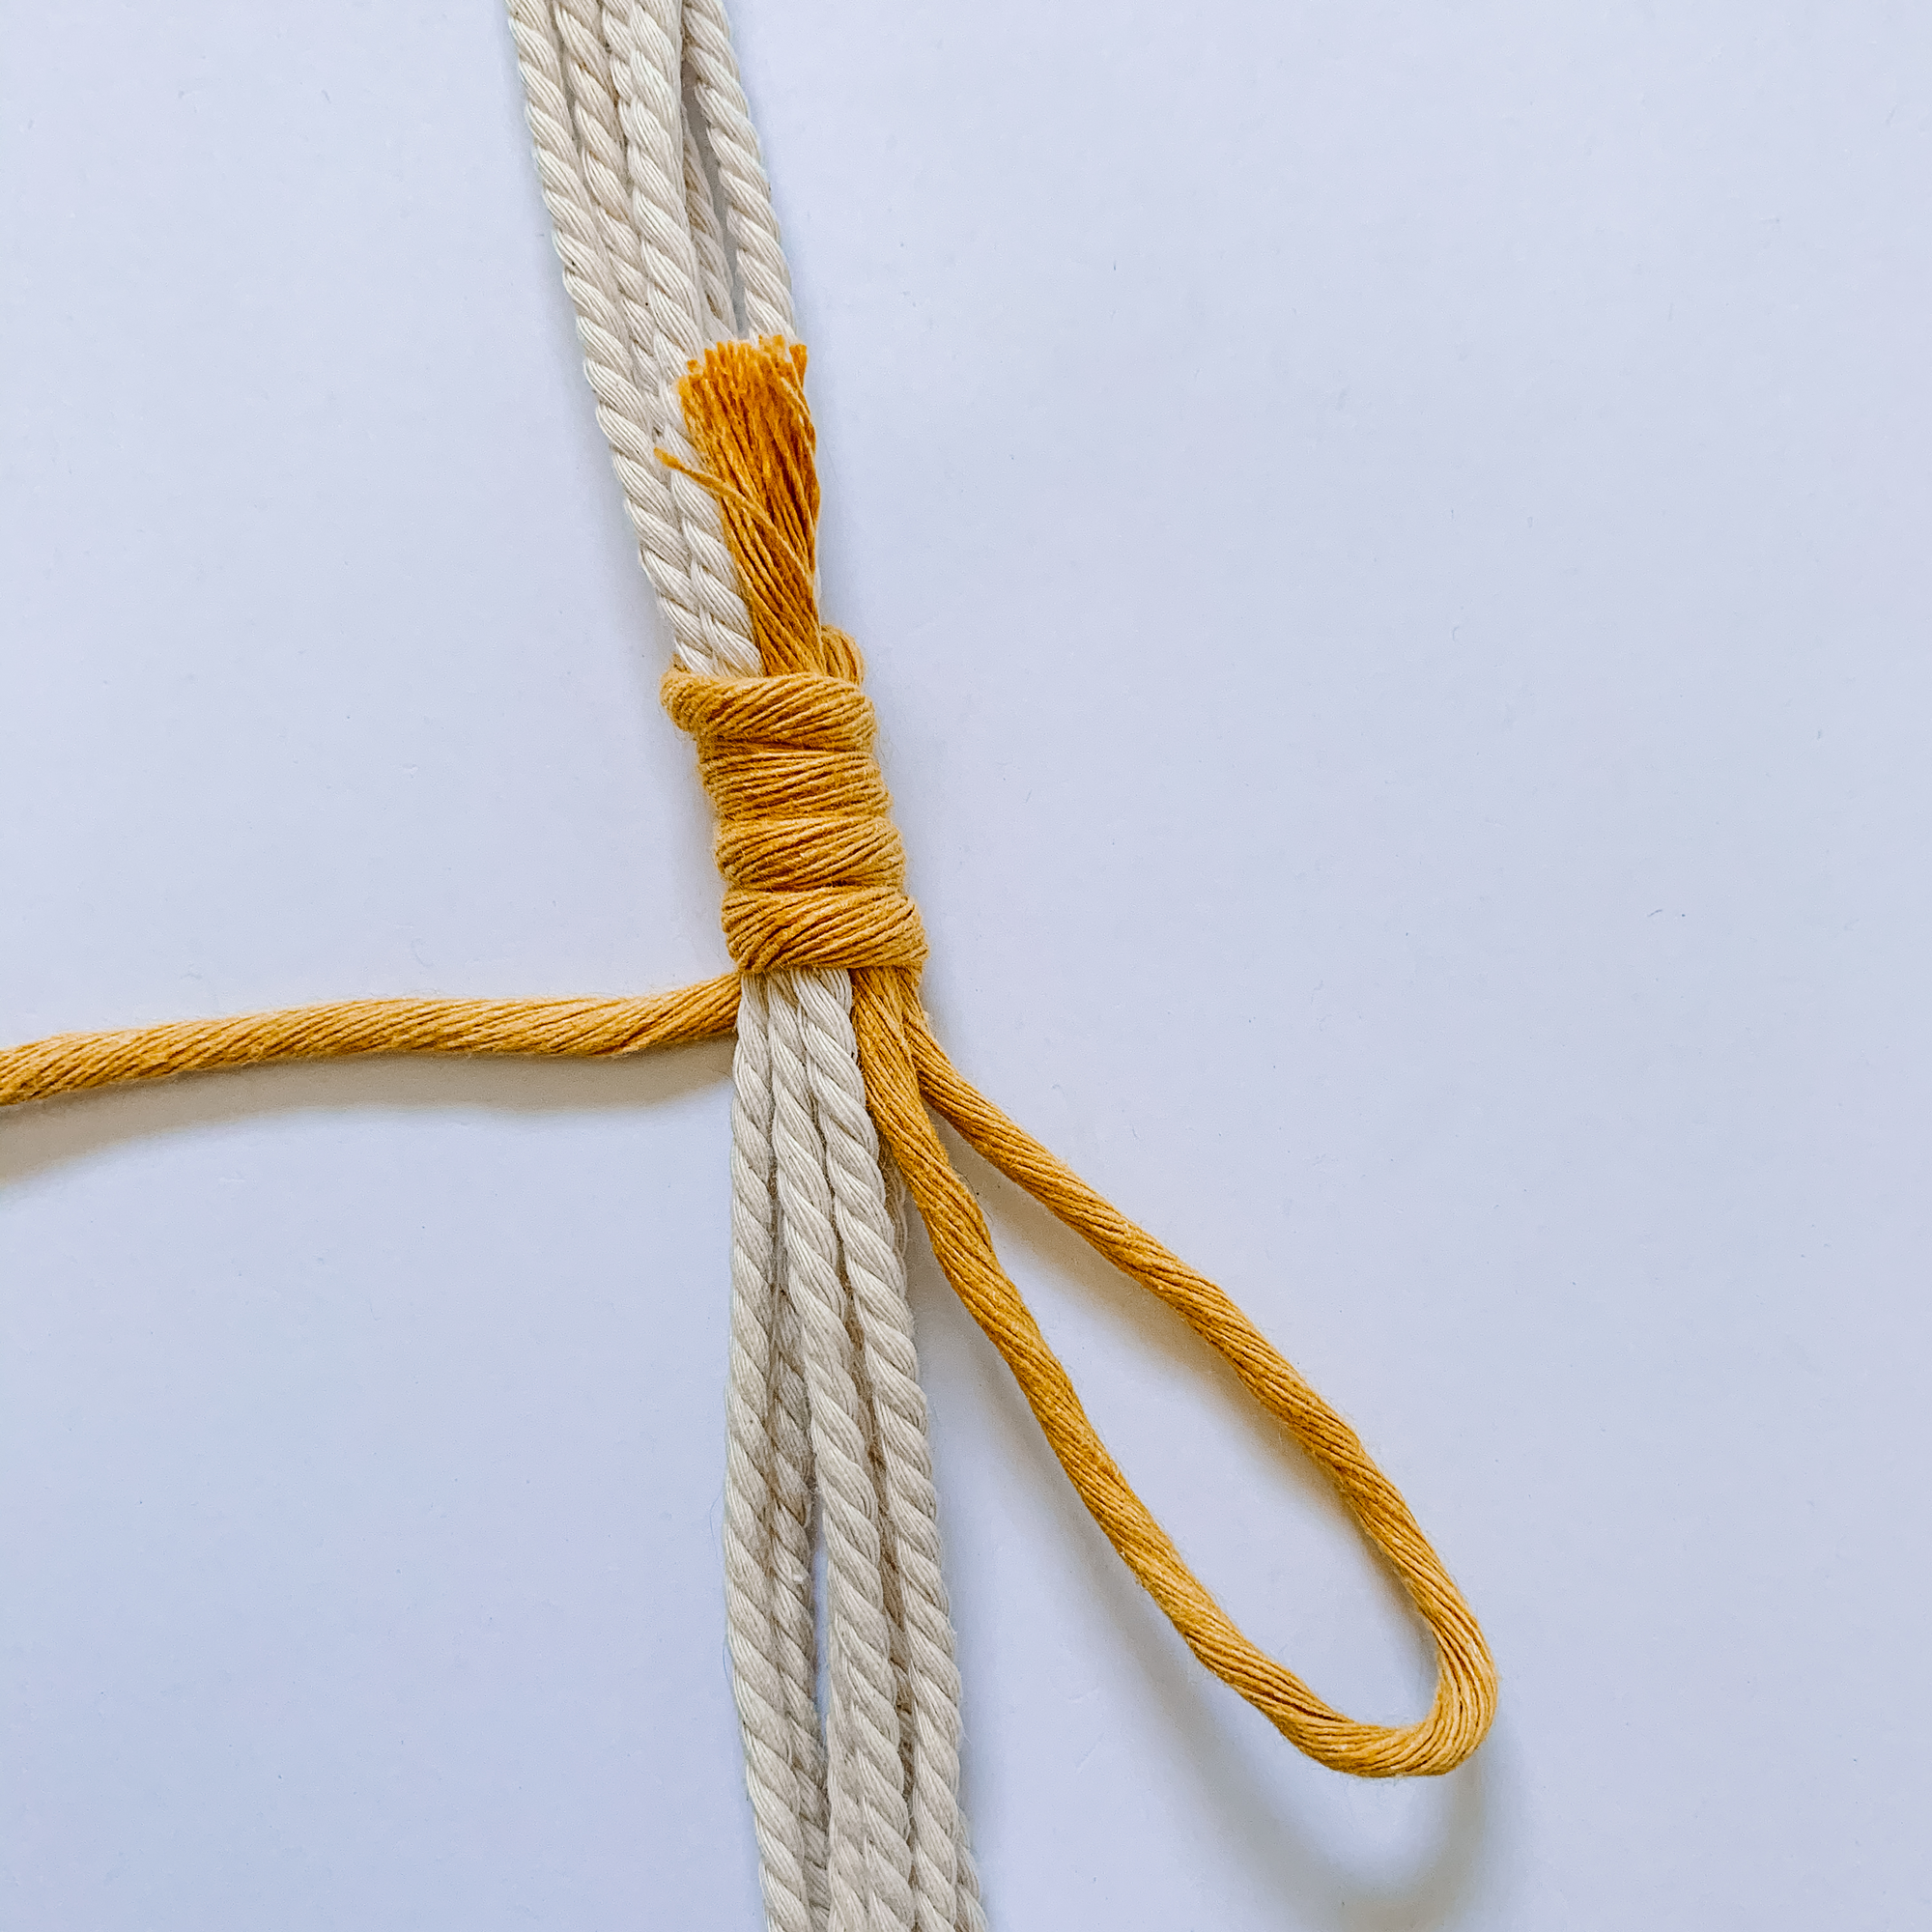
Gathering Knot
Using your last piece, the 3’ section, make a gathering knot to attach all the cords together.

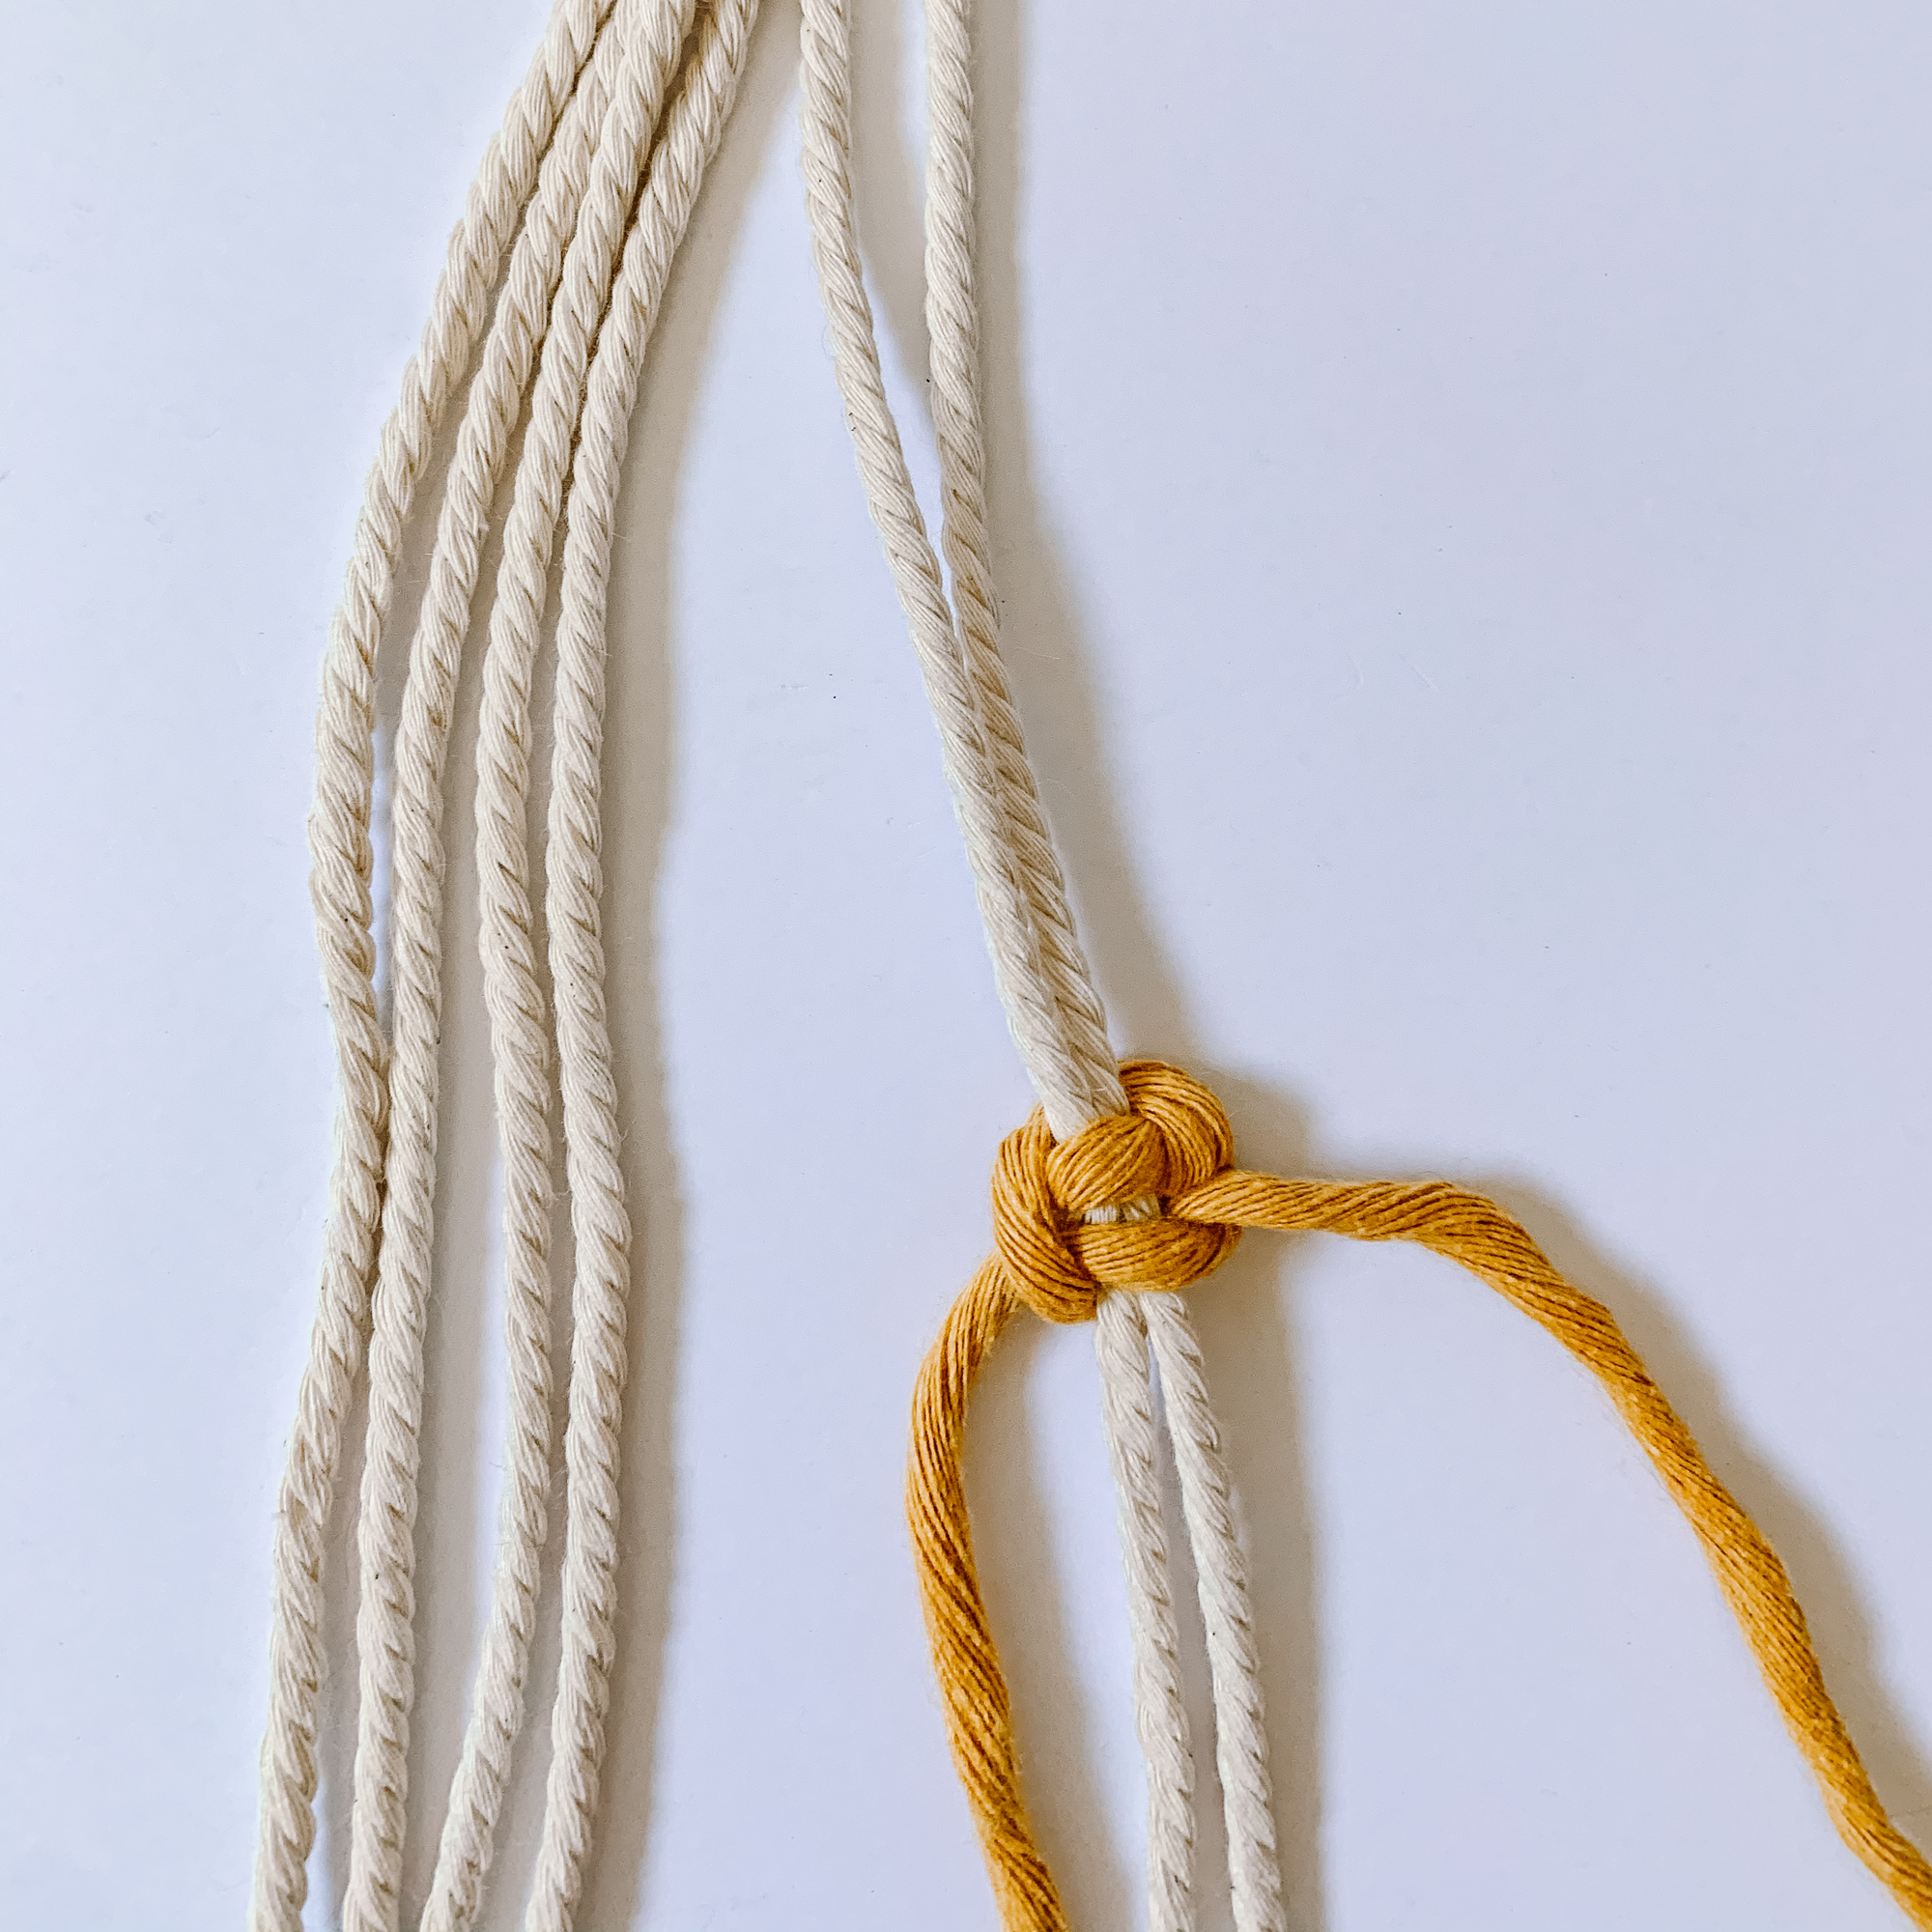
Trim Fringe
Trim your knot and your fringe to whatever length you want.
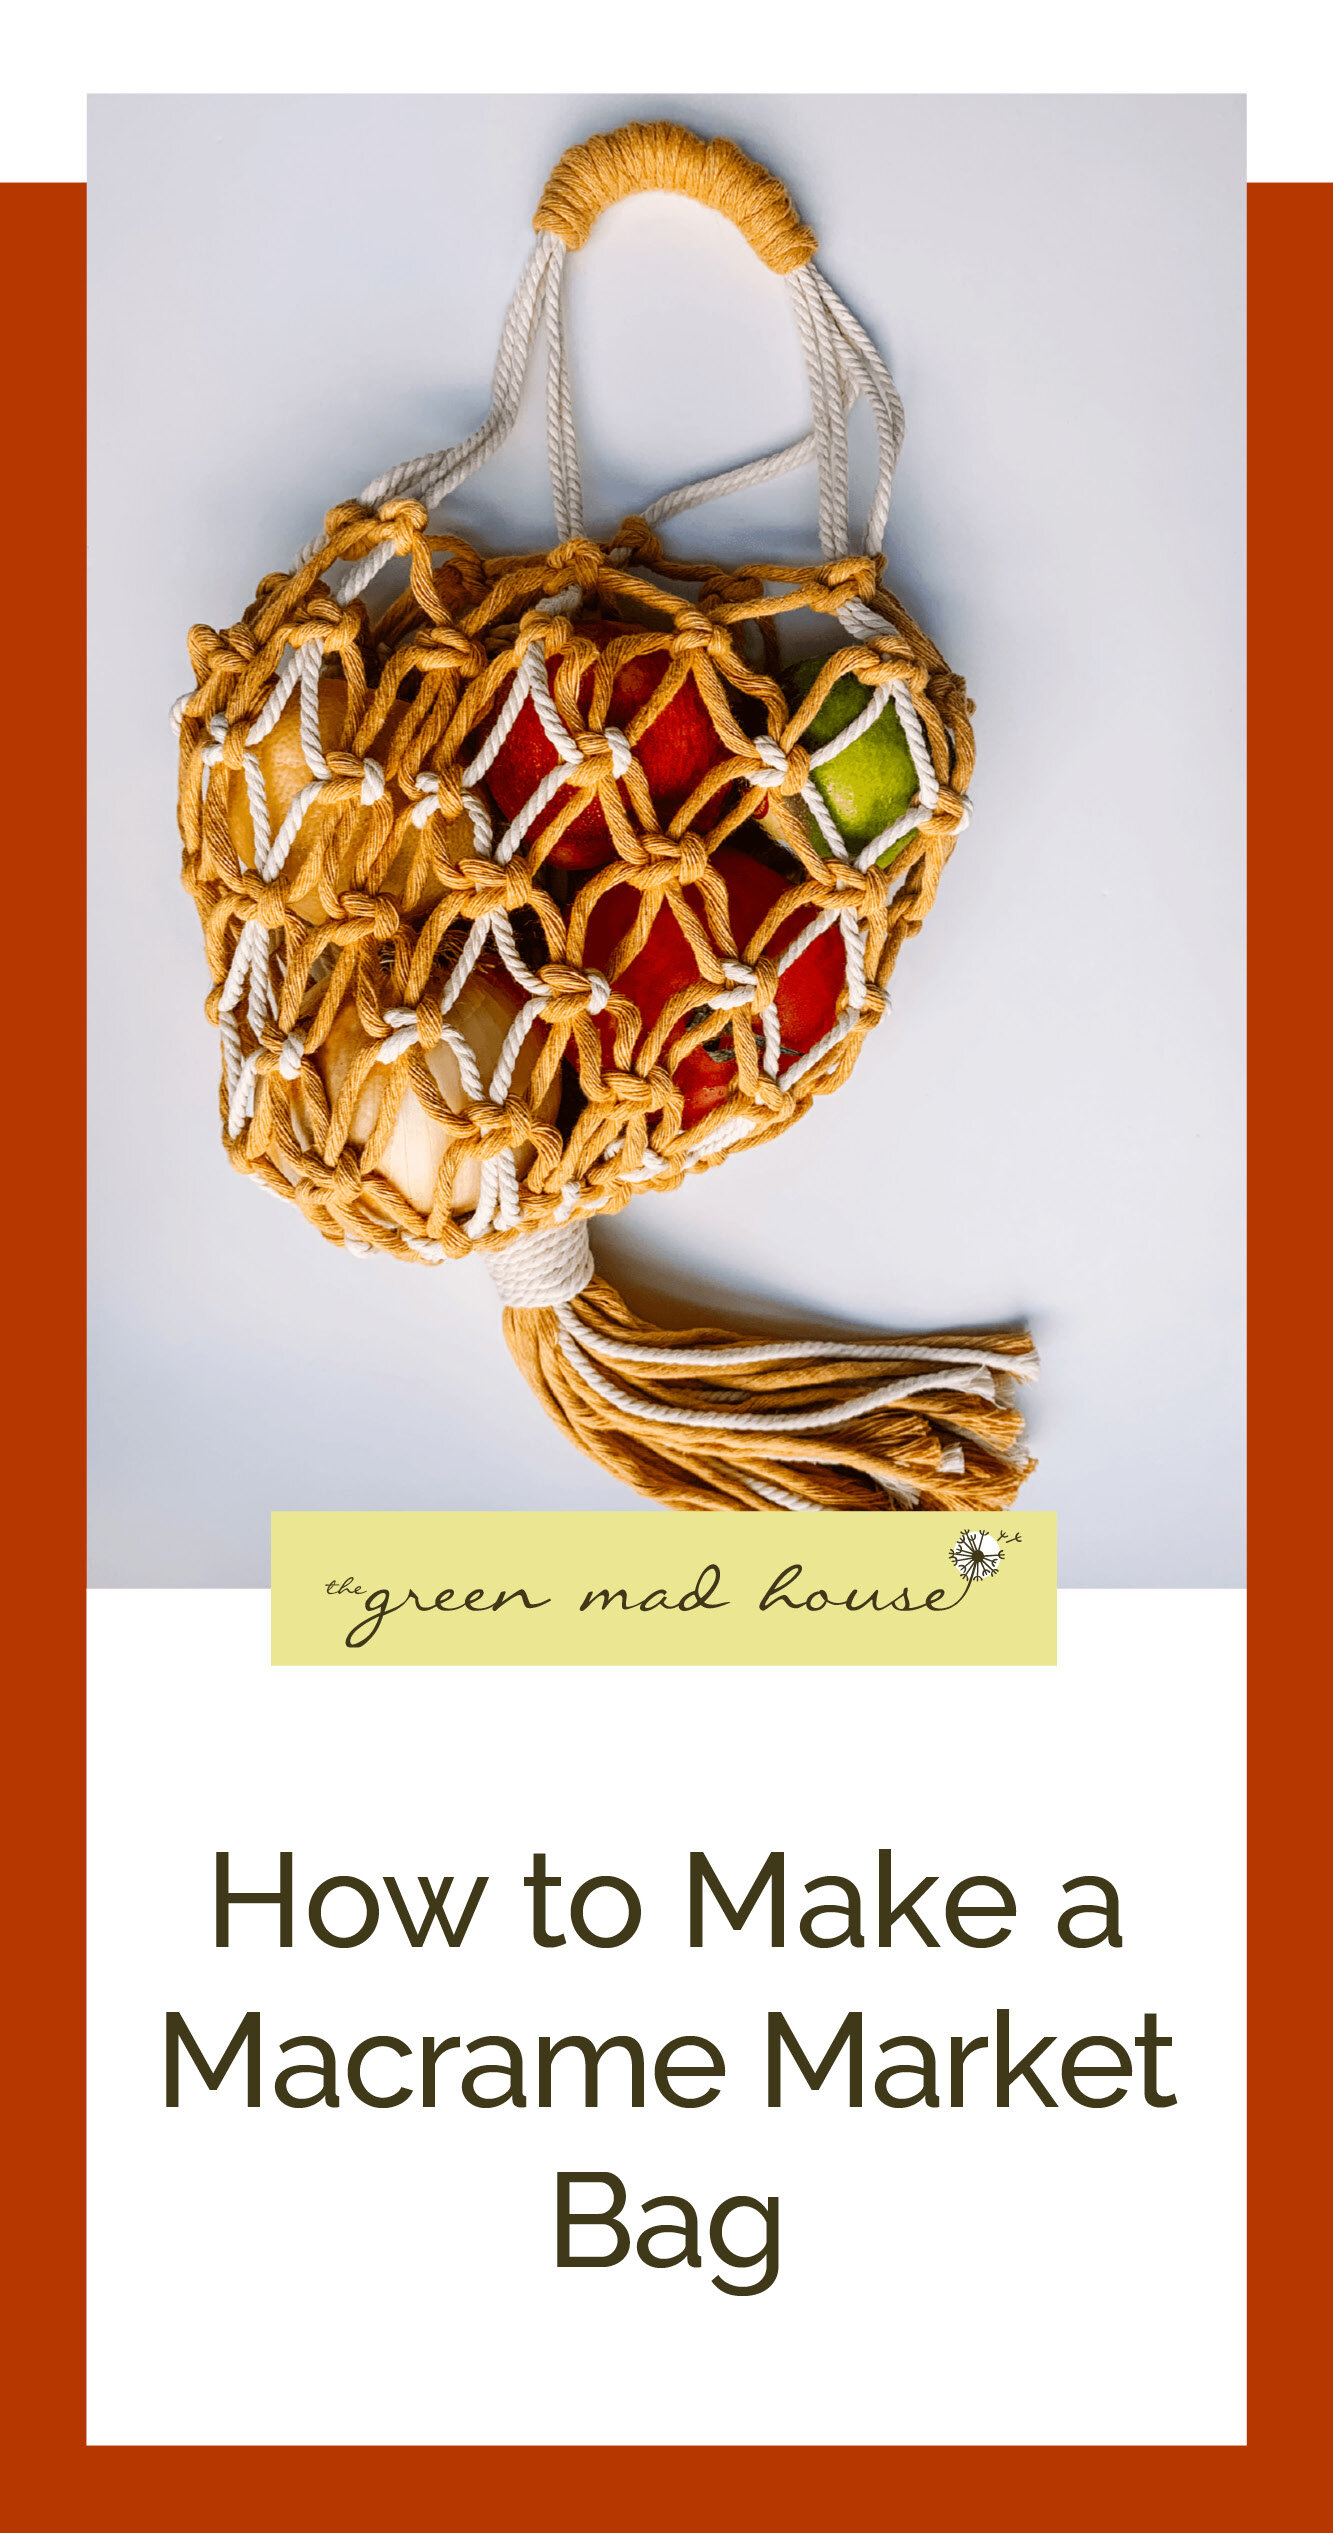
I took this immediately to my favorite grocery store, Marketime, and grabbed some produce. I love shopping at small local spots and it doesn’t hurt it is in my neighborhood. I always keep a few bags right next to my front door and a couple in my car so I am always prepared, guess I need to make more though. I want to make a more detailed version and maybe try to make it rainbow? What do you think?
Hope you like this one and let me know how yours turns out in the comments or by tagging me on instagram @thegreenmadhouse.

