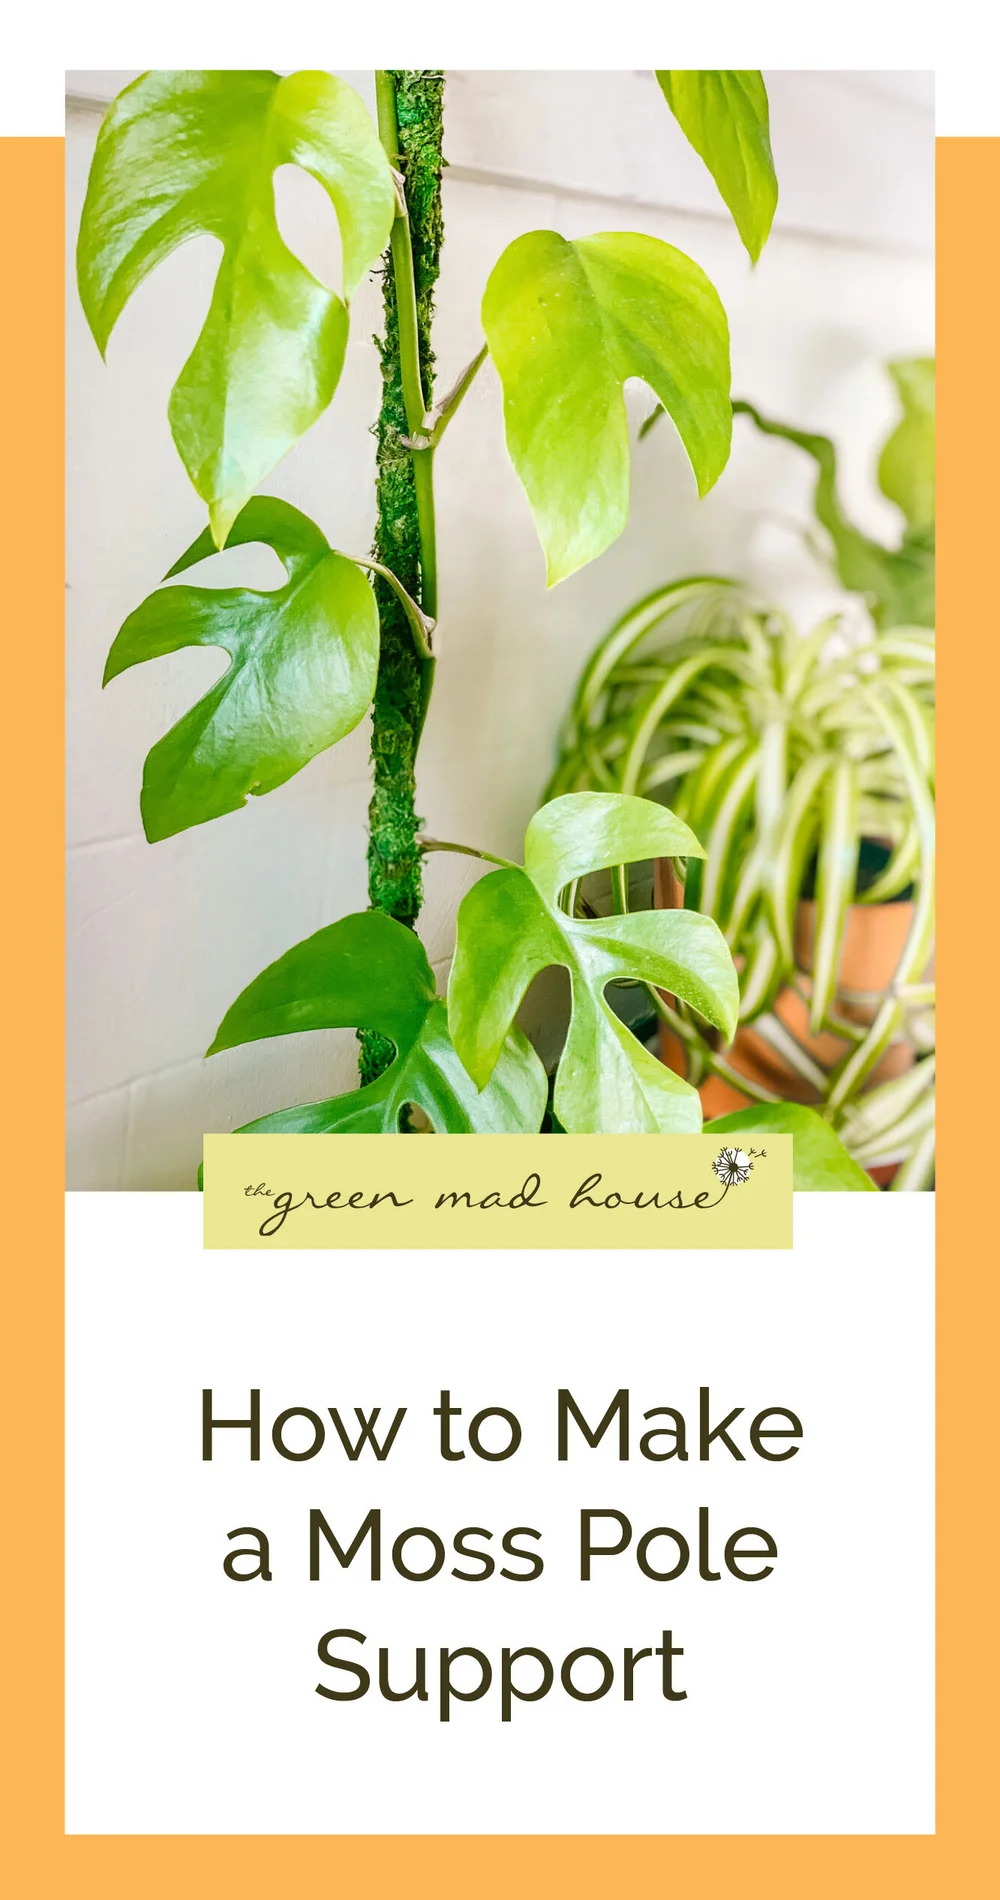
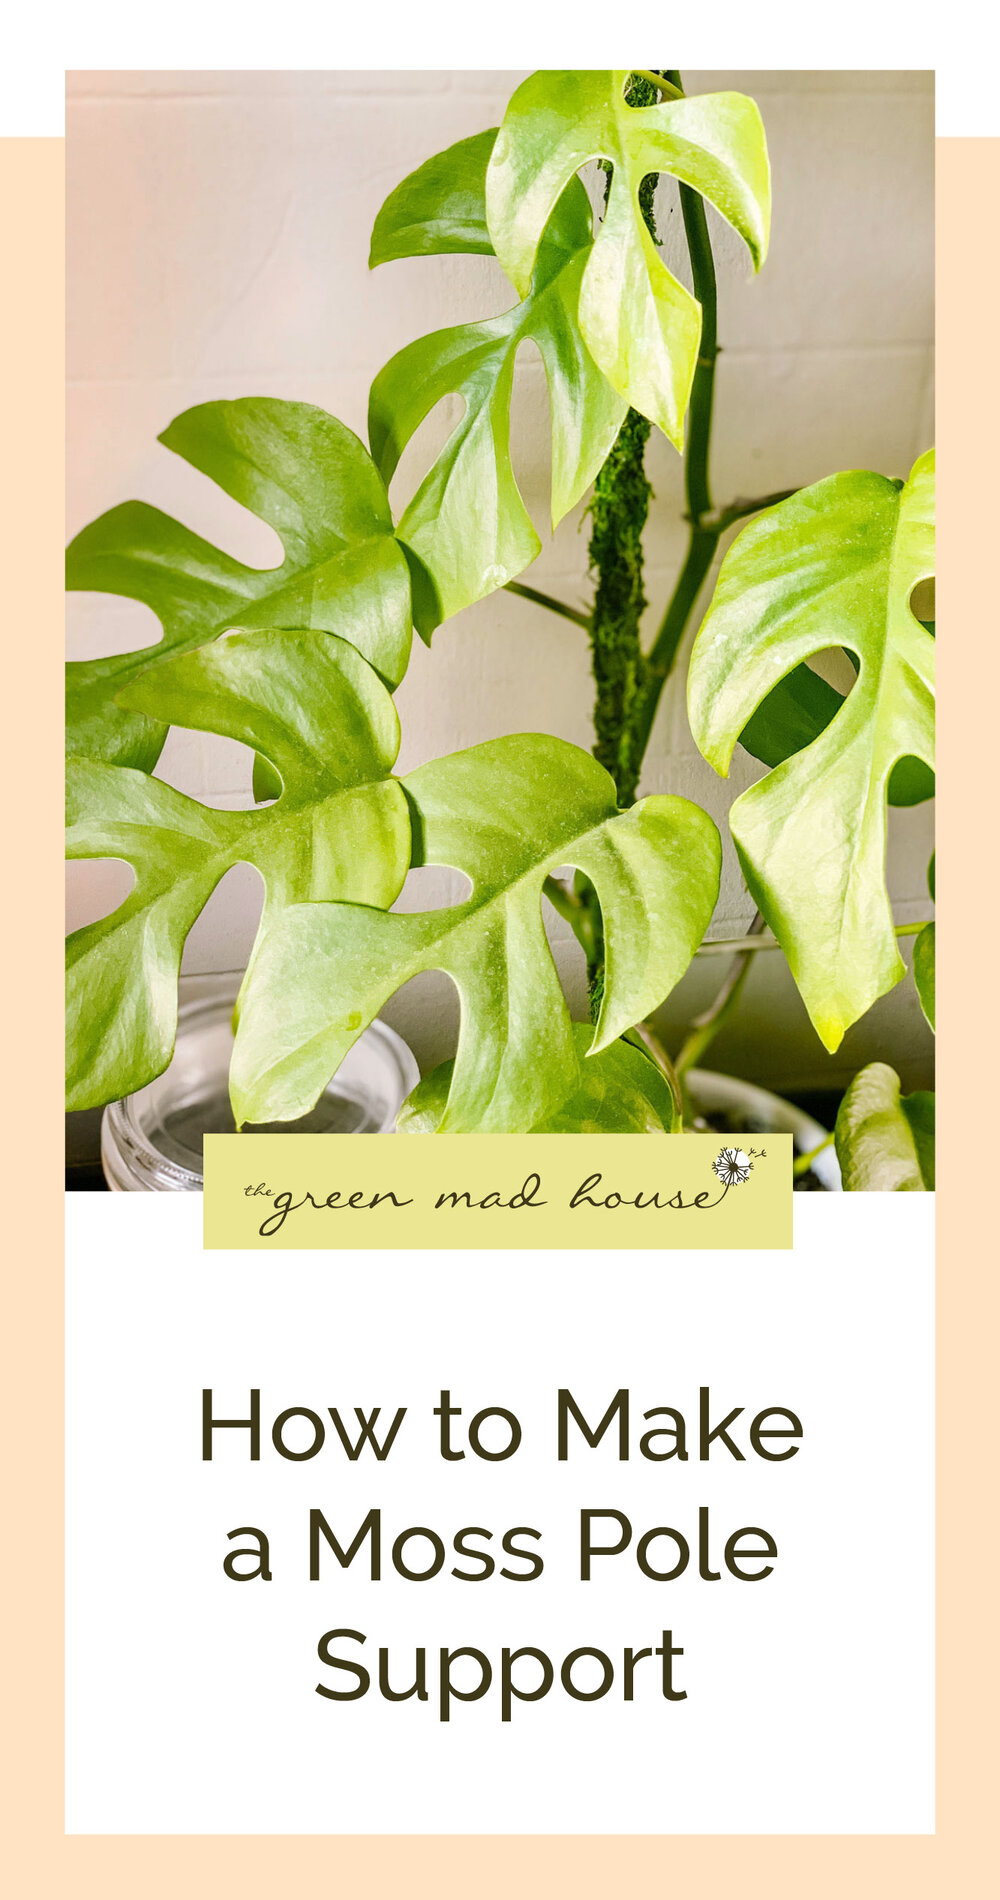
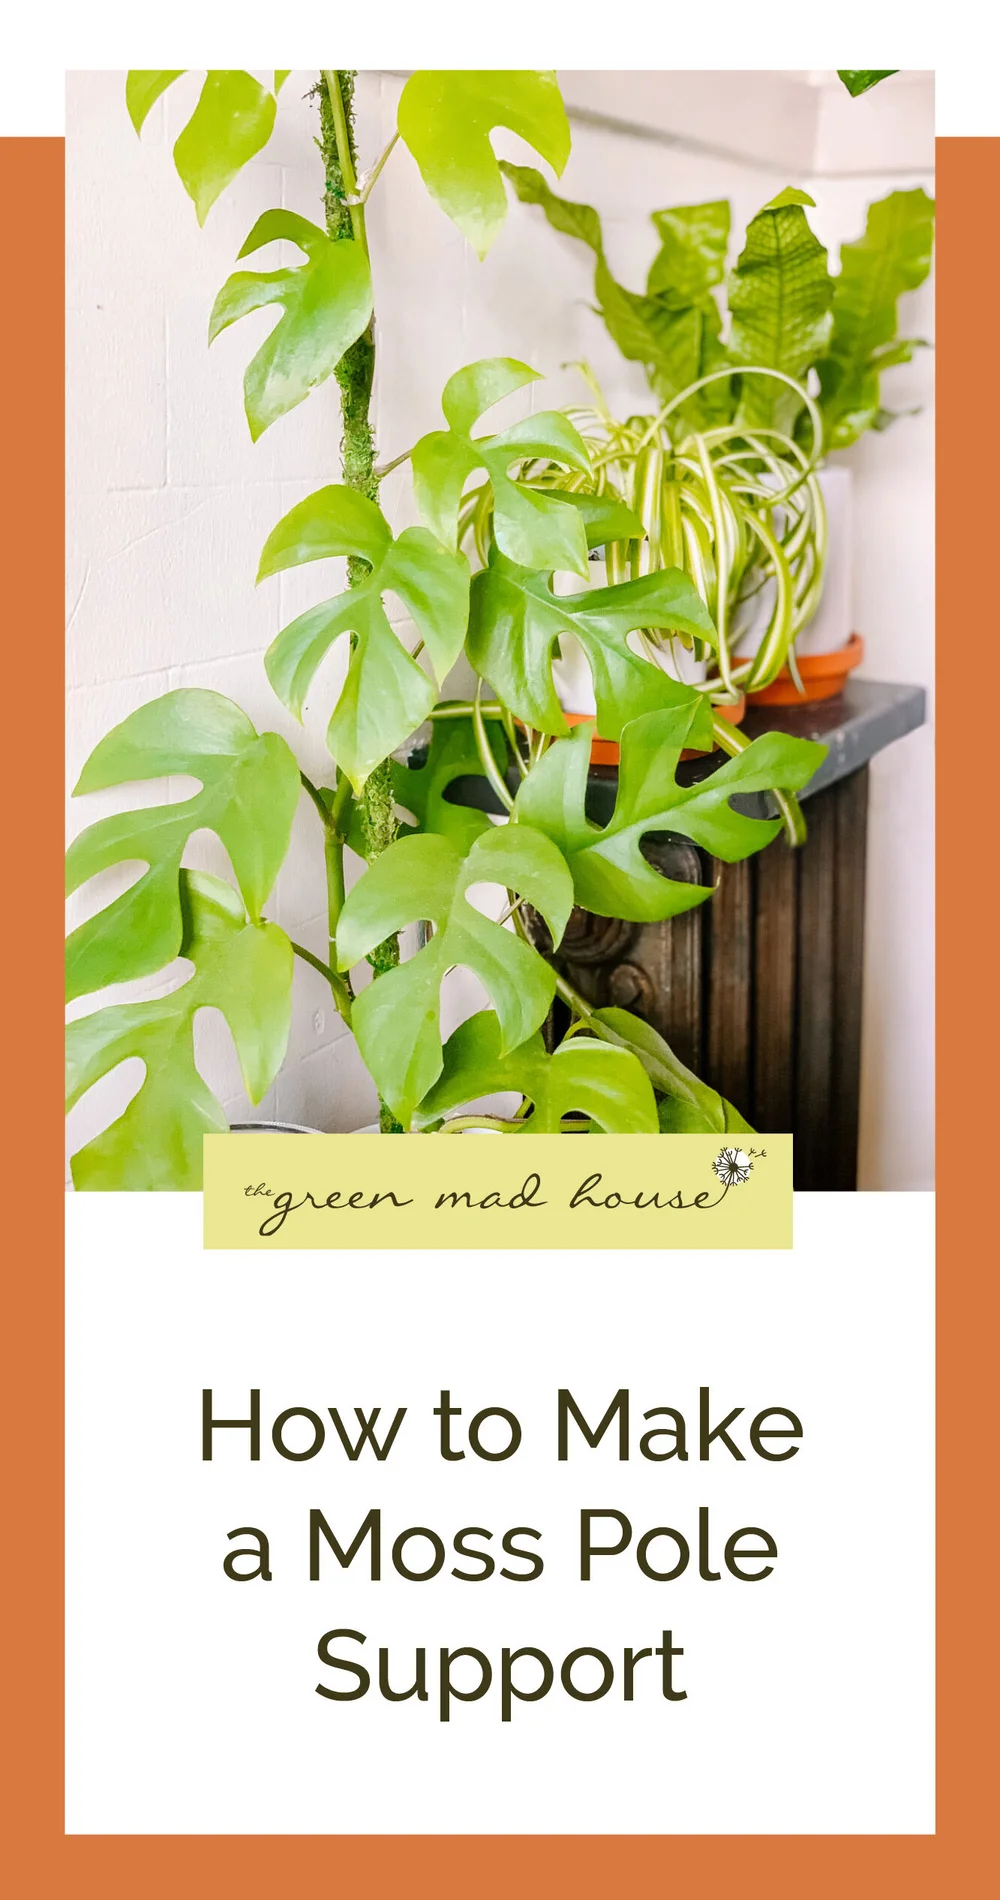
How to Make a Moss Pole Support


As an Amazon and Etsy Associate I earn from qualifying purchases.
Check out the guide on Mini Monsteras
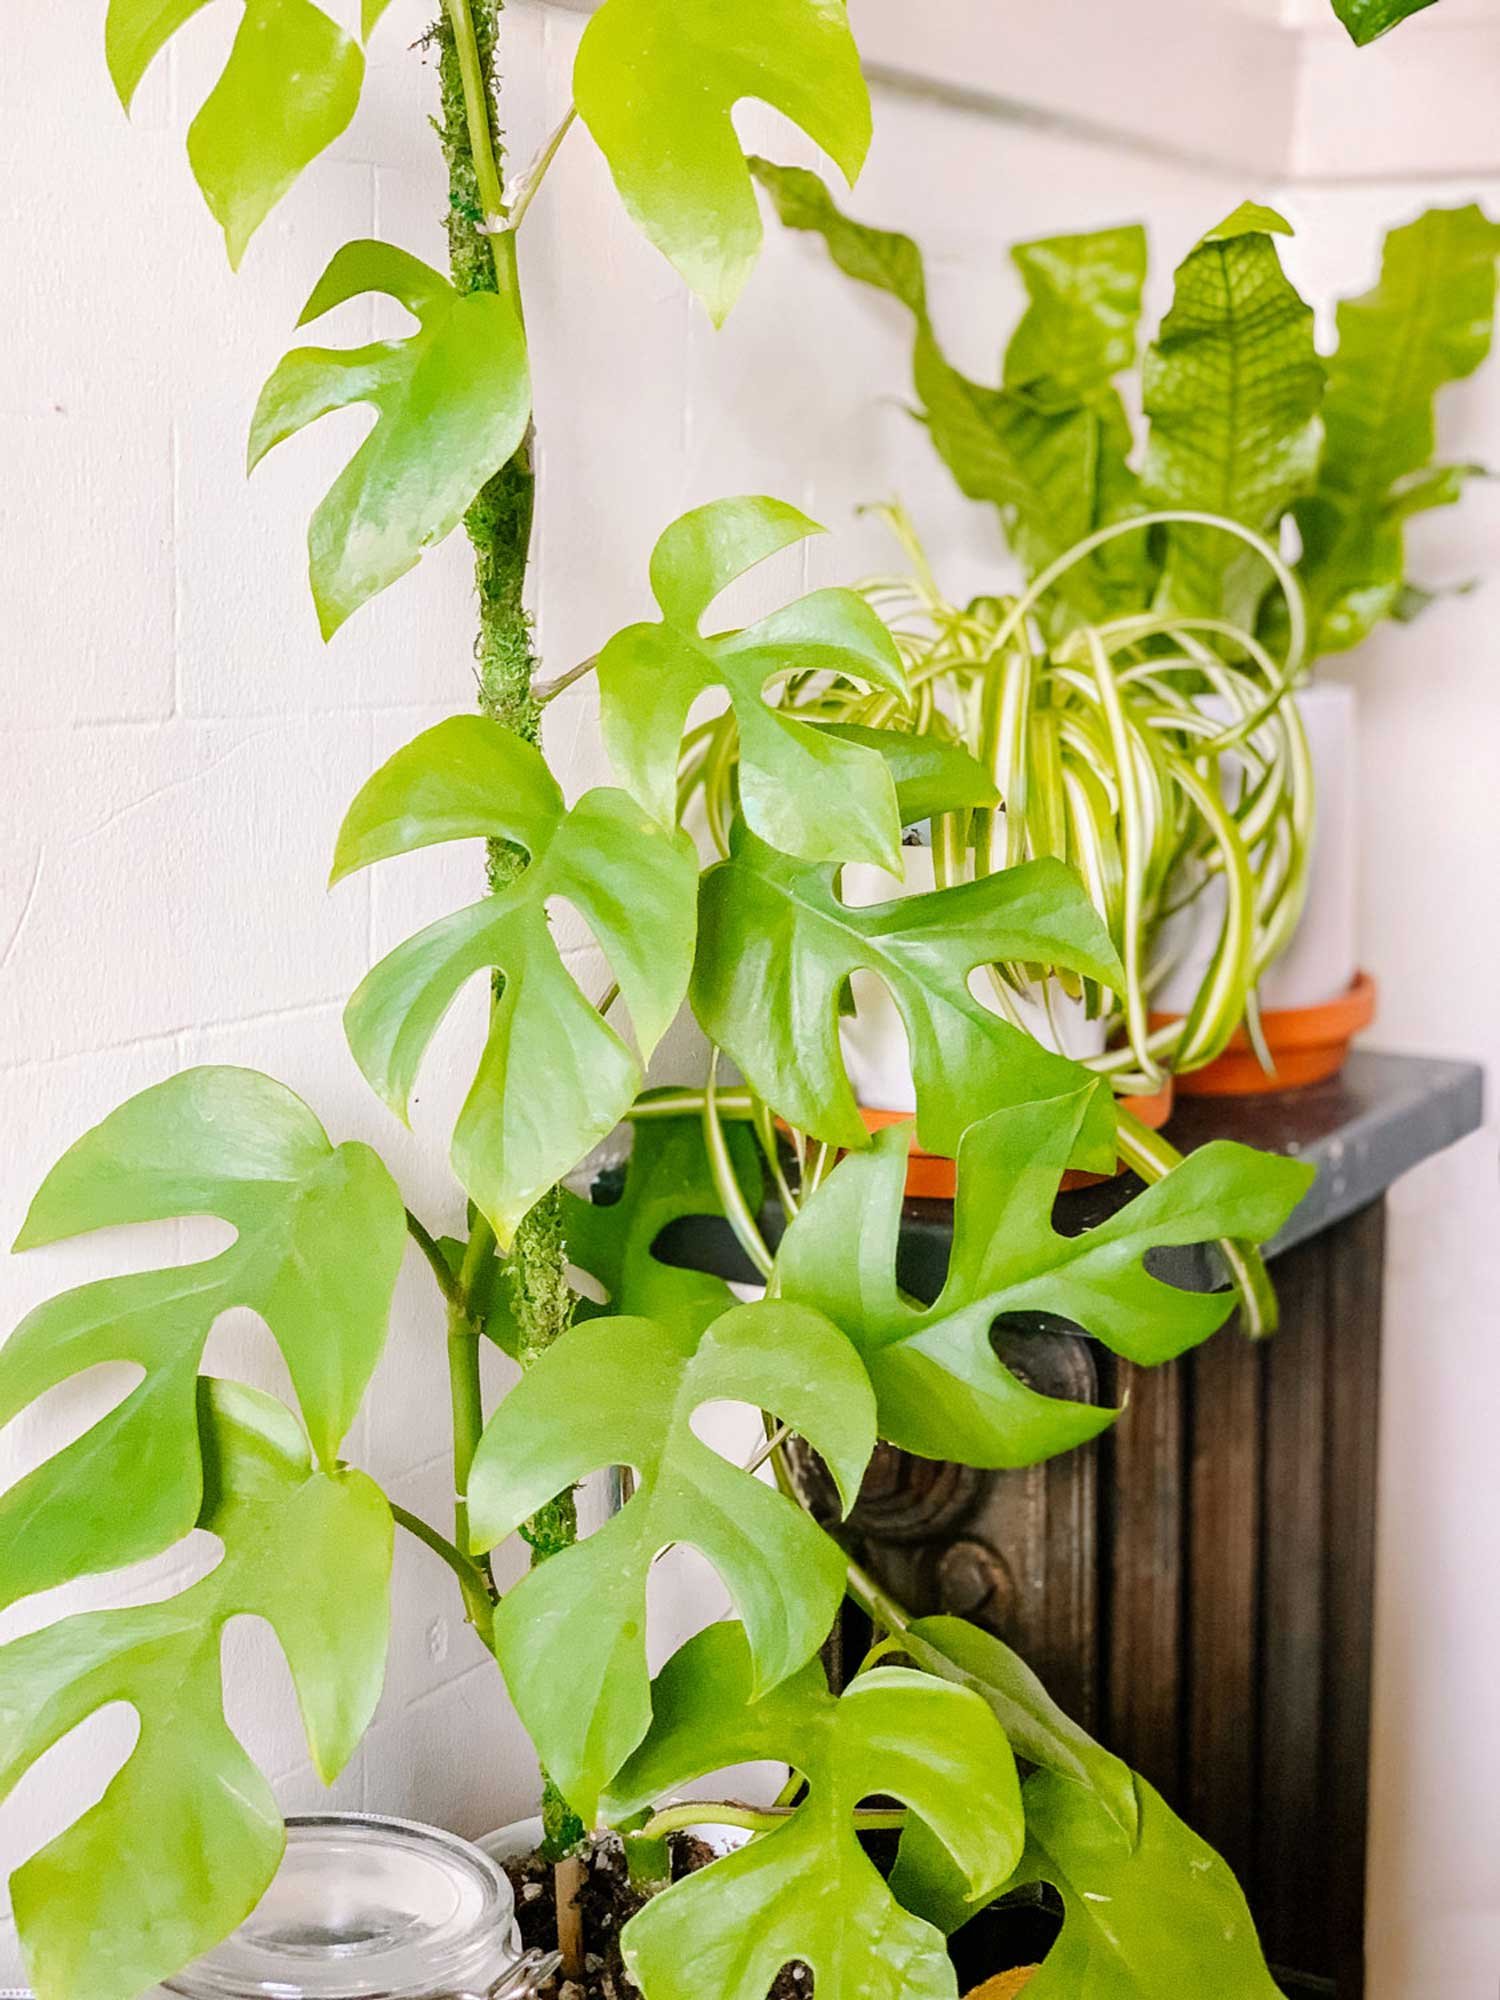
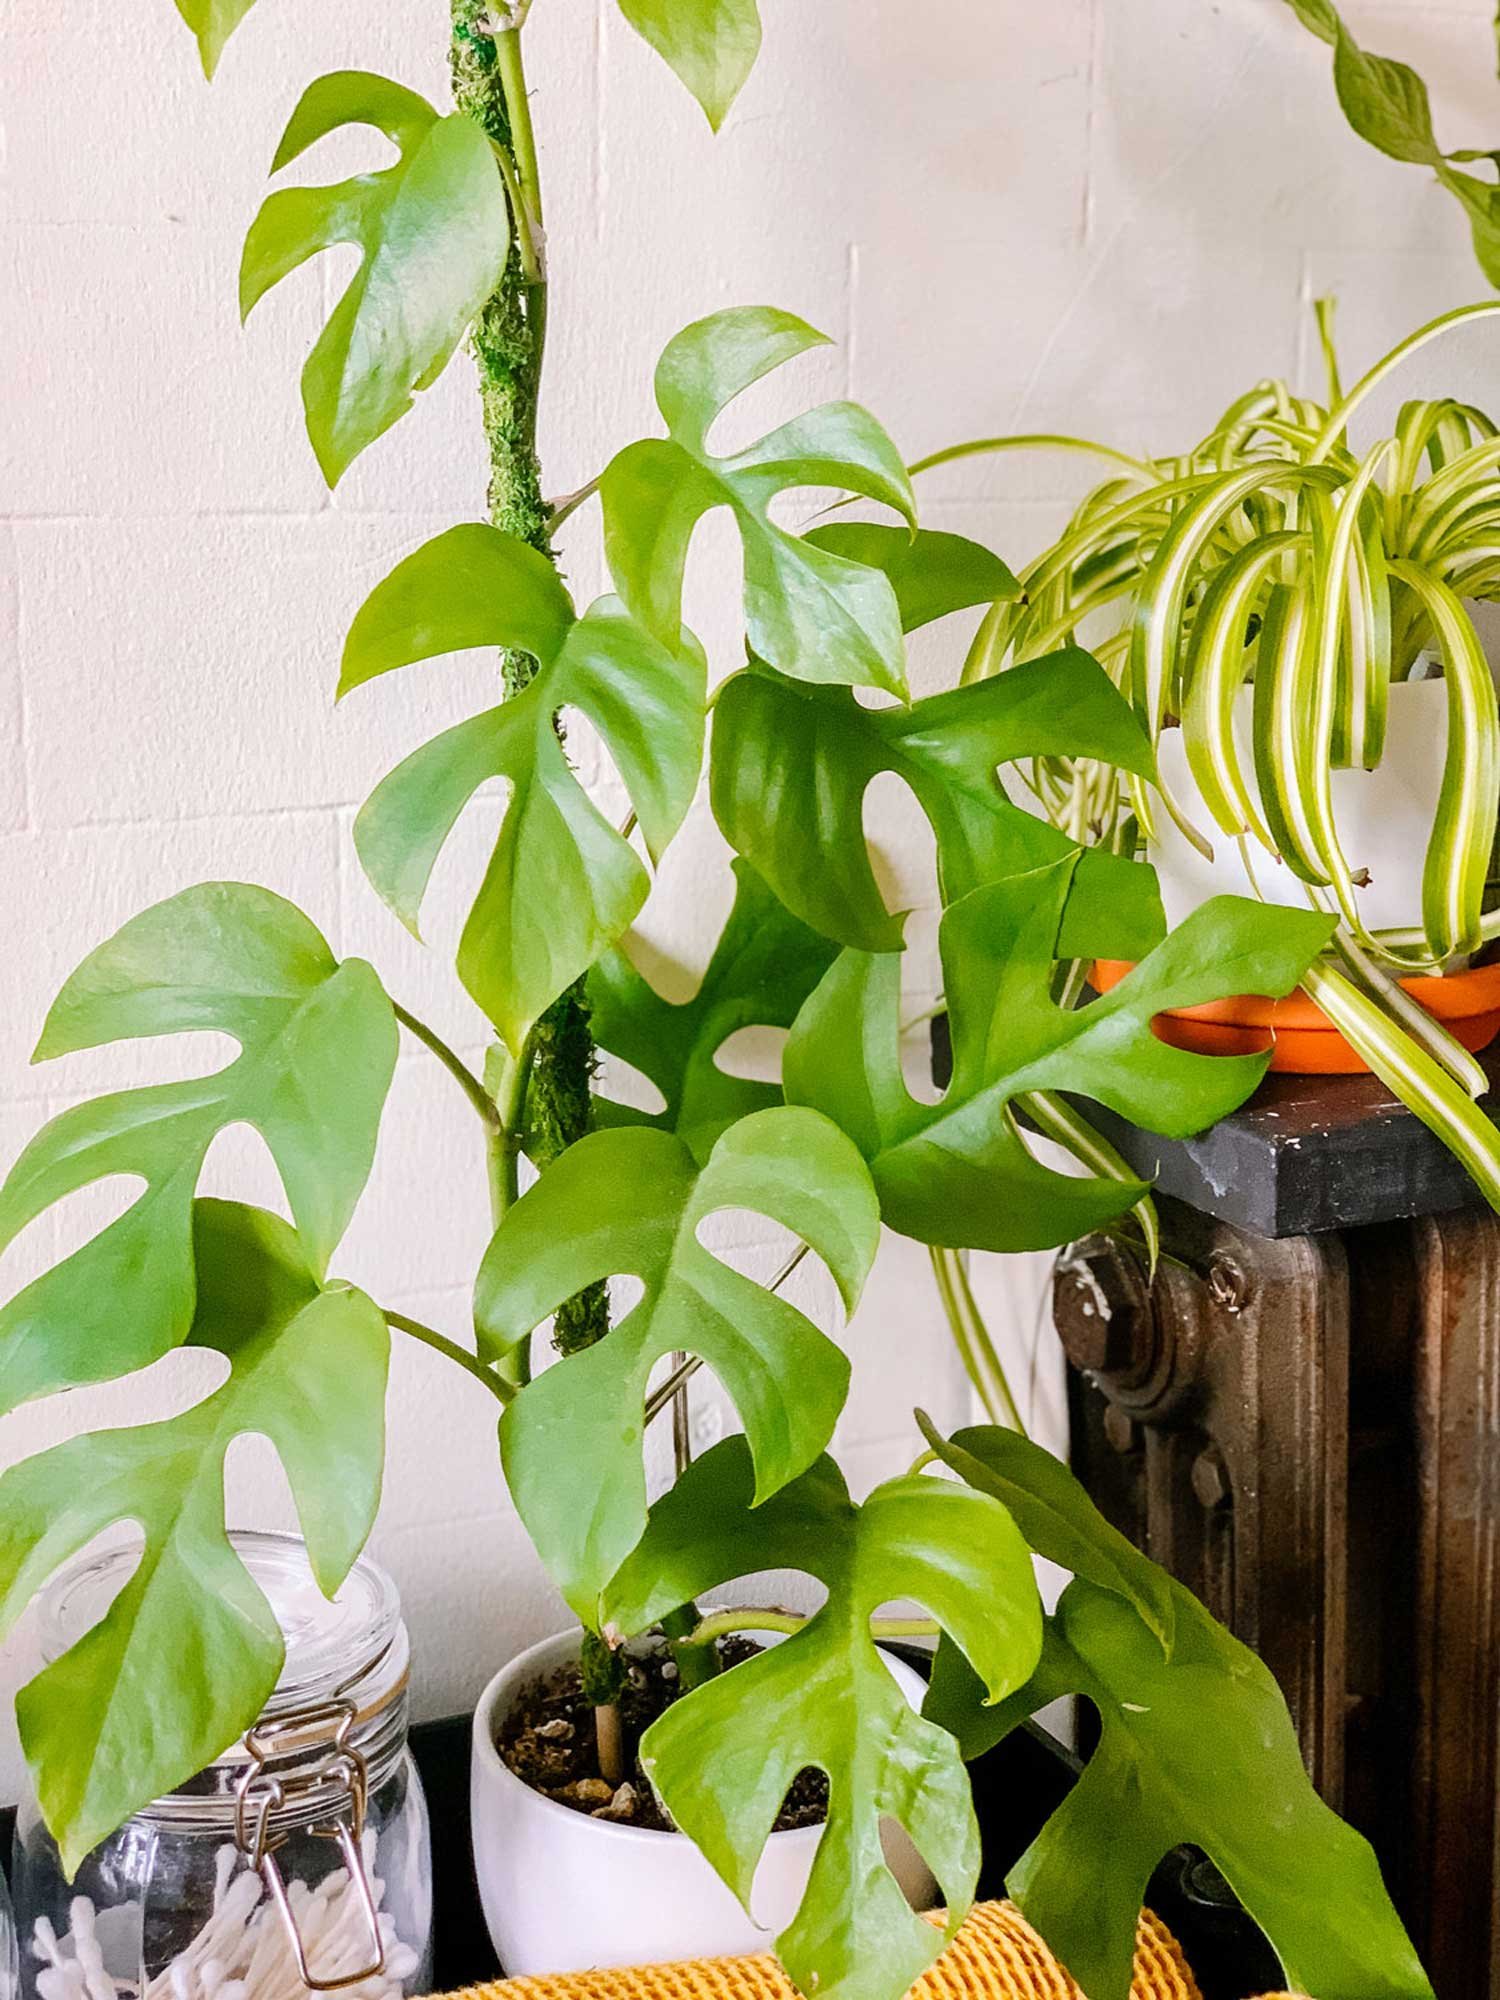
Do you have a plant that is vining, has aerial roots, or just needs support? Well a moss pole is the perfect fix. A moss pole is an extremely easy DIY that uses only a couple supplies to create a support for your plants, especially epiphytes (plants that grow on other plants). The moss retains moisture, is an easy surface for roots to grab, and mimics the natural environment of the trees these plants would be growing on in the wild. Moss poles are most commonly used with Monstera deliciosa, Monstera adanasoii and Mini Monstera, Pothos, hHya and many more.
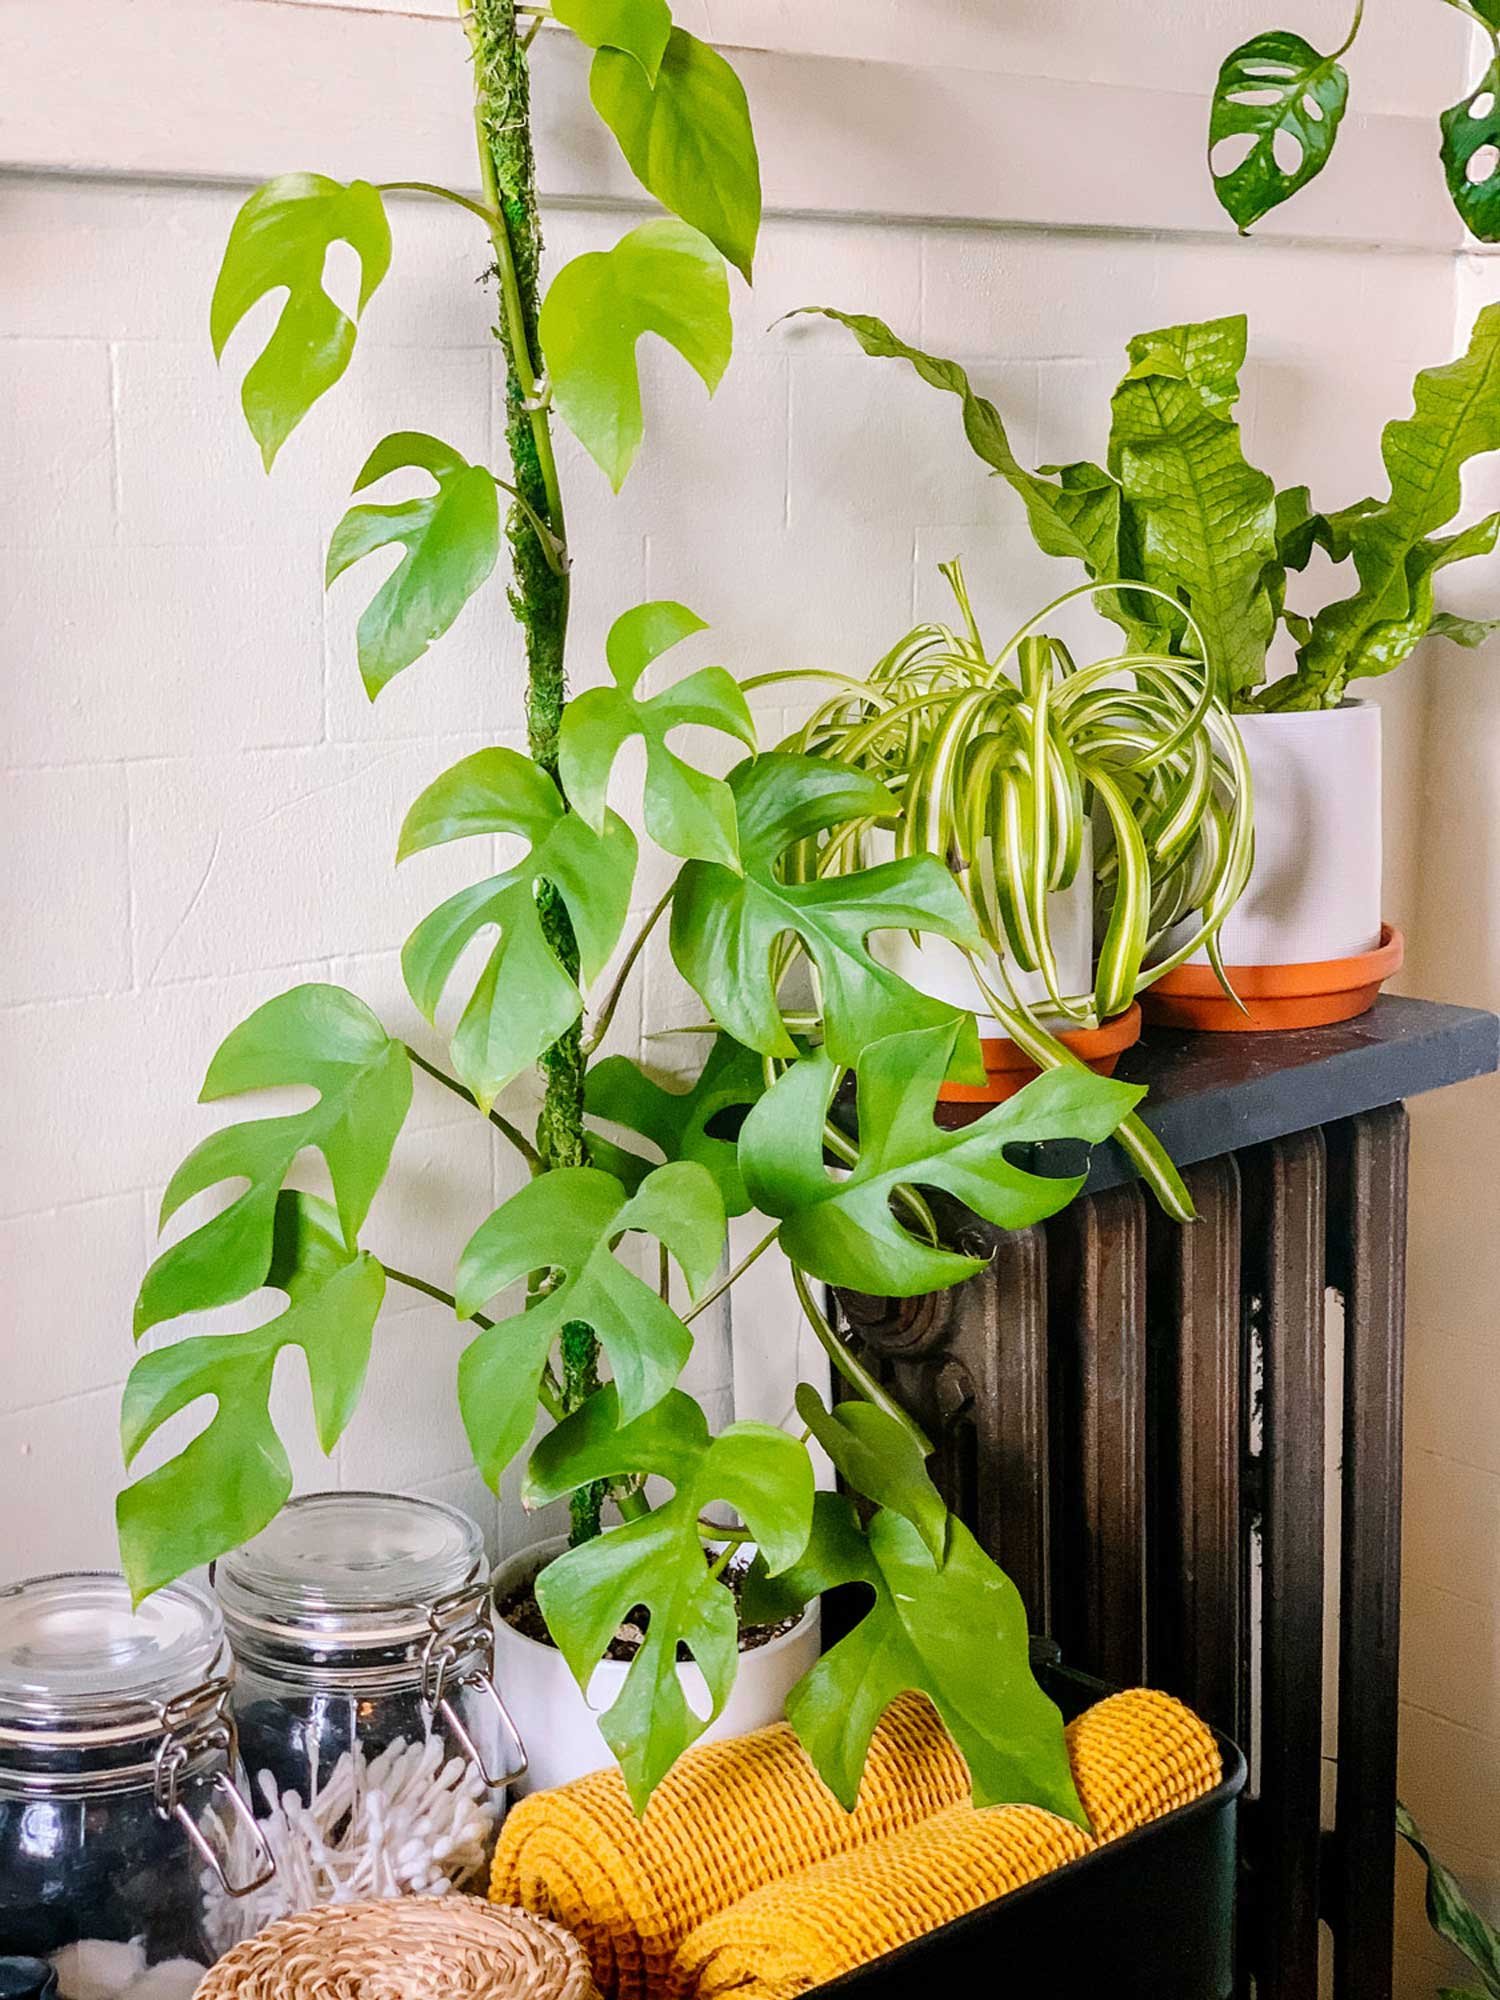
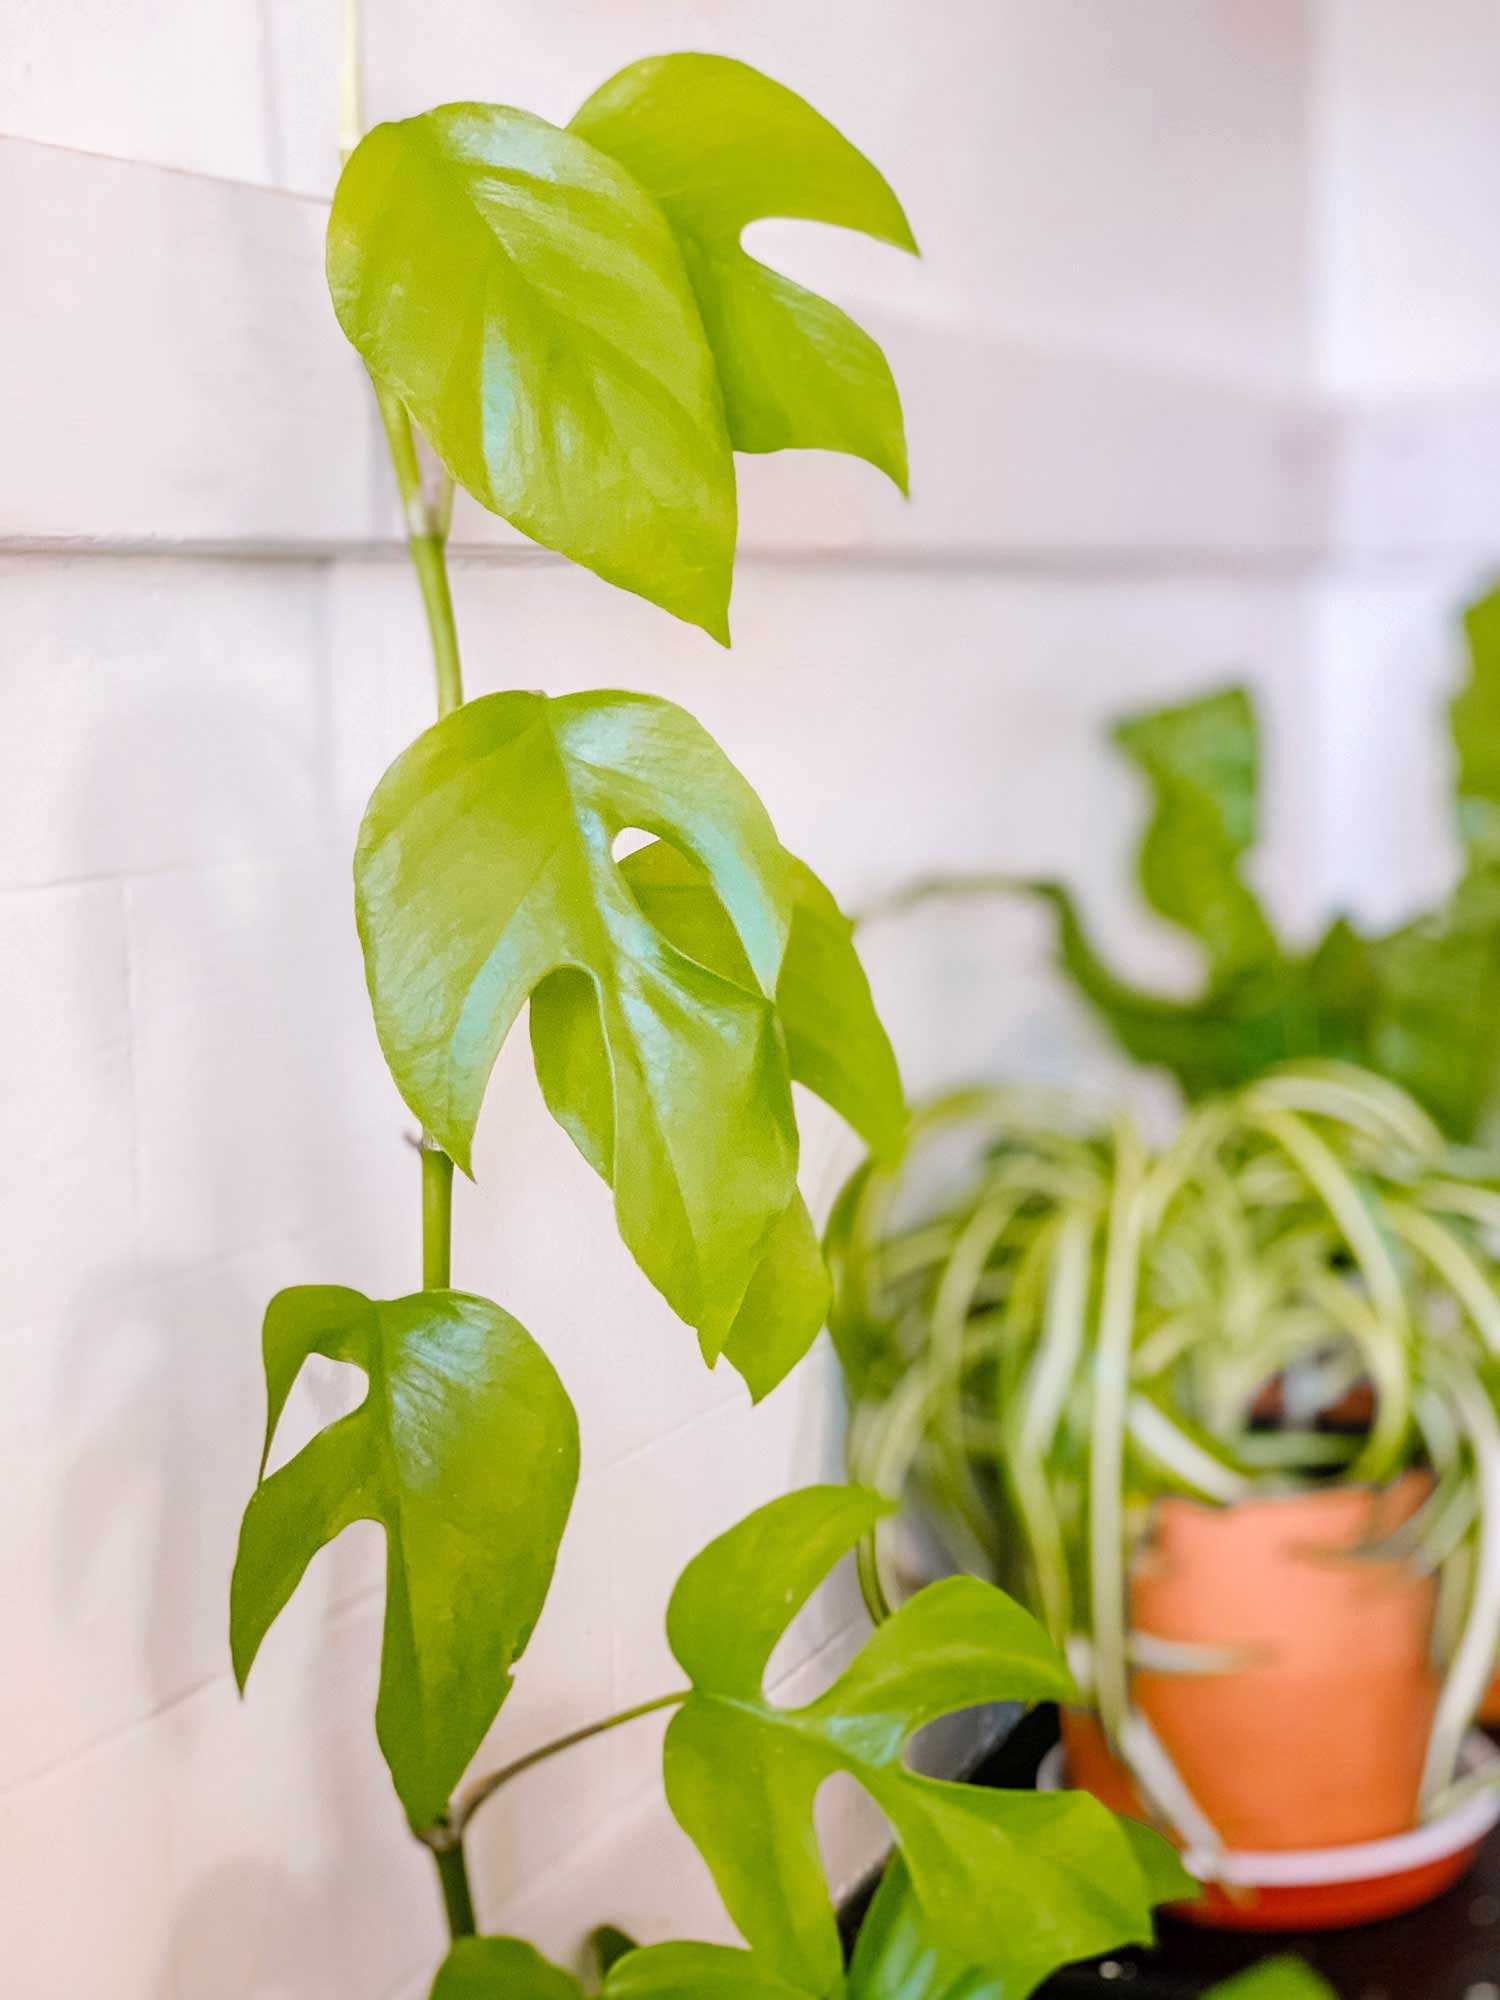
I bought a Rhaphidophora Tetrasperma, or commonly known as the Mini Monstera or Philodendron Ginny, at the beginning of summer 2020 and in the last few months she has been tipping over as she can’t gain purchase on my tiled bathroom walls. I knew it was time to give her the moss pole she deserved and figured I would do both a guide on Mini Monsteras and this DIY. Double win.
There are a lot of ways to make a moss pole. You can use scrap wood, bamboo, pvc, or metal as your support. You could use sheet moss, coco fiber or spaghnum moss as your surface. Lastly you can use fishing line, twine, string, or mesh to attach everything together. This means there are lots of ways to go about putting this pole together. Luckily, every option is easy and cheap. I will go over each supply and the pros and cons of each below. At the end of the day, you may already have some of these things laying around your house (which was what happened to me) and I suggest just going with that. No reason to spend money when you already have supplies.
Tips and Tricks
There are a variety of materials you can use when making this. Whether its the pole, the string, or the fiber itself, you have a lot of options. I am going to break it down here for you and you choose what works best for you, your budget and plant.
Sheet Moss, Coconut Fiber or Spaghnum Moss
- Sheet Moss and Coco Fiber, to me, are the easiest ways to make a moss pole as they literally come in sheets. You cut it to the size you want and you are done. You can use a bag of spaghnum moss but it takes a little more work. Because it is loose it can get hard to attach fully to the pole and will be extremely messy.
Fishing Line, String or Twine
- I went with fishing line as it doesn’t erode from water, is extremely strong, and see through so you don’t see it on your moss pole. String and twine will break over time from moisture and tension. However they provide a cute natural feel to your pole.
Bamboo, Wood Dowel/Scrap Wood, PVC Pipe, or Metal Pipe
- Bamboo is cheap, renewable, and very light. It also comes in U shapes which can be great if you want multiple points for your plants to. climb, PVC is also cheap and is a little more sturdy than bamboo. It comes in many sizes and has a hole in the center. This allows you to water your plant through the middle of the pole. As far as metal goes it really depends on what type you use. It can be heavy, which is good if your plant weighs a lot, or super light. Metal can rust though and I don’t really recommend it.
- To choose your height decide how tall your plant currently is and how fast it grows. My Mini Monstera was 32" and fast growing. I new I wanted a pole that had at least 12" leftover for it to grow into and that about 4"-5" would be going into the soil so I went with a 48" bamboo pole.

Supplies
Scissors
Glue (Optional)
Fiber, String and Pole (Check Tips and Tricks)

Mark Your Moss
If you are using sheet moss or coco fiber wrap it around your pole and mark how much you need to completely wrap it. If you are using spaghnum moss we will get to you later.

Cut Your Moss
Cut your sheets based on where you marked.

Place Pole
Lay out your pole and decide how much you want to go into your soil as you won’t place moss here. For short poles, you only need 2”-4” but for taller ones that may be supporting more weight set aside 4”+.

Optional
I like to put a dab of glue at the bottom to just hold it in place for when I begin to wrap.
Spaghnum Moss Tip:
Soak your moss in a bowl of water to make it easy to mold and work with before you begin wrapping.

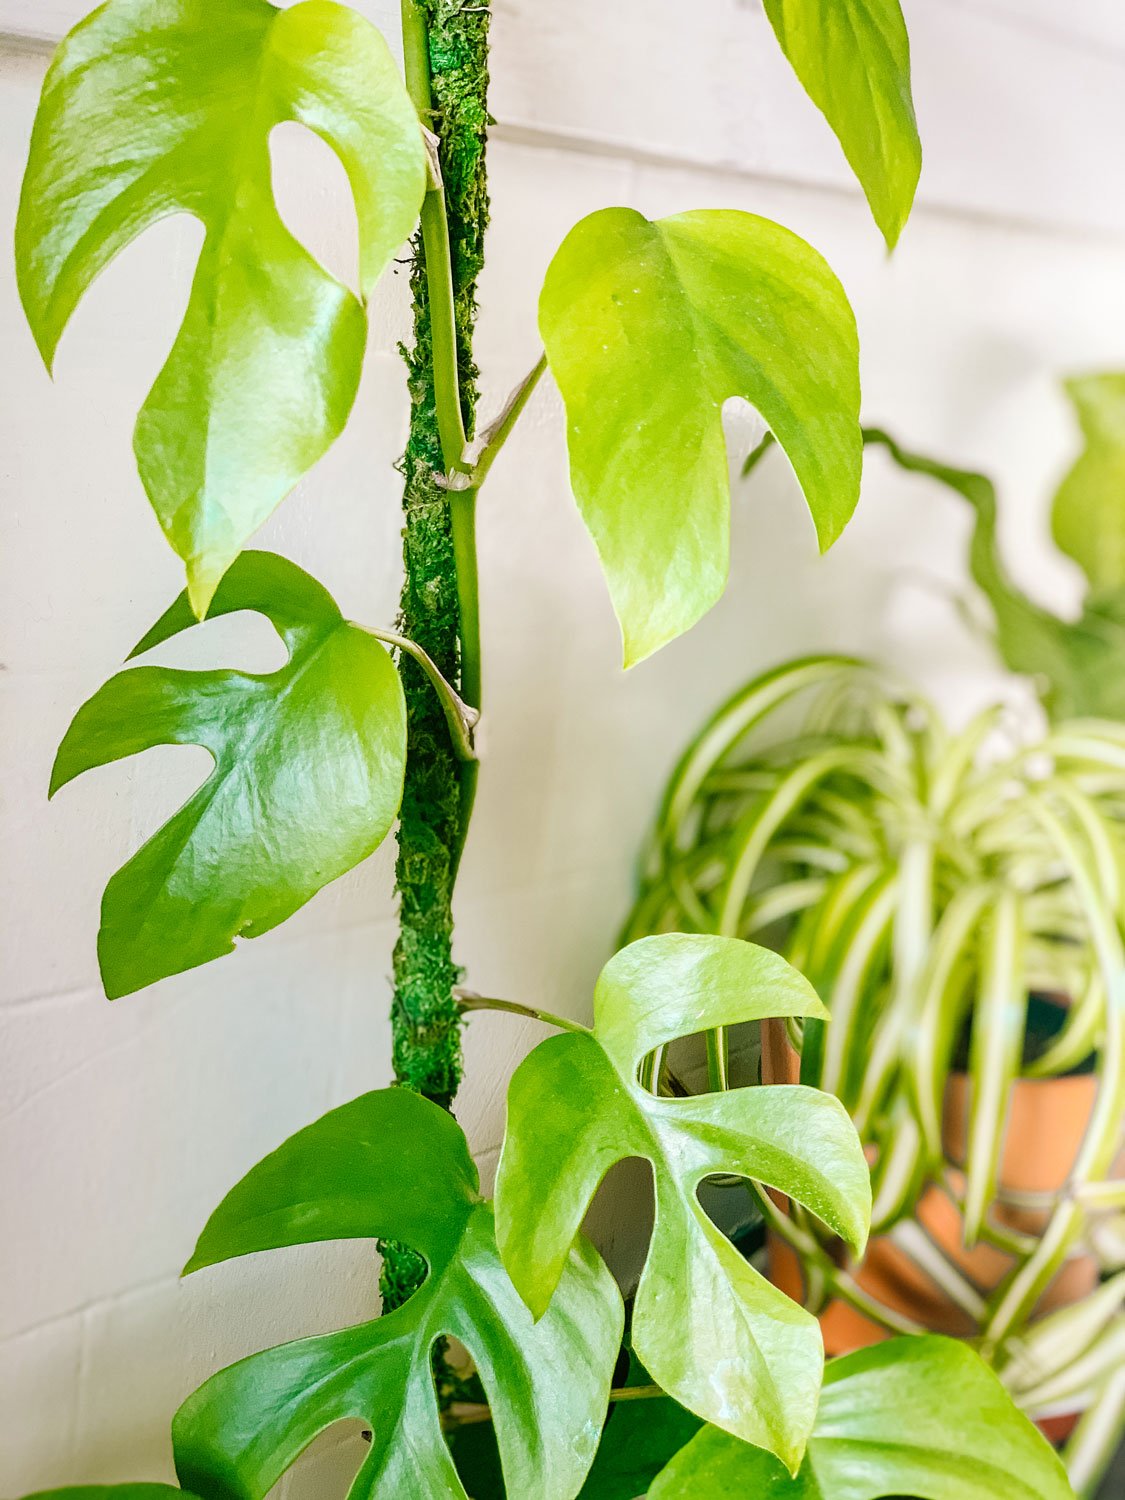
Wrap Your Moss
Using whichever string you chose, begin attaching your moss to the pole. With coco fiber and sheet moss you just need a candy cane type pattern all the way to the top, knot it, and you are done.
For spaghnum moss I suggest a criss cross pattern to help hold it on more.

Place in Planter
Alright you are done! Place it in your planter and wrap your plant around it. You may need to use plant clips or ties to assist.
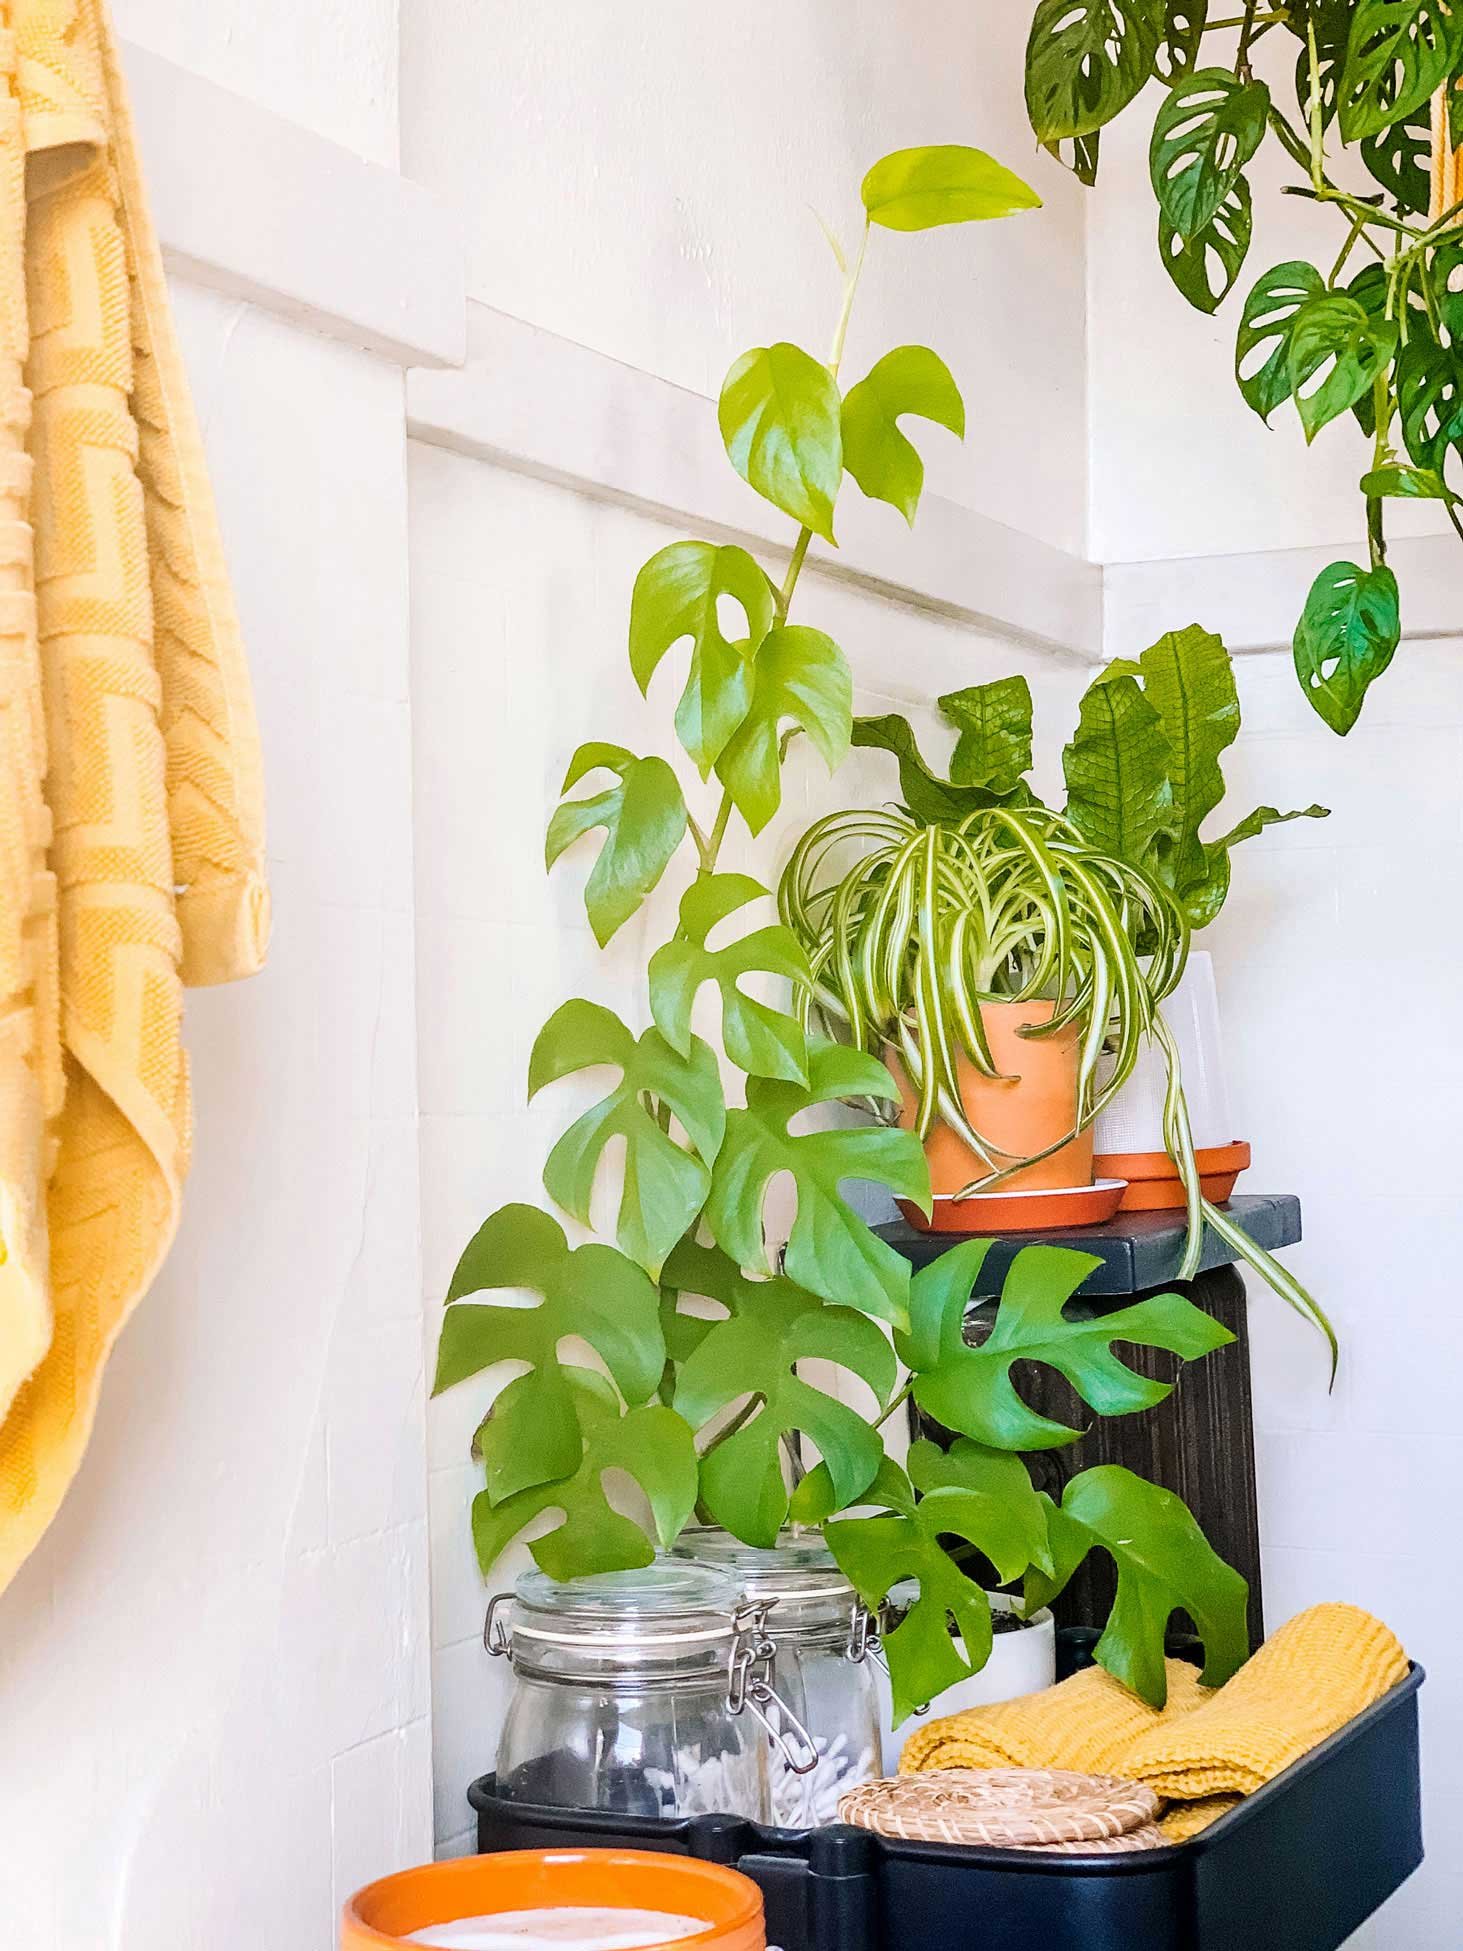
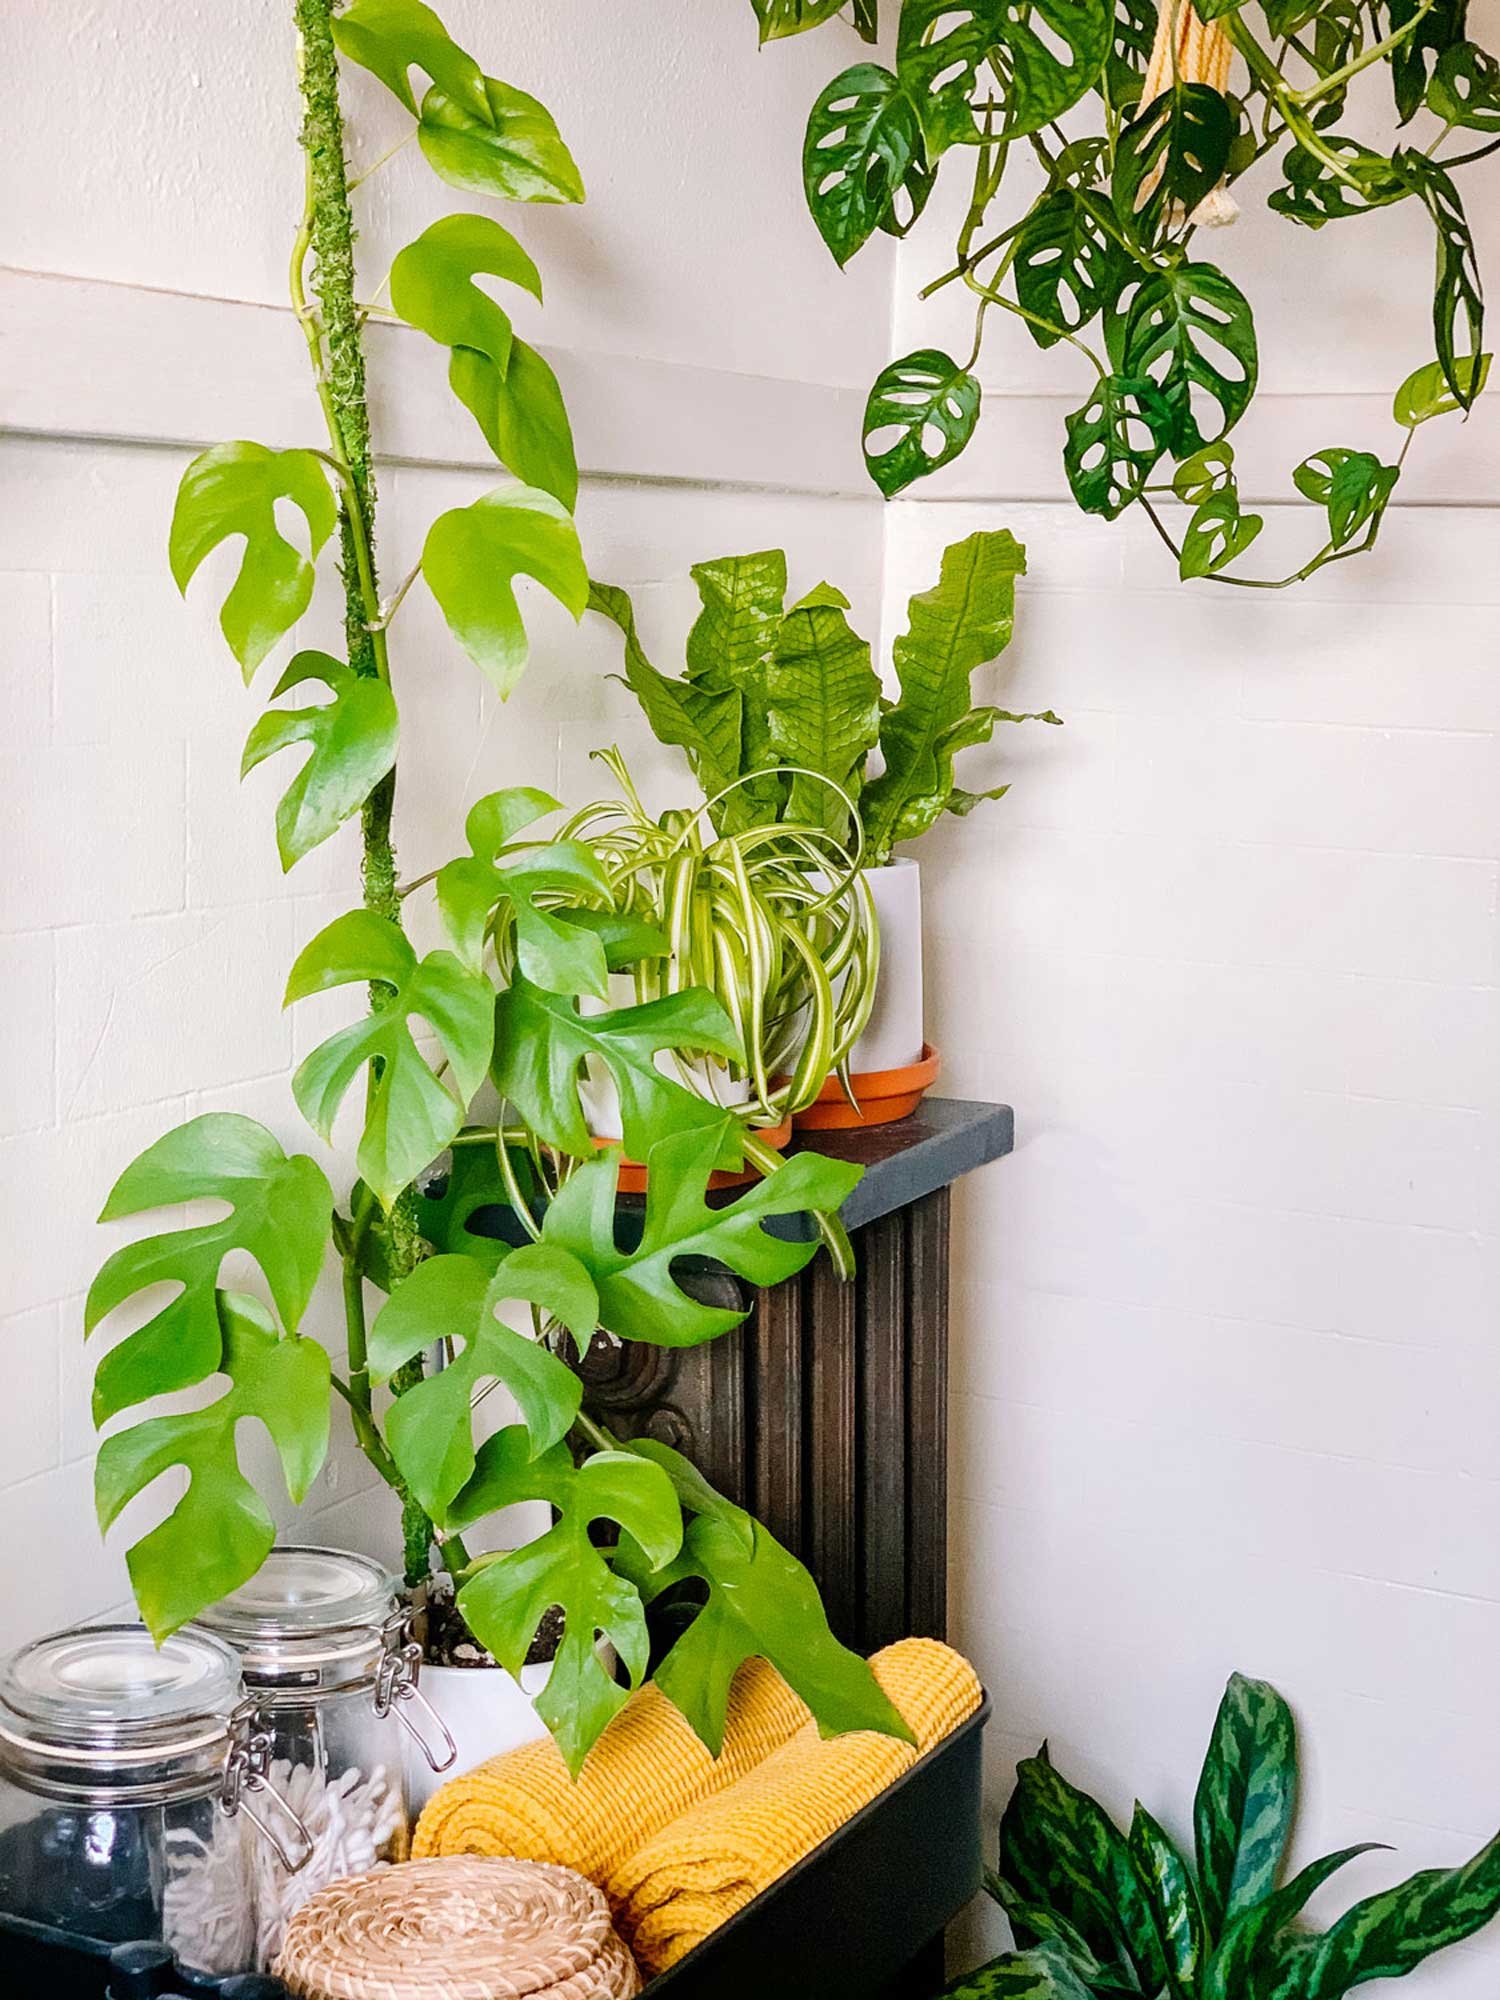
Yay we have a finished moss pole. So easy and dynamic and at the end we have some happy house plants. I recommend misting your plant and the moss pole specifically. The wet moss will be attractive to the aerial roots and encourage them to latch on.
Hope you have fun with this one! Let me know in the comments how yours turns out or tag me on instagram @thegreenmadhouse.