Two Easy Ways to Make a DIY Wand
As an Amazon Associate I earn from qualifying purchases.
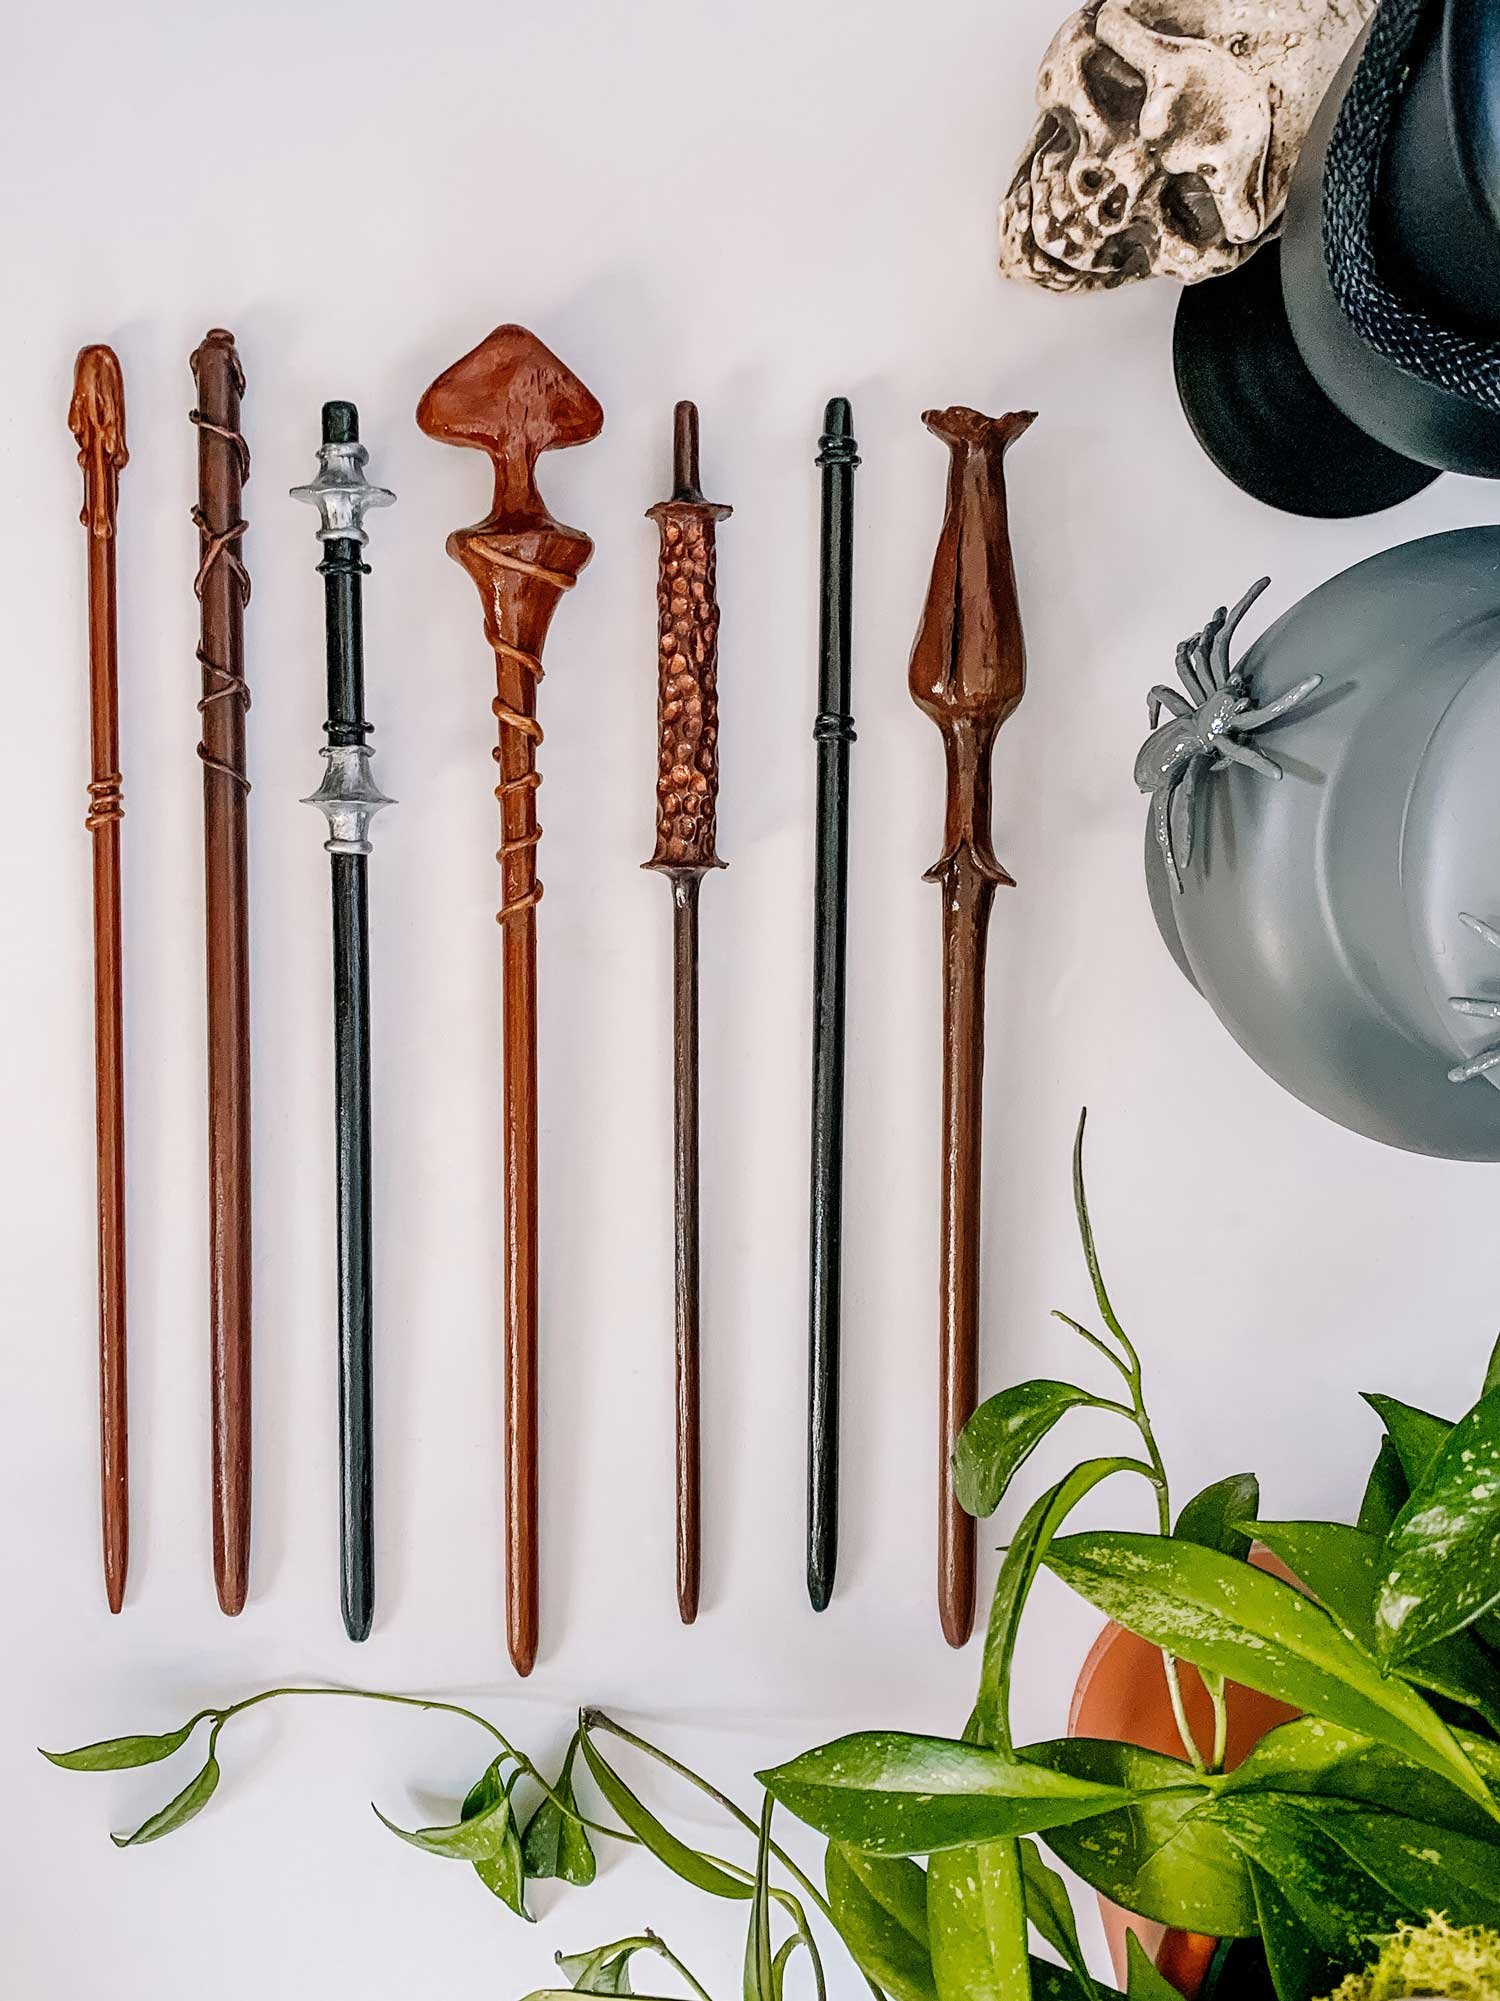
If you are like me and anxiously waited for your Hogwarts letter* to arrive for most of your childhood then this wand DIY is for you. With just a couple of supplies you can have your own realistic, magic wand that would make even Ollivander proud. If you want to discover what your wand would be then you can take a quiz here (plus discover your house and patronus). Of course wands can exist in any magical realm so feel free to roam far and wide when sourcing inspiration. In the end no two wands are the same. So gather some wood, sandpaper, paint, clay and/or a hot glue gun, plus some magic and here we go.
If you are curious what my Hogwarts test results are: my patronus is a White Swan, my wand is “Sycamore wood with a unicorn hair core, 12 ¼" and reasonably supple flexibility”, and I'm a Slyther-claw (which is an unofficial combination of Slytherin and Ravenclaw).
Swish & Flick
Feel free to gather your wood from the forest as opposed to the hallowed halls of Michael’s craft store. Just try to get a piece that is generally straight, 9”-13” (inches) long, and ¼” - ⅝” thick.
Some good woods to choose from according to Ollivander:
Beech - best for someone with deep understanding, wise beyond their ears and full of life experience.
Cedar - suitable for one of strong character, deep perception and intense loyalty.
Chestnut - Chestnut varies depending on the user but is attracted to those with gifts in Herbology and who tame magical beasts.
Fir - An extremely resilient tree leads to strong magic in the hands of those who are equally strong, focused, and resilient.
Maple - If you are a traveler with lofty ambitions and an urge to be spontaneous then this wood will thrive with you.
Sycamore - These wands may never be allowed to get bored else they will quite literally burst into flame. Therefore the owner should be curious, adventures and eager to learn.
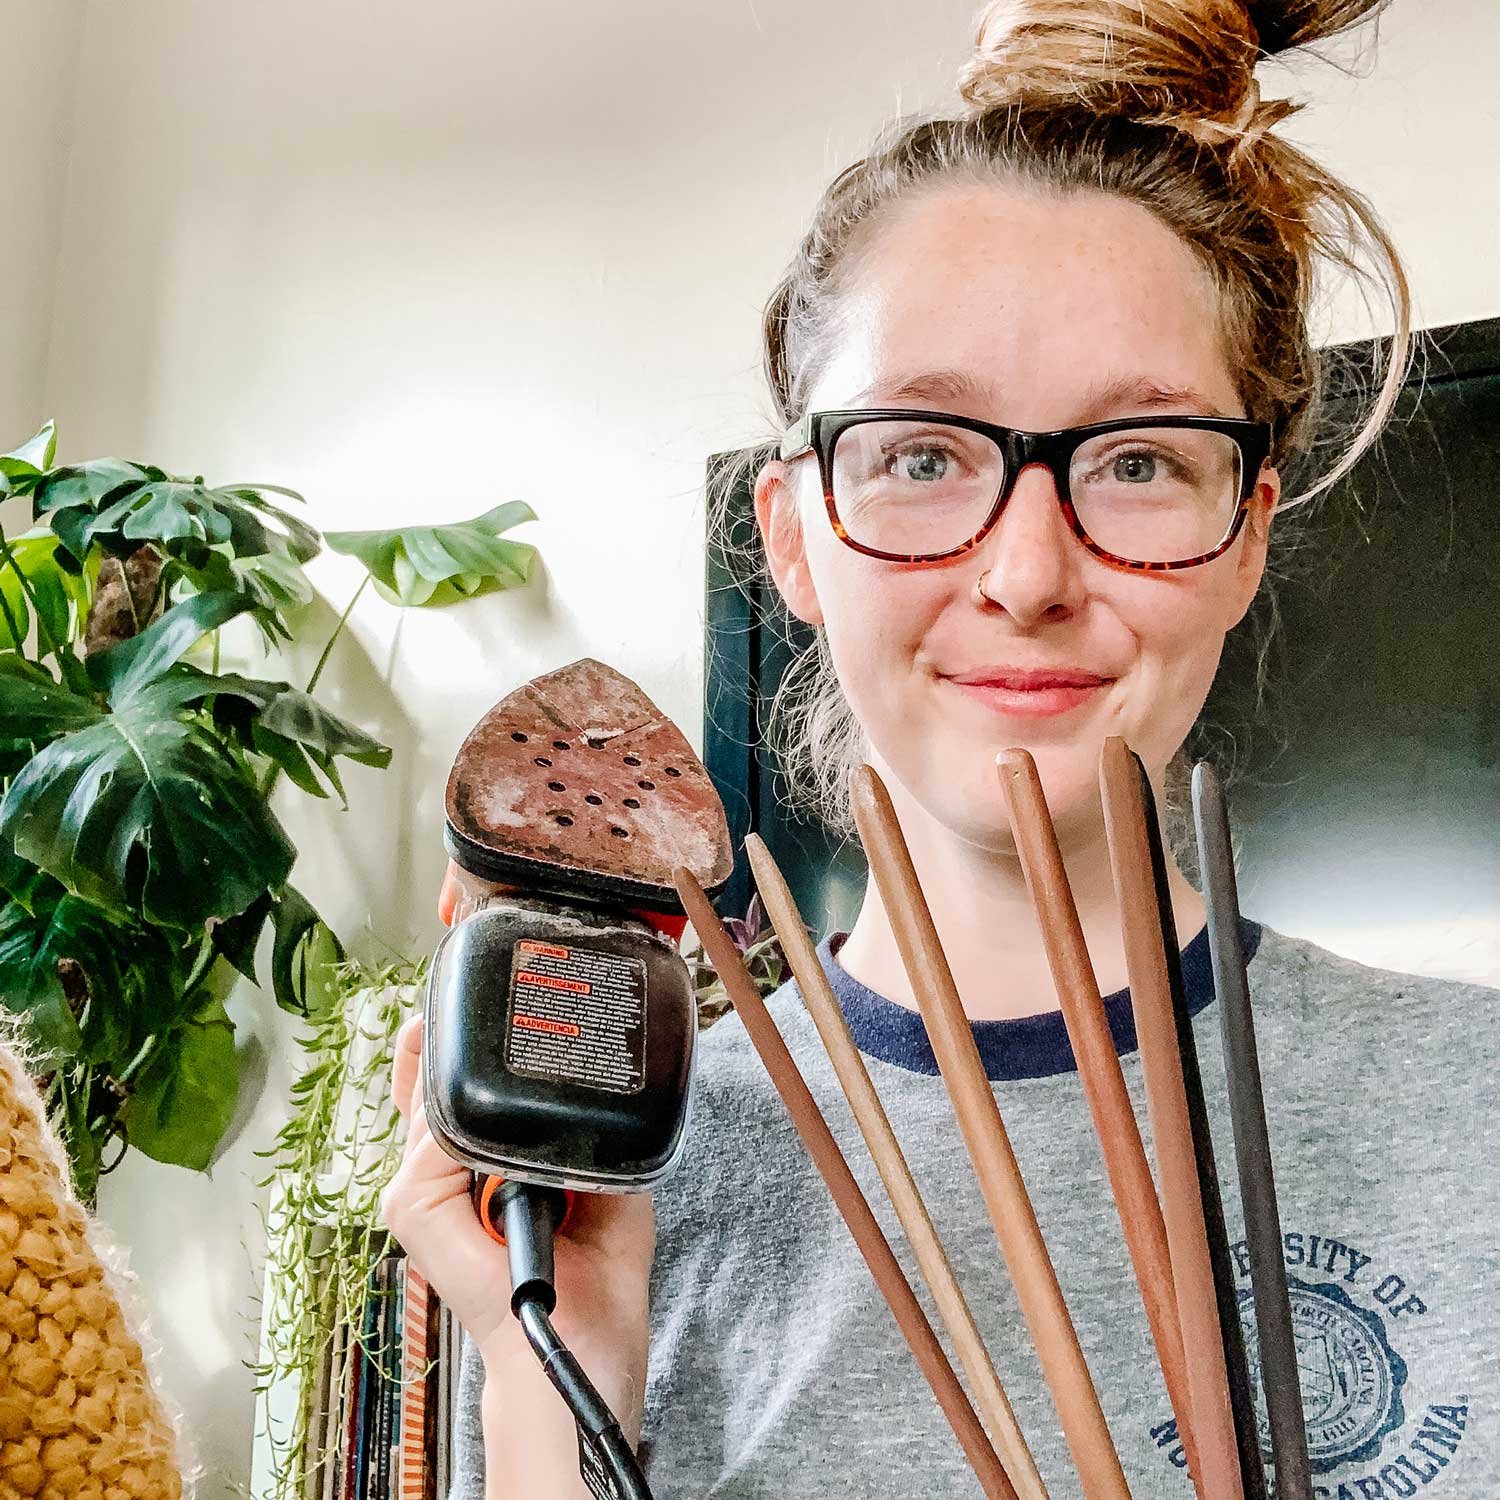
If you are using dowel rods, it is easier to do the initial sanding with a power sander to get that pointed tip. Otherwise prepare for an arm workout.
I like to do a paint of coat before adding the glue or clay details. Even though the wood will be sanded, the second you add paint to it it will become rough again. We want that smooth surface before we add glue.
Don’t hold back with the paint. Wands are more than just brown! I have a ton of metallic colors and reds and purples as little hints for the detailed areas.
There is no reason you can’t combine both ways: clay and glue. Just make sure you do the clay first!
*I would like to add a disclaimer that I do not support the author of Harry Potter and her TERF views that are extremely harmful to our trans friends and ultimately hurt gender equality and LGBTQIA+ rights. As far as I am concerned Crookshanks wrote the series. Here is an excellent article about the subject.

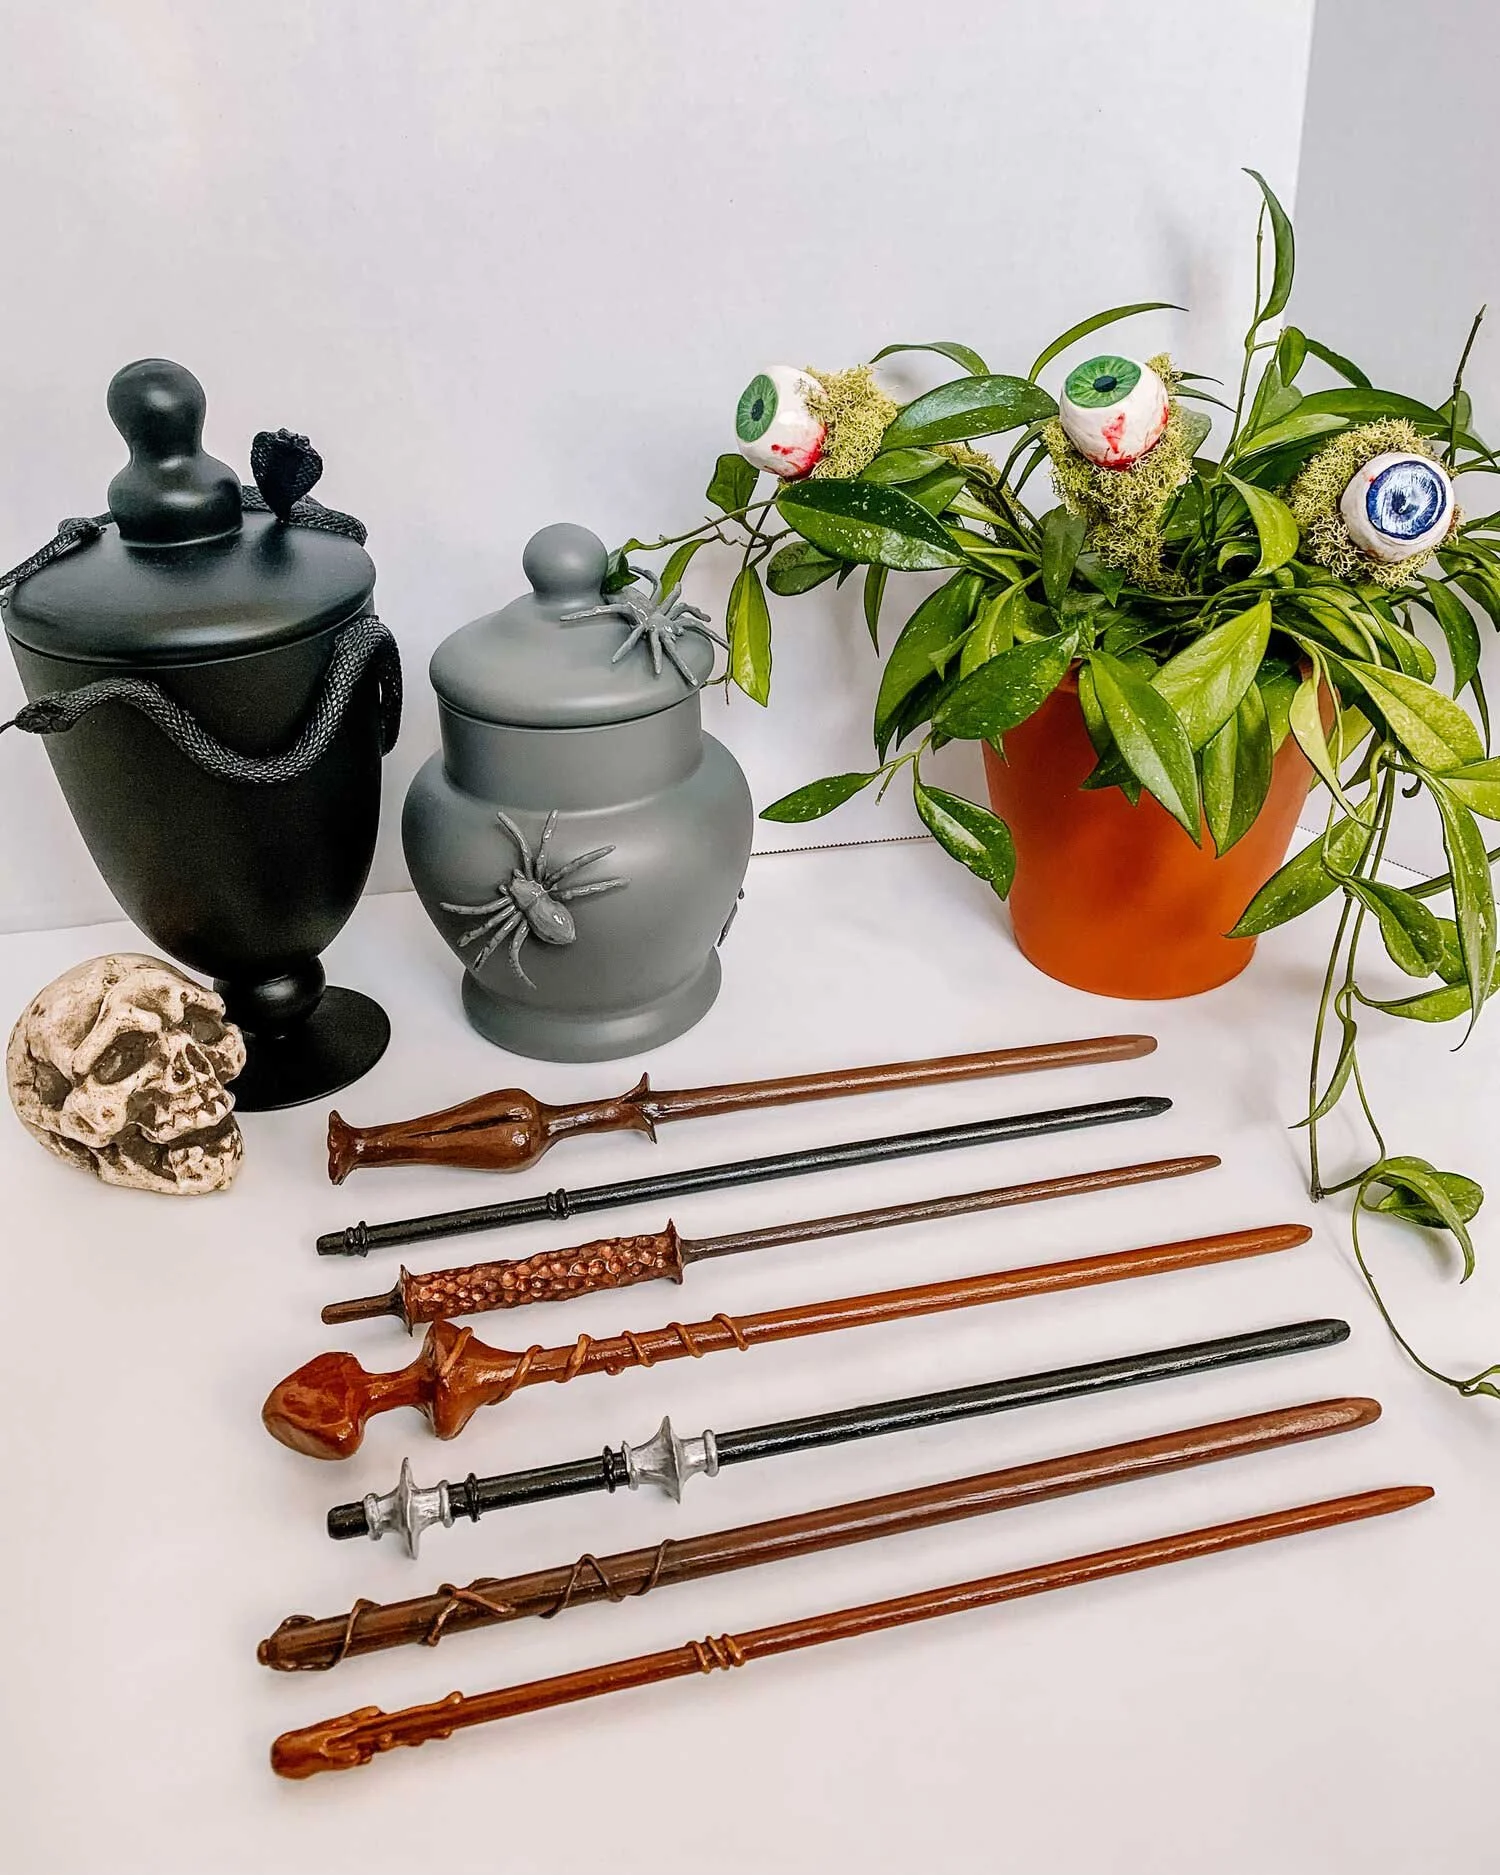
I am going to show you two ways to make wands. One involves clay and baking and one involves a hot glue gun. Both have their positives and negatives but both end up looking great! You can use both DIYs together just make sure you do the clay before the glue because of the baking. The beginning steps apply to both wands.


Sand the Wand
If you gathered your wand from outside, sand it till it is smooth. If you have a wood dowel you will need to put a little more muscle in.

Make it Pointy
This is where the power sander comes in handy. It can quickly round your edges and narrow one end of your wand.

Paint the Wand
We are going to do multiple coats of paint so don’t worry that much about getting the right color.
Sand the Wand
After you paint the wood you will notice it’s rough again. We want a very smooth wand. So it is time to sand again!
This next section highlights the clay wands:

Bake the Wand
If you are doing clay then you will want to bake your dowels for 5 minutes at 300°F. This gets rid of any moisture in the wood.

Soften Clay
Roll the clay around your hands to soften it. You can use any color as we will be painting it.

Apply Clay
I went with a few different applications on each wand. I created grips for the ends in different sizes and shapes. Try anything! This one was inspired by a tulip.

Bake Clay
Bake your wands at 275°F for 15 minutes.

Paint
We need to cover up the white clay and give another coat to the sanded wood. This is your base color now. so choose wisely

Paint Details
We will want to add shading and highlights and even touches of metallic to the wands.
This next section highlights hot glue wands:

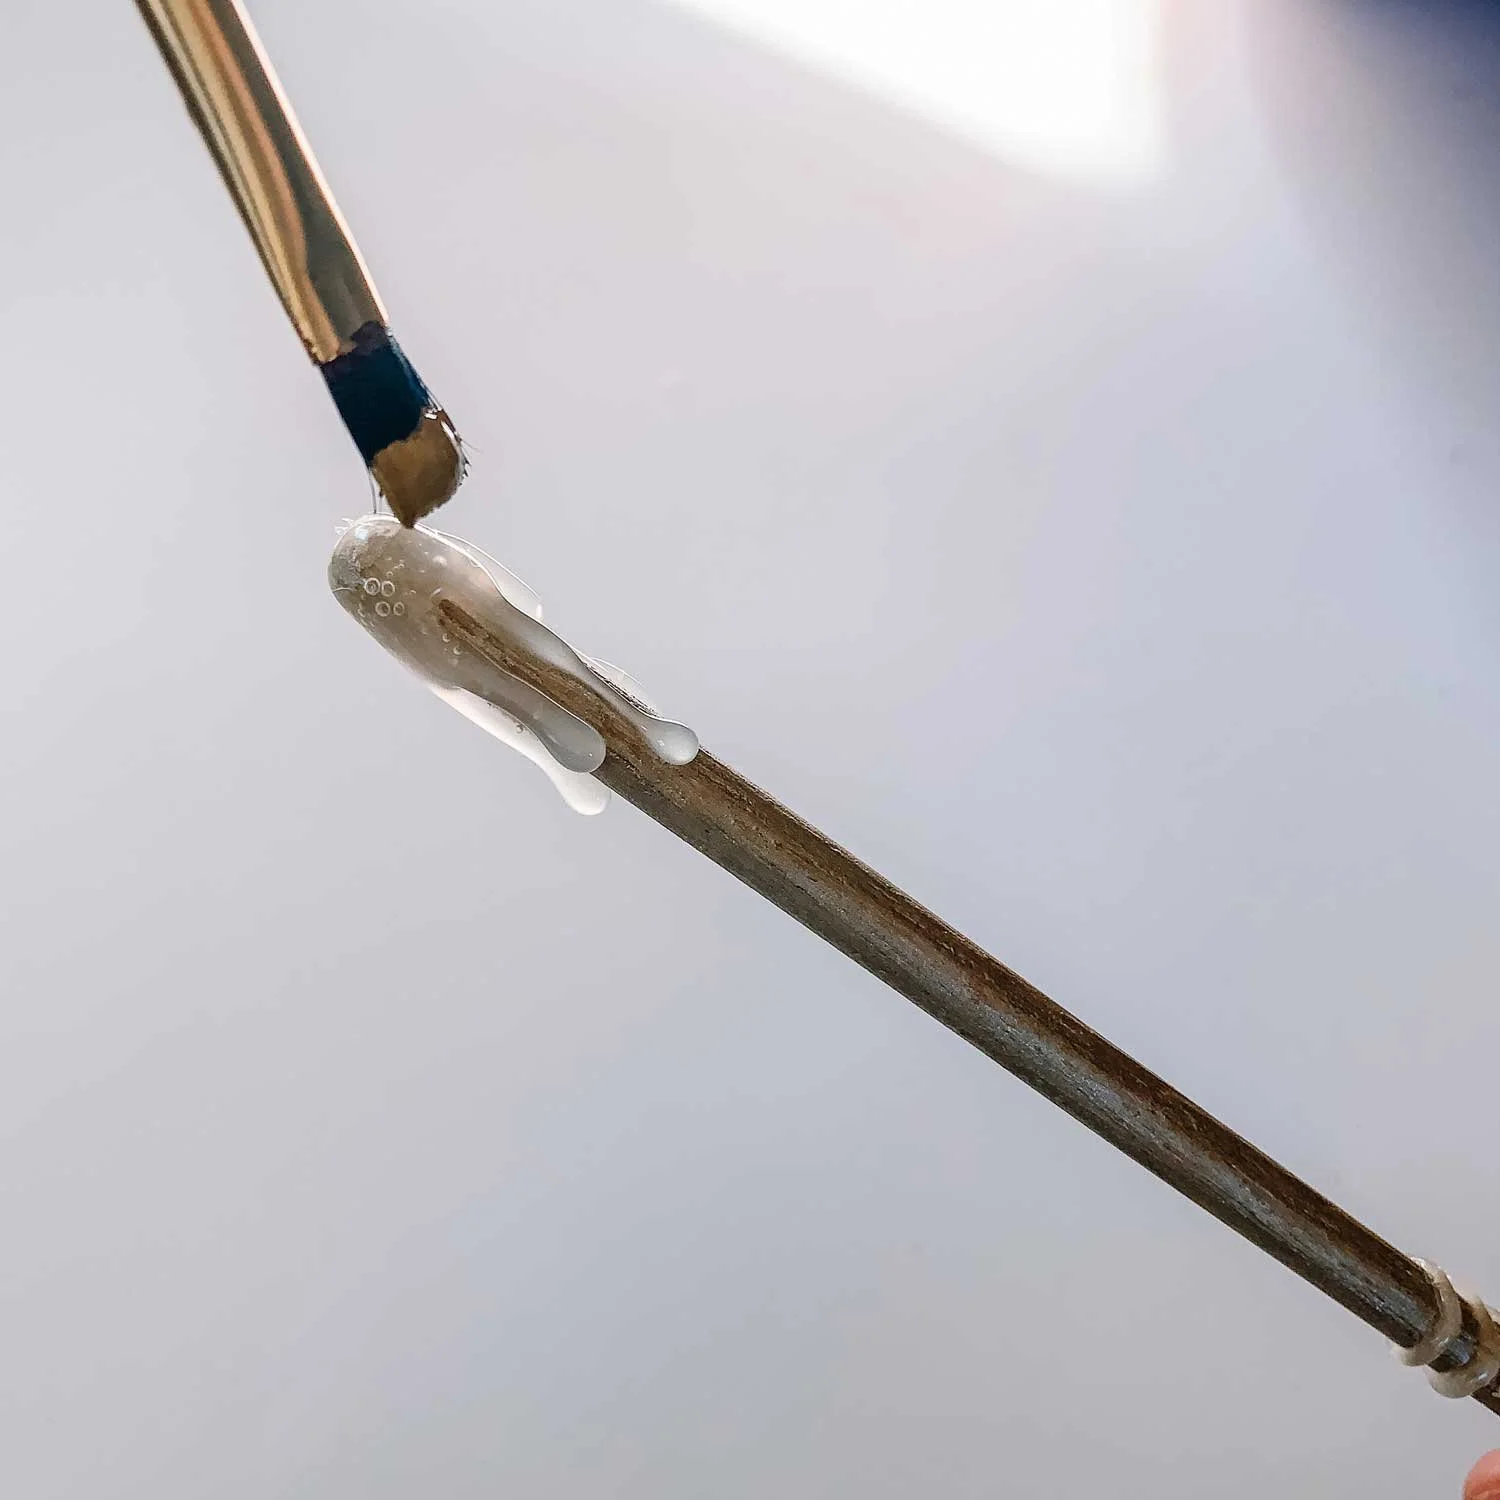
Glue Wand
Get your hot glue gun hot and ready to go. Take your wand and add details by squeezing different amounts, spinning it or even dripping it down the sides.
Paint Wand
Paint the glue areas to match the rest of your wand. It may take two coats as the glue is slick and it is hard to get the paint to stick.

Paint Details
We will want to add shading and highlights and even touches of metallic to the wands.
Learn Spells!
This Halloween is a full moon so there will be strong magic in the air!
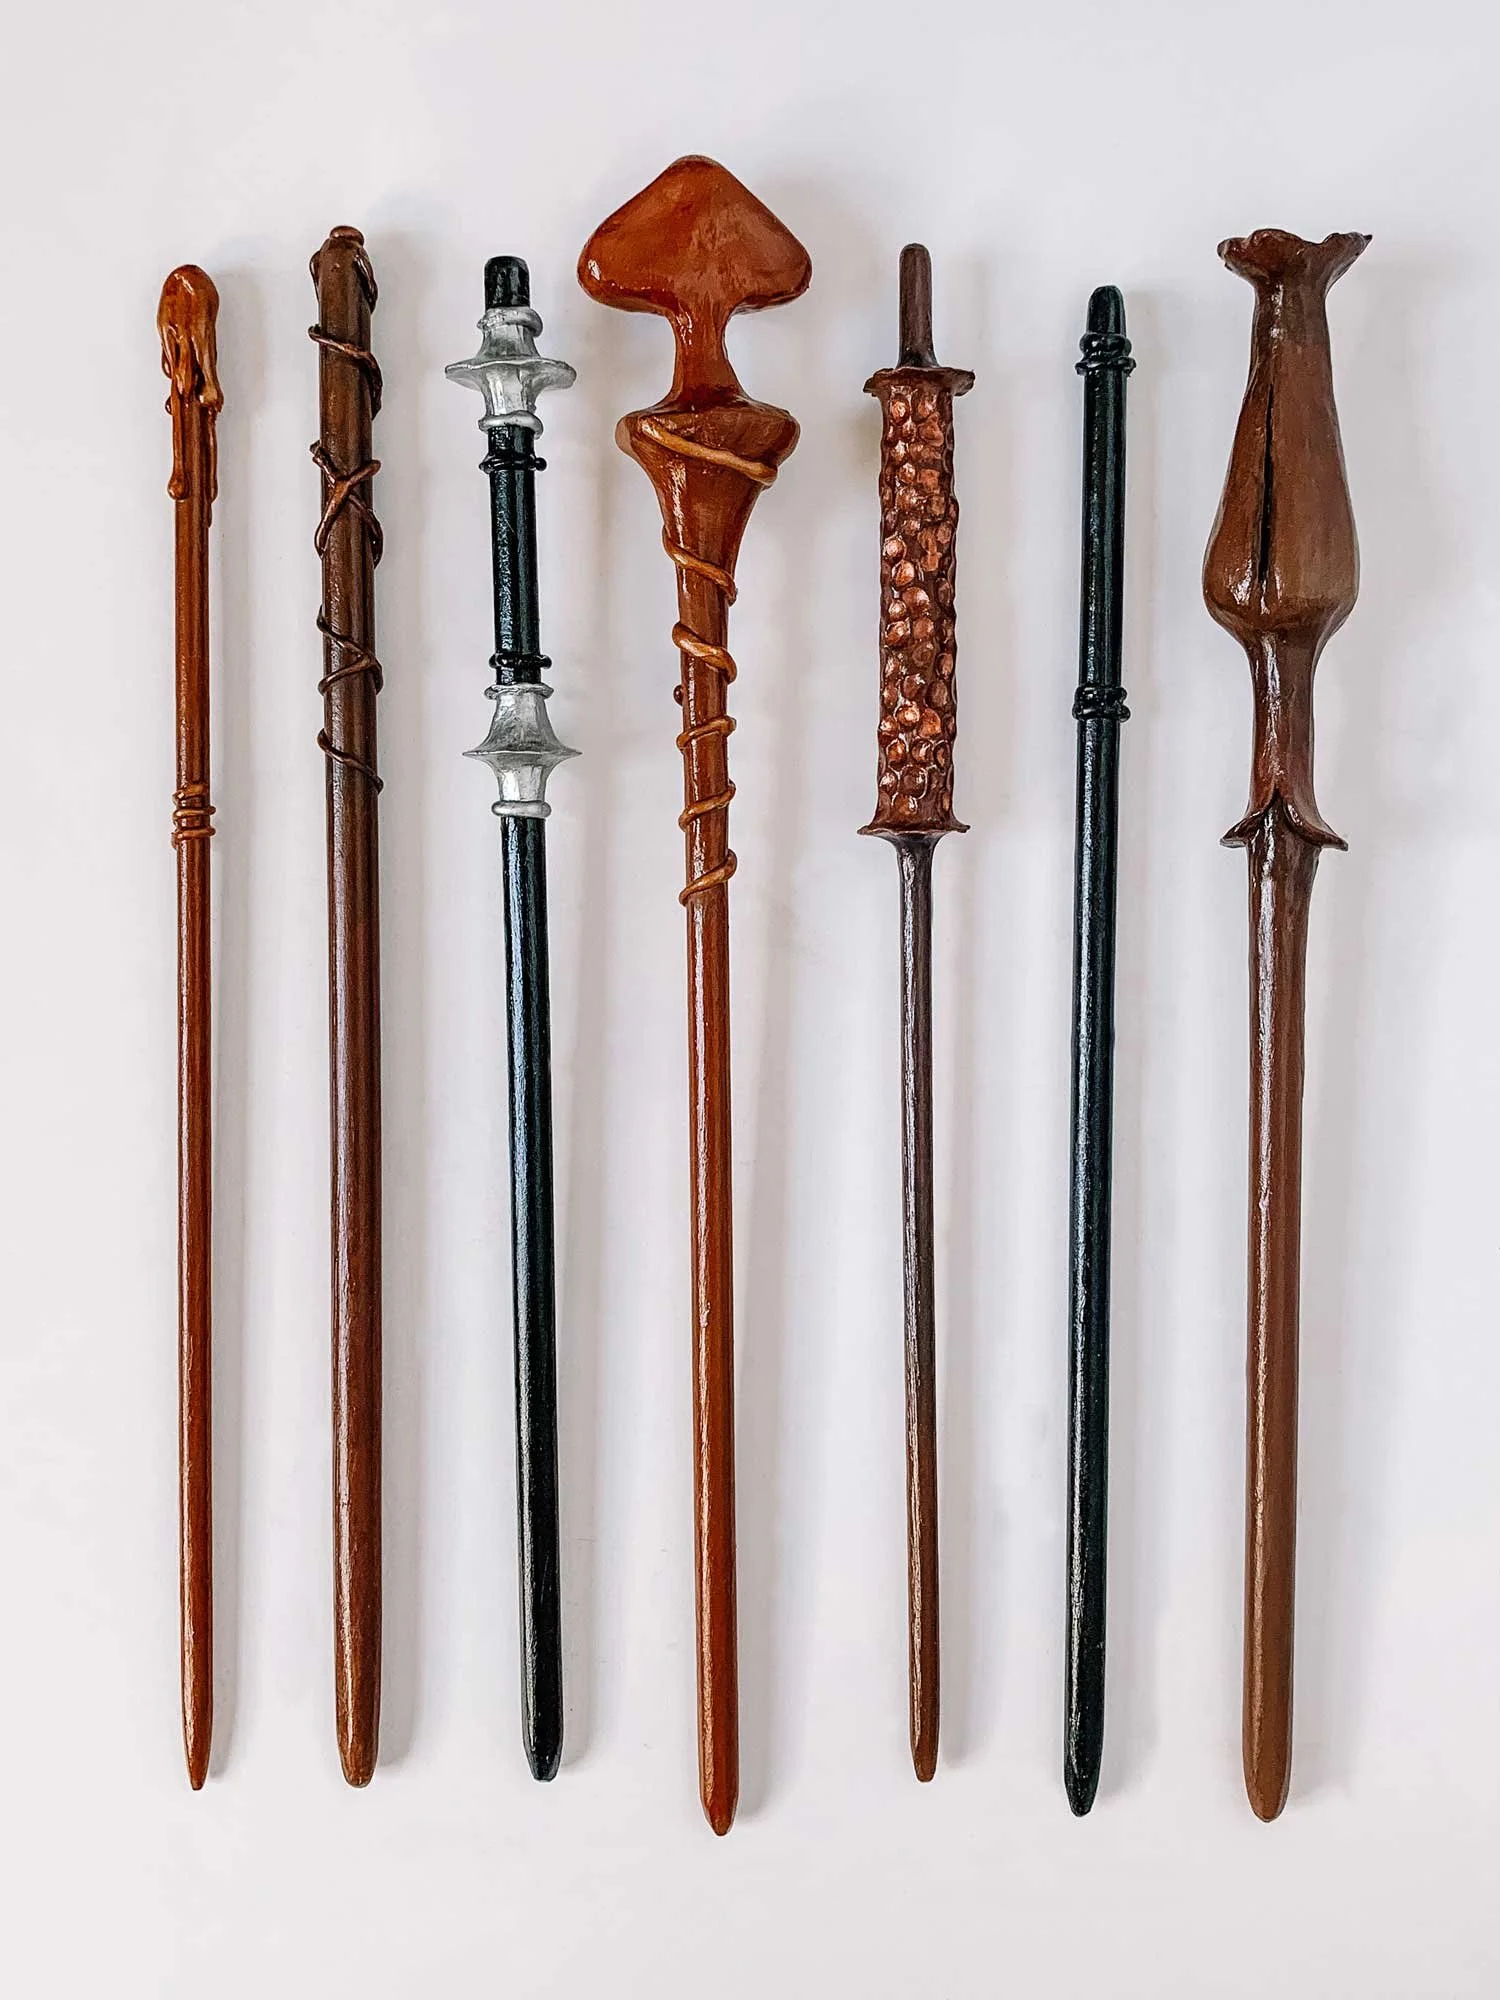
I ended up using my hot glue gun to add details to some of my clay wands and I think I prefer combining both methods. It gives you the most flexibility and you know I love me some options. I took inspiration from some wands from the Harry Potter movies, my tulip wand is similar to Luna Lovegood’s wand, but otherwise I just winged it. I am going to do a giveaway on my instagram for these but want to keep one of them. I don’t know which one is my favorite though. Any thoughts?
I hope you have fun making these and let me know how yours turn out in the comments!


