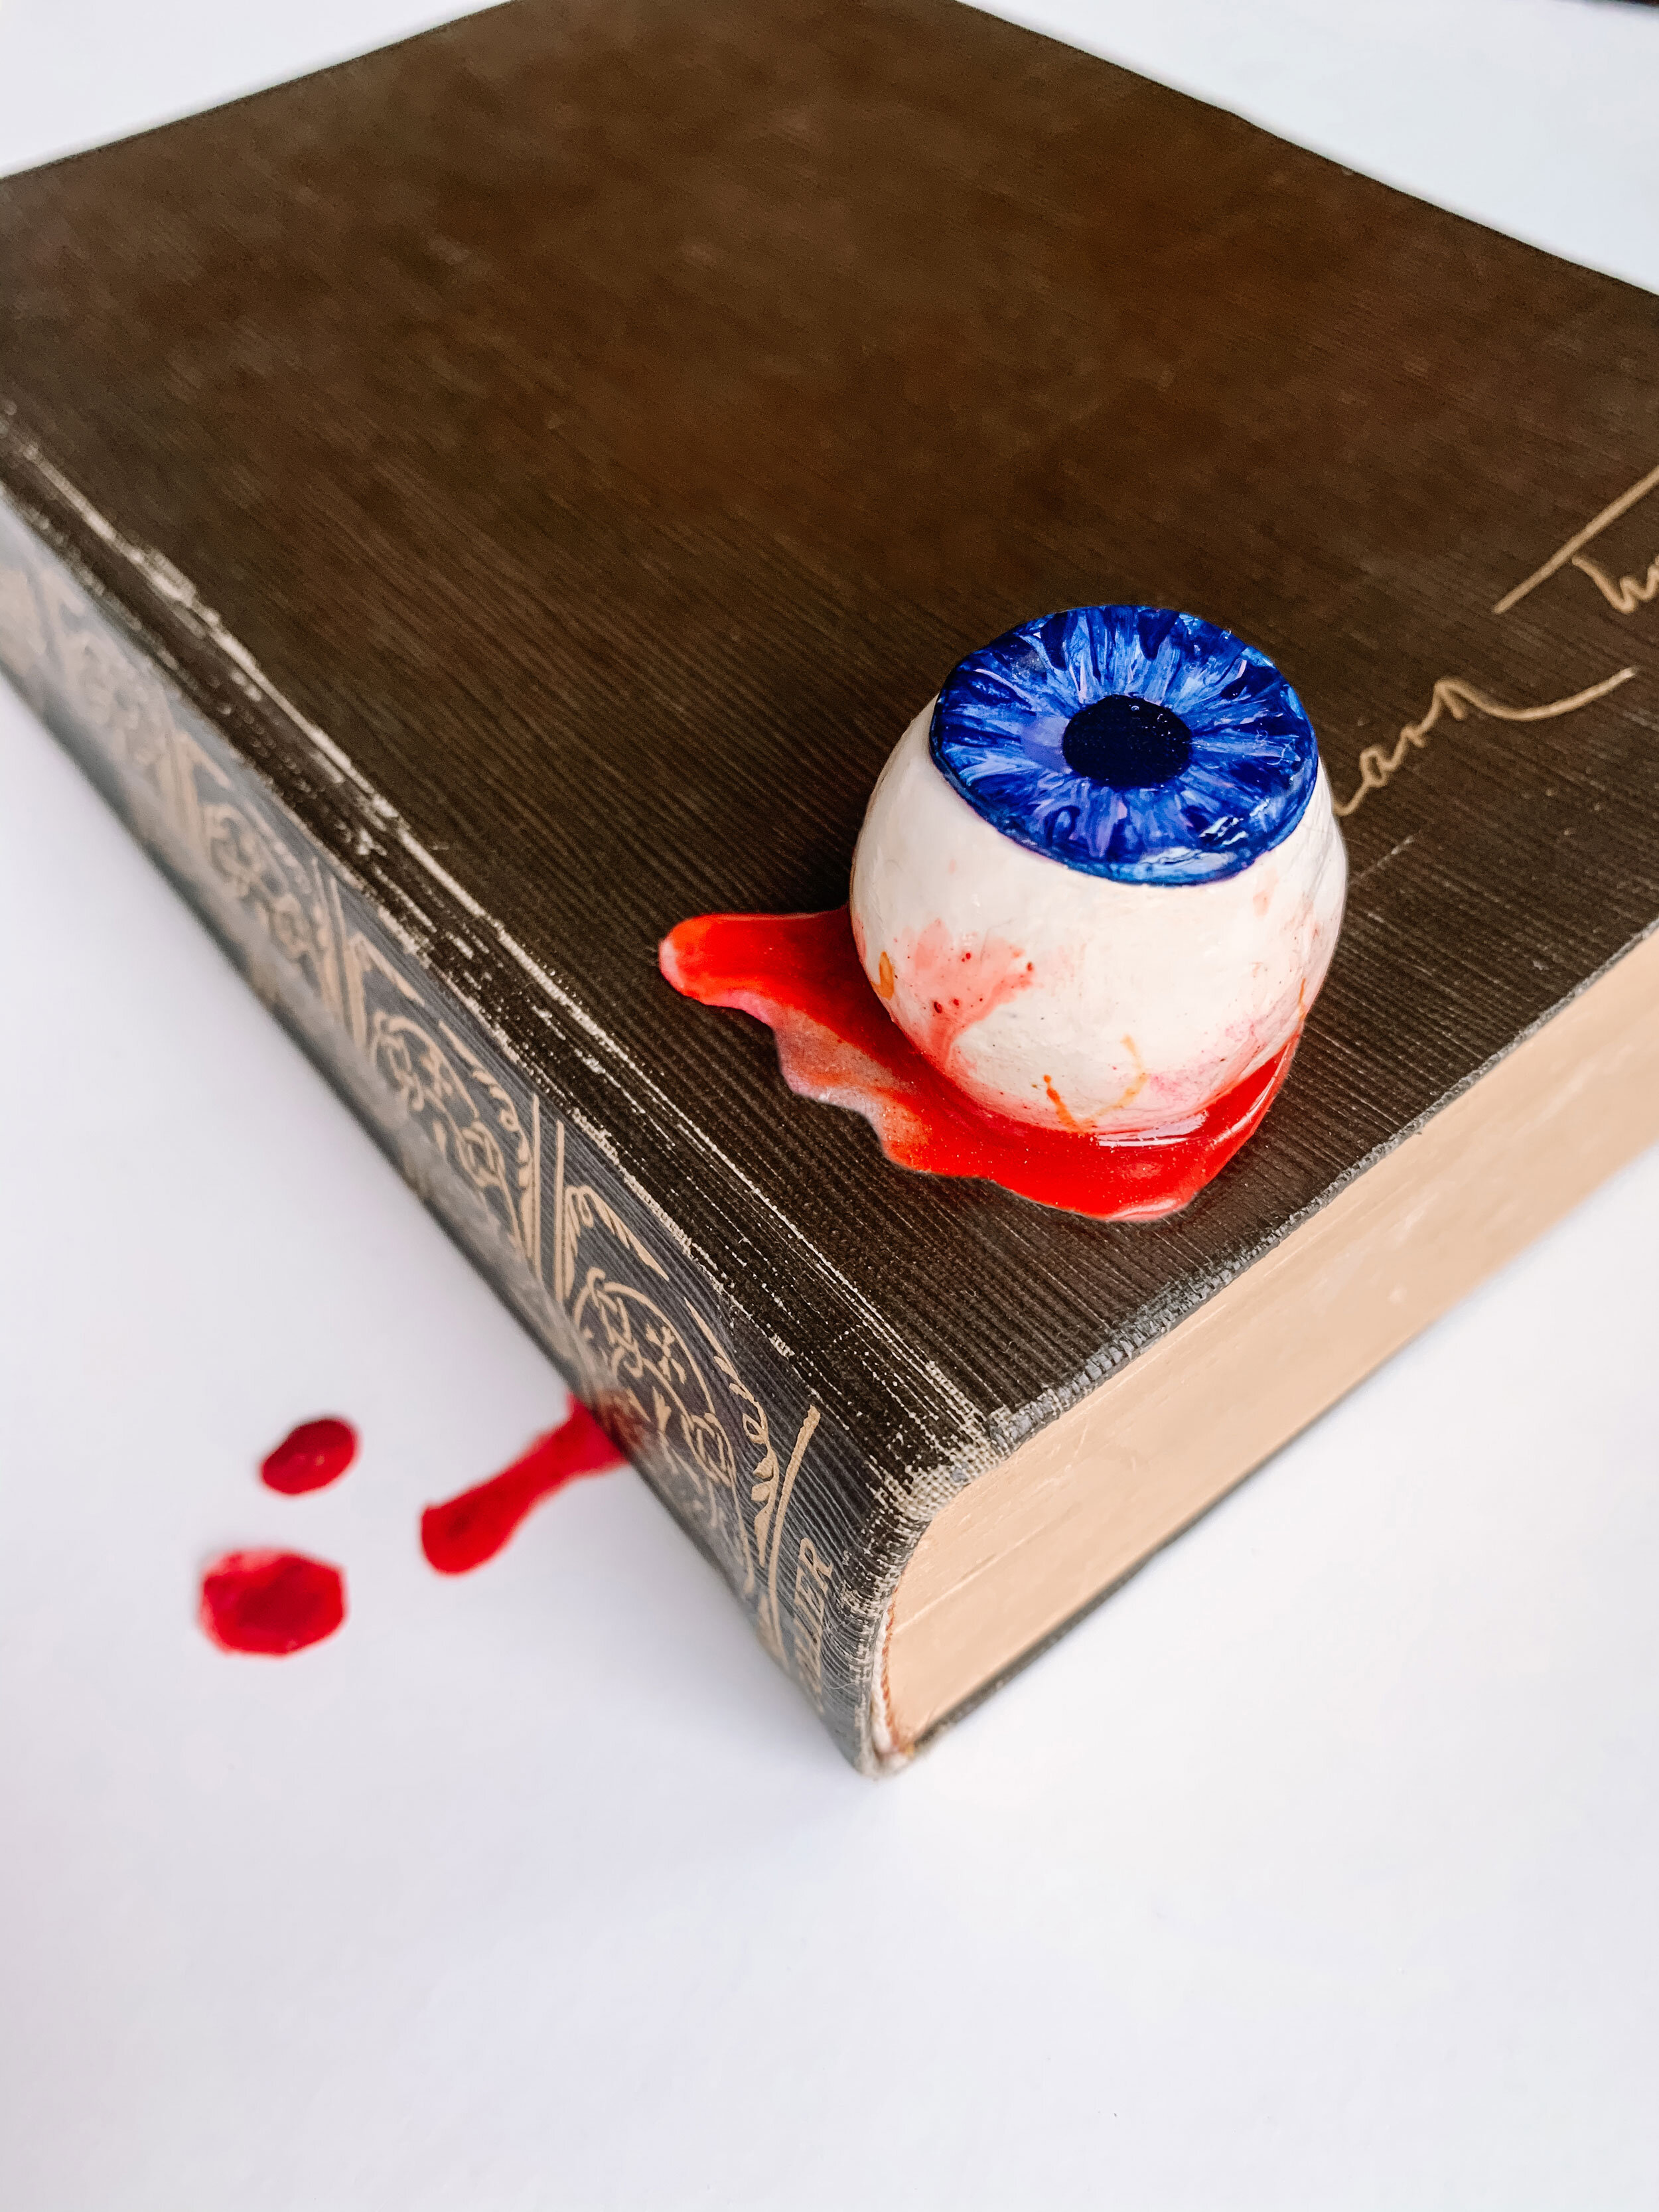
How to Make Realistic Bloody Eyeballs
As an Amazon Associate I earn from qualifying purchases.

As a self-proclaimed “spooky bitch” and lover of true crime and Halloween, making a fake bloody eyeball DIY was the perfect project. I knew I wanted to use creepy, bloody eyeballs for a couple halloween projects but when I looked online, eyeballs were either insanely realistic which made them $18 an eye or looked like sad ping-pong balls and were $18 for 50 eyes. So naturally, I decided to just make them myself armed with with a true crime podcast, clay, paint, chalk pastel and some resin and boom! you have a perfectly gross eye.
I will be selling some of my halloween items on my Etsy shop so keep an EYE out.
Tips & Tricks
- If you want your clay to have an extra shine, use some gloss glaze on it as a final step after it is done baking and cooling.
Clay can burn very easily so I like to use foil pans, which are very cheap at any grocery store, under the eyes and flipped upside down on top like it was tupperware. You can use metal clips to hold them together.
Use wax paper inside to keep the eyes from sticking.
- Although I used Sculpey Liquid for my blood and iris area, Fimo Varnish is another great product that works the same.
- Want to get in a spooky mood? Here are some of the podcasts I am listening to right now:
- Radio Rental - Spooky, true stories told by those who lived them
- RedHanded - British podcast that covers true crime every week, all over the world
- Night Driver - A new long-form series covering a murder of a young woman in Australia.


Supplies

Roll the Clay
Soften up the clay by kneading it and then roll it into a approximately a 1” ball.

Indent the Eye
Using my clay tool I created an indent for the iris. You can use your thumbs too.

Create Iris
Roll a tiny piece of clay into a ball. This is the base color for your iris so I chose light blue to match my eyes.

Place the Iris
Flatten the ball using a book, ruler, etc. Then place it inside your indent and smooth the edges.

Add Pupil
Using a tiny piece of black, roll it into a ball and place it in the center of the iris.

Flatten the Pupil
Flatten the pupil using your tools or a finger.

Add Red
Using a chalk pastel and a stiff brush, rub the brush on the chalk and ust the outside of your eye.

Bake Eyes
Bake your eyes for 10 minutes at 275°. Use a second foil pan upside on top of your eyes or a tent of foil to prevent burning.

Paint Fine Lines
Using red, paint fine lines around the eyeball.

Paint the Iris
I liked to start with a darker blue and work my way in.

Add Details
I used a light blue and a fine brush to add the details of the iris.

Glassy Eyes
Place wax paper under your eyes. Liquid sculpey creates a thick glaze which is perfect for the indent of our eye to make it look glassy. Squeeze it into the indents.

Coat the Eye
There will be excess so brush it around your eye evenly. Pooling at the bottom is fine! Avoid touching it now as it will be sticky.

Crush Chalk
Use the end of your chalk pastel and chip away so you have some powder. This will color your blood.

Mix in Sculpey
Add in liquid sculpey and mix. It is pretty sticky and dries fast so move quickly.

Apply Blood
Now it is time to apply our blood. I like to drip it down the sides slightly and then coat the bottom so it pools.

Bake Your Eyes
Now we have to bake it again so the liquid sculpey will set. I like to do 275° for 15 minutes and then assess. You know you will be done when the resin area is clear. Use a second foil pan upside on top of your eyes or a tent of foil to prevent burning.
Who knew making bloody body parts would be so much fun? This was such a good DIY to just zone out to and paint away, before I knew it I had 12 eye balls. I decided to use the eyeballs to make spooky plant stakes because of course plants had to be involved! Nothing like a Little Shop of Horrors vibes to decorate your apartment and make it come aliveeeeee. Head to my Etsy shop to grab yours!


