How to Make a Valentine's Paper Heart Garland
As an Amazon and Etsy Associate I earn from qualifying purchases.
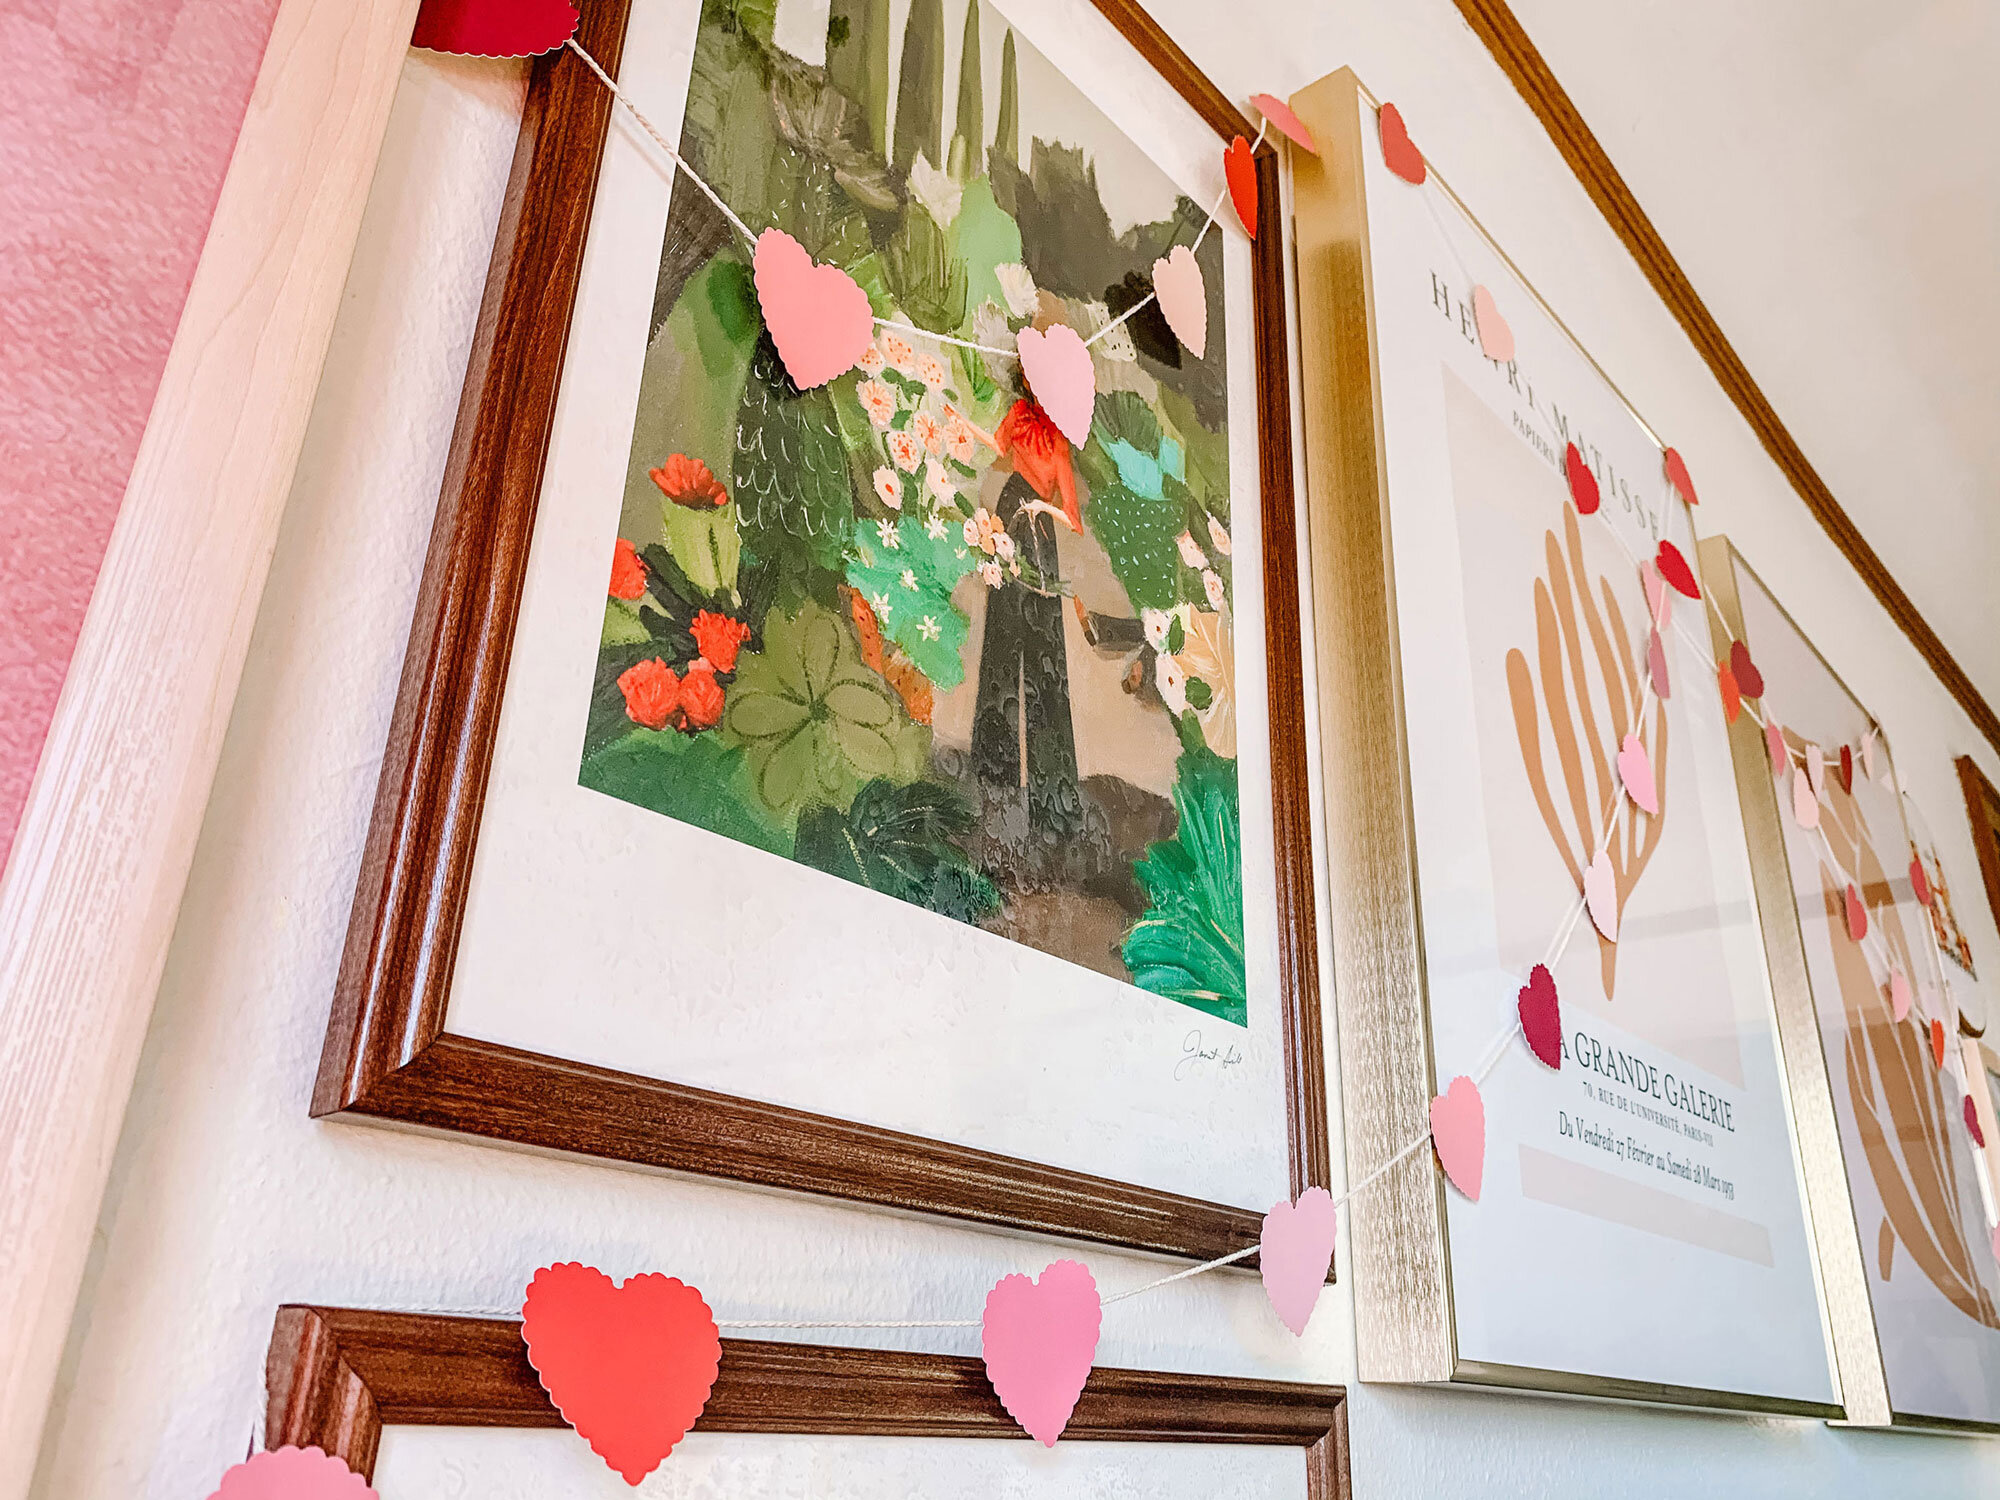
With February 14th just around the corner, love is in the air, roses are on the table, cards are being made and now you just need Valentine’s Day decorations to fill your house. We have a few DIYs planned for you this season ranging from paper heart garlands that could also be streamers, bedroom decor, a heart door hanger, and even a spotlight on the ‘Valentine’ Hoya plant. The great thing about these is that they could be used year round. Heart decor is not limited to February, nor should it be.
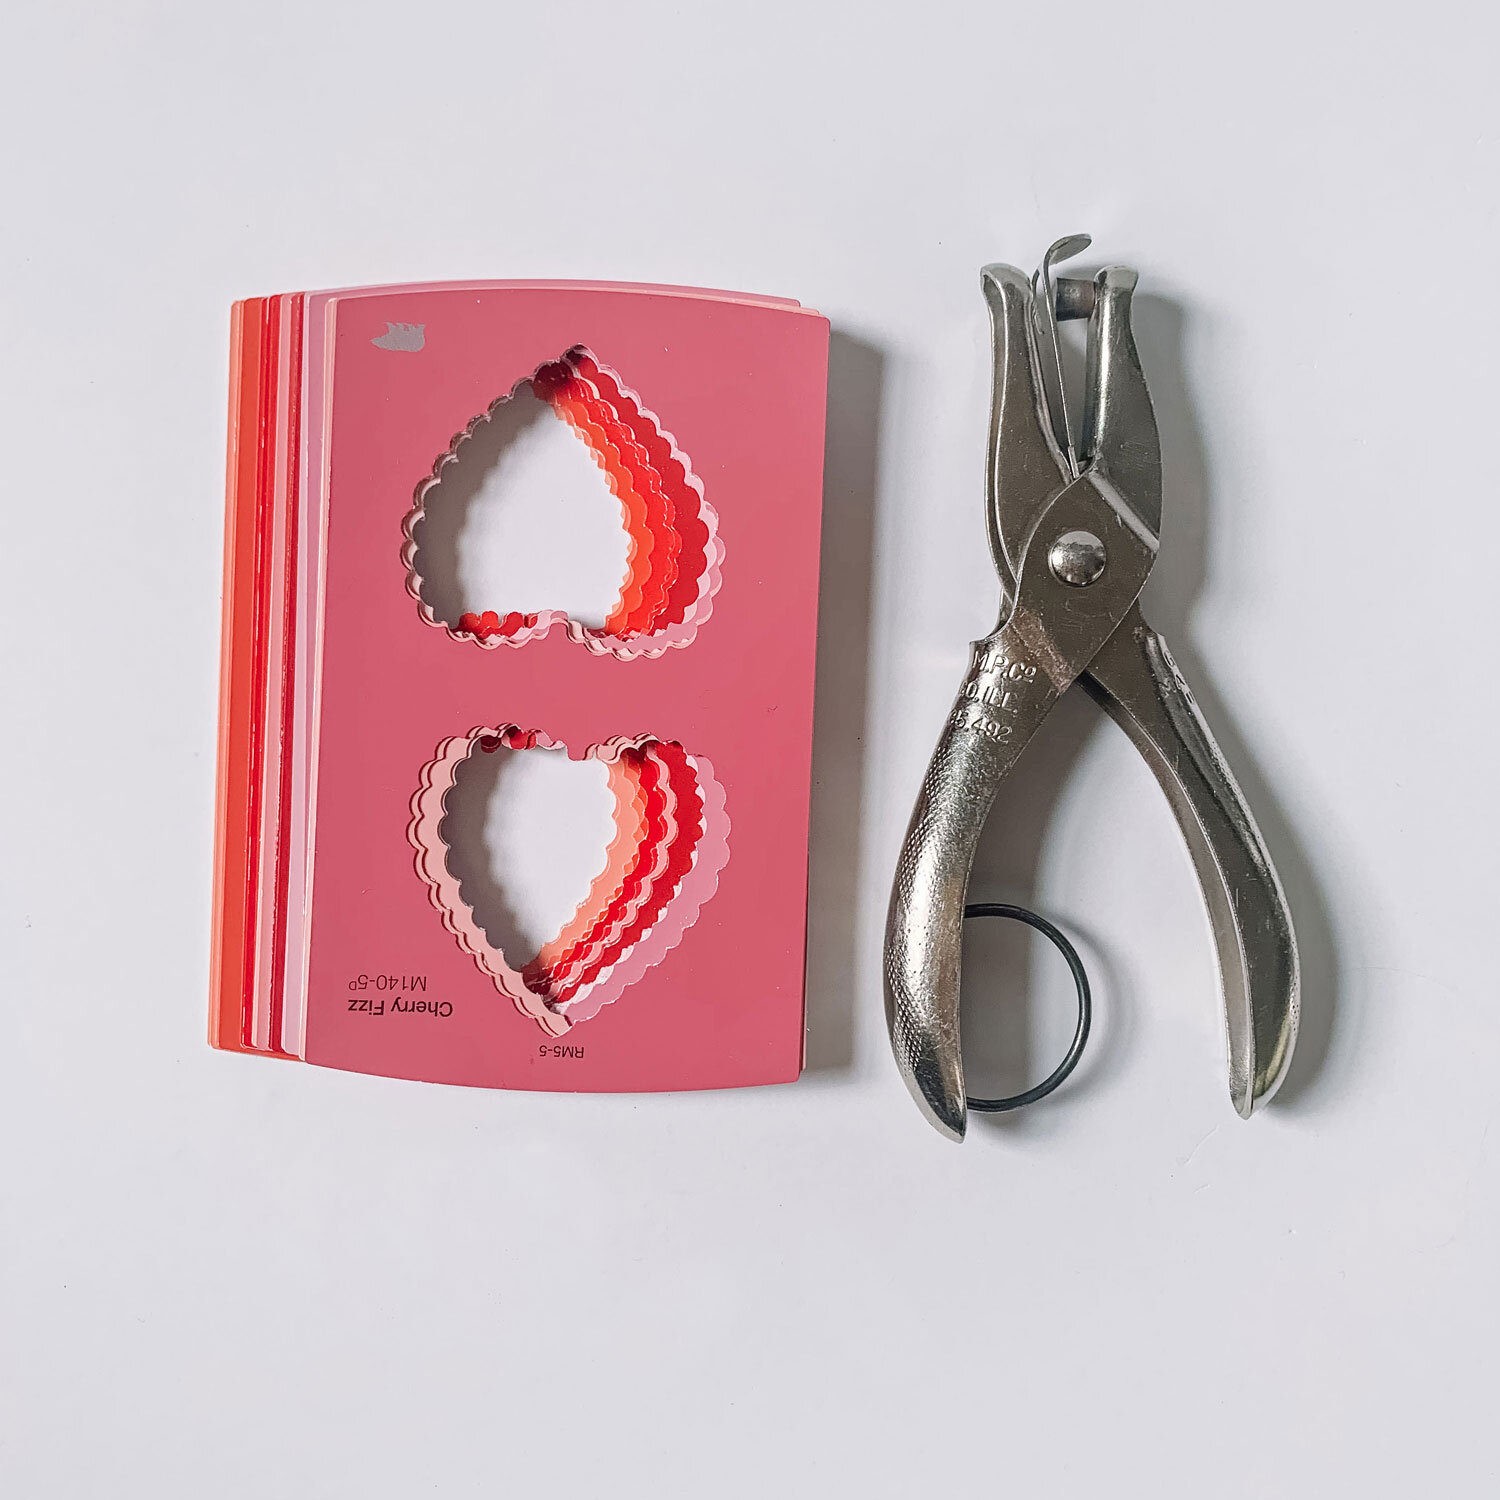
This paper heart garland is perhaps one of the easiest DIYs I have done yet. It just takes a trip to your local paint store to snag as many paint chips as you can inconspicuously, a heart hole punch, some tape, and a string. The workers at Home Depot definitely side-eyed me as I grabbed a solid 50 paint chips and then bolted. I know they are free but it definitely felt weird. Punchers are so fun and diverse (if you are a scrapbooker you might even have a Cricut). You don’t have to be limited to just the heart shape, there are a wide variety of shapes and sizes so the possibilities are endless.
Jump to the bonus Confetti DIY at the end which uses your leftover paint chips.
Tips & Tricks
Make sure your punch and your paint chips align in size. Paint swatches are generally 2” wide with some variance. The ones I grabbed were 3” wide but only featured one color as opposed to the color gradient sheets so I had to grab more of them but as a result could have larger hearts.
Hole punches come in a wide variety of shapes and sizes so you could do this for any holiday (Christmas tree and snowflake) or a non-holiday decor item (stars and flowers).
If you are not going to have your garland against the wall, but instead use it as a streamer, you will want your hearts to be double sided so you can’t see the string. In this instance, grab two of each paint chip so your back and front match. They also totally don’t have to match but some people really care about that type of thing.
I used 1mm macrame for my string as its cream colored, thin but still strong. You could definitely use ribbon or any string from a craft store.


Supplies

Supplies

Punch Hearts
Depending on what size your paint swatches are, you can punch 1 or more heart on each one.

Layout Hearts
Roll out your string and ruler. Layout your hearts in your desired color pattern alongside them. Mine had 3” in-between them.

Flip Hearts
Flip your hearts. If you are doing double sided then keep your second heart next to its matching flipped pair.

Tape Hearts
Tape your heart to the to the string, If you want it to be double sided then use double sided tape and sandwich then string in-between the two hearts.

Options!
1: If you would like to hang your hearts from the ceiling, you can make a loop at each end of the string and tie a knot.
2: Mine are being draped so I trimmed the string right against the edge.
Bonus: Valentine’s Confetti
Grab a Hole Punch
Take the paint chips you just used and grab a hole punch. Punch out as many as you want. Prepare for a forearm workout.


Confetti!
Sprinkle it around your table or inside some balloons for a fun pop!
Alright the first of our Valentine’s Day DIYs is under our belt. Starting off simple but coming up next is a 3D version of this paper heart garland. Keep an eye out or subscribe to my newsletter for updates! Hope you like this one and let me know how yours turns out in the comments or by tagging me on instagram @thegreenmadhouse.


